How to Record a Teams Meeting: A Step-by-Step Guide
You're in the middle of a crucial meeting on Microsoft Teams, and the thought strikes: "We absolutely need to save this conversation." You don't have time to fumble through menus; you just need to know how to record the meeting, and fast.
From my own experience, knowing the ropes here is a lifesaver. Recording a Teams meeting is more than just hitting a button; it’s about turning a temporary conversation into a permanent, valuable asset. Whether you're a manager who needs to share training with new hires, a project lead capturing client feedback, or just someone who couldn't make the live session, this feature is indispensable.
Ready to start? During your meeting, head to the toolbar, click on More actions (the three dots), and select Start recording. It's that simple. A banner will immediately pop up to let everyone know the recording has begun, capturing all the audio and video for later review.

Who Can Record and Where Does the File Go?
Before you even join the call, there are two key things you should figure out: who actually has permission to record, and where the video file ends up. It’s not always as straightforward as you'd think, as the rules change based on the type of meeting and your role. I've seen a lot of people get tripped up when the record button is unexpectedly greyed out.
Pro Tip: Not everyone in a meeting can start a recording. Typically, the meeting organizer or another person from the same organization has to kick it off.
Knowing this ahead of time saves you that moment of panic. It’s also incredibly helpful to know where to look for your recording afterward because Teams doesn't just dump them all in one place. A recording from a channel meeting lives somewhere completely different than one from a private chat.
To clear things up, I put together this quick reference table. It breaks down exactly who can record and where the files are stored based on the meeting type.
Who Can Record and Where It's Saved
This little cheat sheet should help you manage your recordings with confidence, ensuring you always know who needs to press the button and exactly where to find the file when the meeting is over.
Preparing for a Flawless Meeting Recording
A great recording is no accident—it’s the result of smart preparation that happens long before you click "Record." If you want to move beyond just knowing the basic steps and actually capture a high-quality, compliant, and genuinely useful asset for your team, this is where you need to start.
The very first hurdle, and one that trips up so many people, is simply checking your permissions. Countless recording failures happen because of company policies buried in the Teams admin center. From my experience, it’s always a good idea to confirm your account has recording privileges before a critical meeting.
This simple check saves you from that sinking feeling when you see the record button is greyed out right as the CEO starts talking. A little foresight here ensures you’re ready to go without any last-minute panic.
Check Your Permissions and Policies
Your organization’s IT policies control everything about meeting recordings, from who is allowed to start one to how long the final file is stored. These aren't just suggestions; they're hard-coded rules. A quick chat with your IT admin can clear up any questions about your company's specific guidelines.
Also, letting everyone know you're recording isn't just a courtesy—it's essential for legal and ethical reasons. While Teams does display a notification banner automatically, I always make a point to give a quick verbal heads-up at the start of the meeting. It creates a much more transparent and comfortable atmosphere and is a small gesture that goes a long way in respecting privacy and building trust.
Key Takeaway: Legality and transparency are everything. Always operate as if you must inform participants before recording. This practice keeps you aligned with data privacy laws like GDPR and fosters a more open and positive meeting culture.
Optimize Your Audio and Environment
Once you’ve sorted out the permissions and notifications, it’s time to focus on audio quality. A recording with crisp, clear sound is infinitely more valuable than one muddied by background noise. The whole point is to make it easy for people who missed the live session to catch up, and that's impossible if they can't hear what's being said.
This is all about doing a quick pre-flight check before you take off.
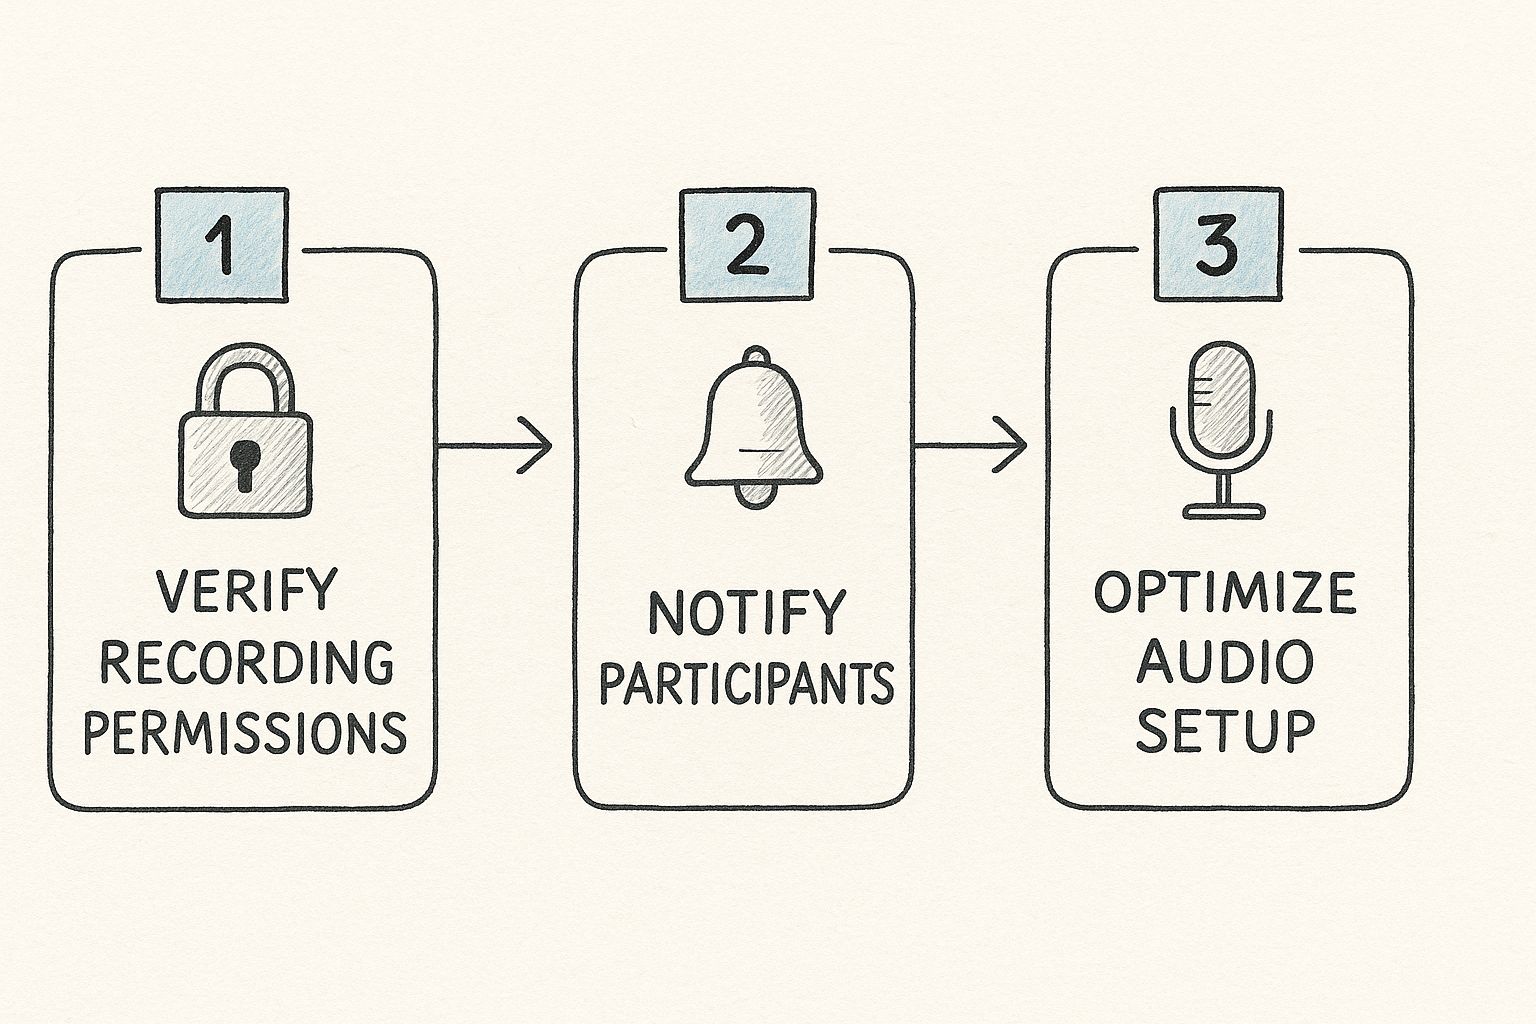
To nail the audio, here are a few practical tips I’ve learned over the years:
- Use a Dedicated Microphone: Your laptop's built-in mic is fine in a pinch, but it’s notorious for picking up every keyboard tap and echo in the room. Even an inexpensive USB microphone or a decent headset will make a massive difference in clarity.
- Find a Quiet Spot: Try to set yourself up away from busy hallways, ringing phones, or your chatty colleagues. Just closing the door can significantly cut down on distracting background noise.
- Do a Quick Test Run: Before the actual meeting, start a solo Teams call and record yourself for a minute. Play it back to check your audio levels and listen for any weird hums or interference. This five-minute check can save you from discovering a major issue after a 60-minute recording.
While the built-in Teams recorder gets the job done, you might find that a dedicated app for recording meetings can offer more control for capturing high-fidelity audio and can even automate some of your post-meeting tasks.
A Practical Walkthrough of the Recording Process
Once you’re in a live meeting, knowing exactly where to click and what to expect is key. The process for how to record a Microsoft Teams meeting is pretty straightforward, but a few subtle UI cues and best practices I've picked up over the years can make everything much smoother.
Let's walk through it from start to finish.
When you're ready to get started, look for the control bar at the top of your meeting window. Find the option labeled More—it's the one with the three dots. Give that a click, and a dropdown menu will appear. From this list, you’ll want to select Record and transcribe. This kicks off both the video recording and the live transcription at the same time.
As soon as you start, a notification banner pops up at the top of everyone's screen. This isn't optional; it’s a built-in feature that lets all participants know the meeting is being recorded, even if they join late. It’s a good transparency measure baked right into the platform.
Managing the Recording In-Progress
With the recording active, you'll see a small red dot and a timer in the top-left corner of the window. It’s a handy visual confirmation that the meeting is being captured.
But what happens when the conversation goes off-topic? I’ve found it’s a great practice to pause the recording during informal chats or breaks.
To do that, just head back to the More menu. You’ll now see an option to Stop recording. Don't worry, you can easily restart it from the same menu once the discussion gets back on track. This simple step keeps your final video focused and saves everyone from scrubbing through irrelevant chatter later.
Expert Tip: Properly stopping the recording is just as important as starting it. Always use the More > Stop recording option instead of just leaving the meeting. This ensures the file finalizes correctly and starts processing without a hitch.
This screenshot shows you exactly where to find that 'Record and transcribe' option in the meeting controls.
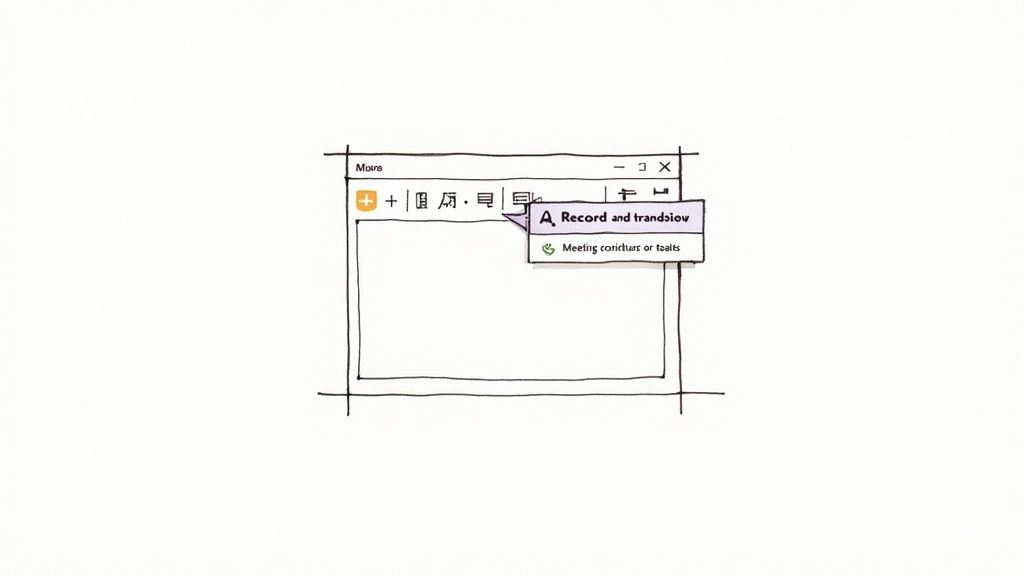
Think of this simple menu as your command center for the entire recording and transcription process while the call is live.
After the Meeting: What to Expect
When you stop the recording or the meeting itself ends, the work isn't quite done. The video file now needs to be processed and saved to the cloud. You’ll usually see a notification in the meeting chat letting you know the recording has ended and is in the processing queue.
How long does this take? It really depends. Shorter meetings might be ready in a few minutes, but longer, more complex sessions can take a while. It’s not surprising when you consider the sheer scale of the platform. Teams supports over 320 million monthly active users, and on peak days, users have generated over 5 billion meeting minutes. You can find more fascinating stats on the platform's growth over at desk365.io.
Once it’s all processed, a link to the recording will appear right in the meeting chat. From there, you and your team can view, share, or download it.
Accessing and Sharing Your Teams Recording
So, you’ve wrapped up the meeting and hit the stop record button. Now what? The real value isn't just in capturing the conversation; it's turning that raw video file into something your team can actually use. Knowing how to handle your recordings is just as critical as knowing how to start one in the first place.
First things first, you need to find the file. Where it lands depends entirely on the type of meeting you just had.
- If it was a private chat or a one-on-one call, the recording will pop up in a "Recordings" folder inside your personal OneDrive.
- For a channel meeting, it’s tucked away in the team's SharePoint site, also in a "Recordings" folder.
Getting this right is the key to managing who can see it later.
The shift to remote work has made these recordings incredibly important. To put it in perspective, back in 2020, Microsoft Teams saw its daily meeting minutes explode from 900 million to a staggering 2.7 billion in just a few months, as noted by Notta.ai. That’s a mountain of crucial information locked away in video files, and it's our job to manage it smartly.
Securing and Sharing Your Video File
Once you’ve tracked down your recording in OneDrive or SharePoint, you'll find that you have the same granular control over it as any other Office document. This is your chance to make sure only the right eyes see it.
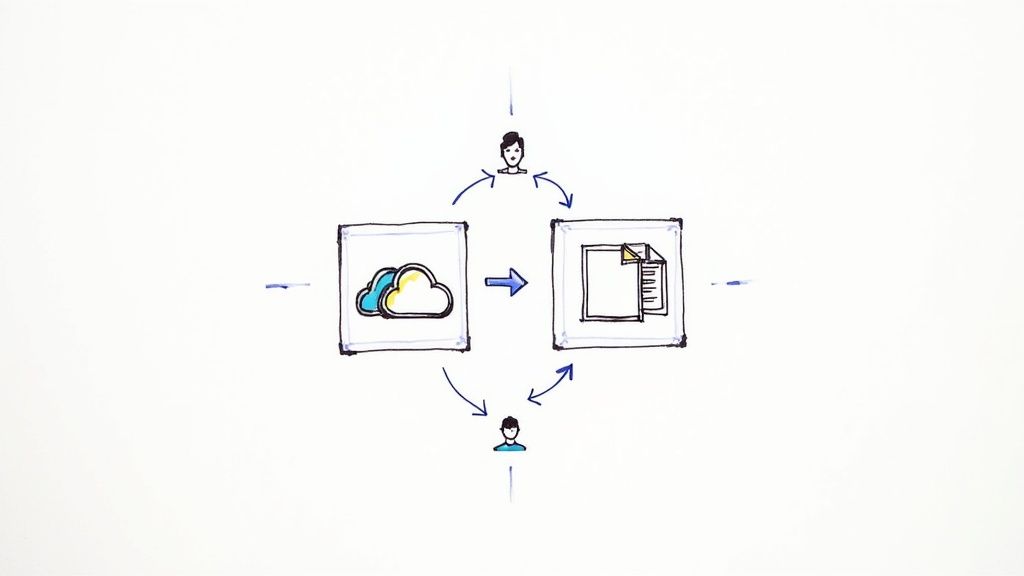
By default, anyone invited to the original meeting can view the recording. But you can—and should—go further. You can easily fine-tune access with a few clicks.
- Share with specific people: Generate a link that only works for the individuals you name.
- Block downloads: Want people to watch but not keep a copy? Just toggle off the download option. This is great for sensitive information.
- Set an expiration date: Keep your cloud storage from becoming a digital graveyard. Setting an expiration date automatically archives old recordings, which is perfect for time-sensitive project updates.
Think of these controls as your first line of defense in keeping your team's conversations secure.
My Two Cents: Treat your meeting recordings like any other confidential company file. Before you fire off that link, always double-check the sharing settings. It's way too easy to accidentally grant access to the entire organization when you only meant to share it with your immediate team.
Beyond Sharing: Unlocking the Real Value
Just sending a link to a video is only half the battle. Let's be honest, who has time to re-watch an hour-long meeting to find that one key decision? This is where you can work smarter, not harder.
The next step is to pull the valuable insights out of the video. This is where using auto transcribe software becomes a game-changer. It can instantly convert all the spoken audio into a fully searchable text document.
Imagine needing to find a specific quote or decision point. Instead of scrubbing through the video timeline, you can just search for a keyword. It transforms a passive video file into an active, valuable knowledge base your entire team can reference anytime.
Tapping Into Teams' Advanced Recording Features
https://www.youtube.com/embed/uaoa-N0zsVQ
Getting a standard video file of your meeting is one thing, but the real magic happens when you turn that passive recording into an active, searchable resource. This is where advanced AI features come in, transforming a simple video into a tool that genuinely boosts productivity. This is how you squeeze every last drop of value from the conversations you record.
The most significant leap forward here comes with Teams Premium. This paid tier goes way beyond basic recording, offering something genuinely powerful for busy teams.
Meet Intelligent Recap
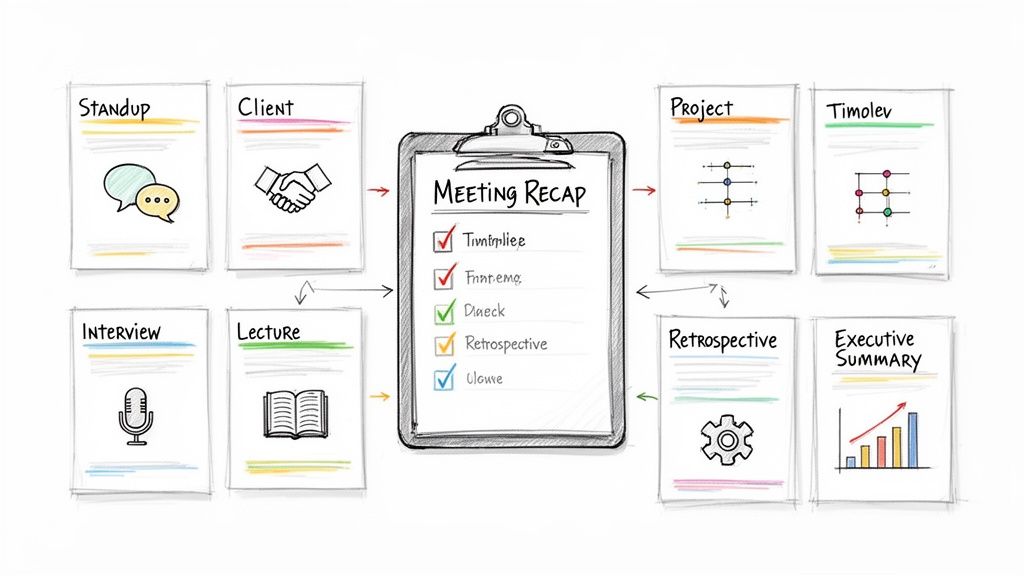
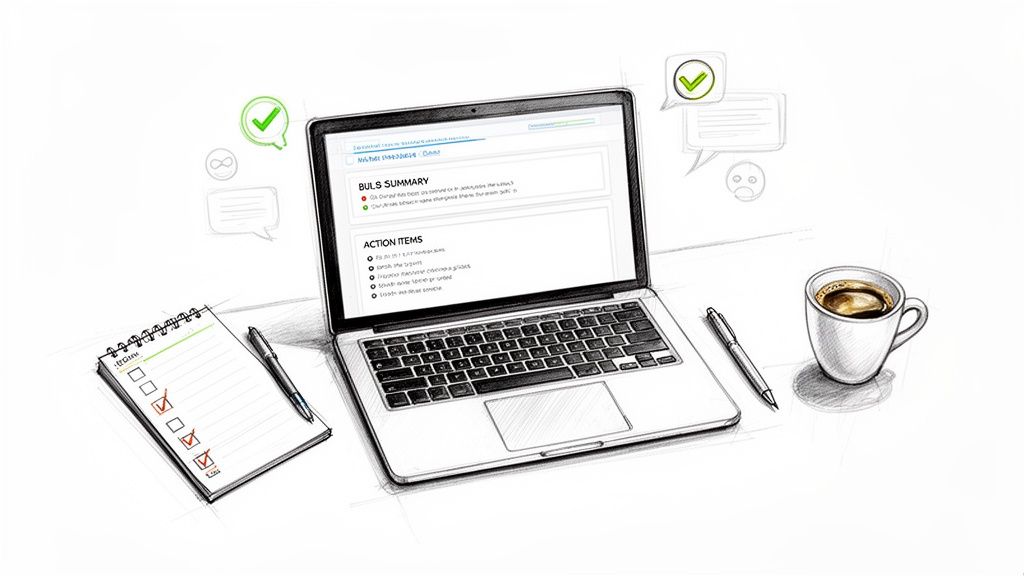
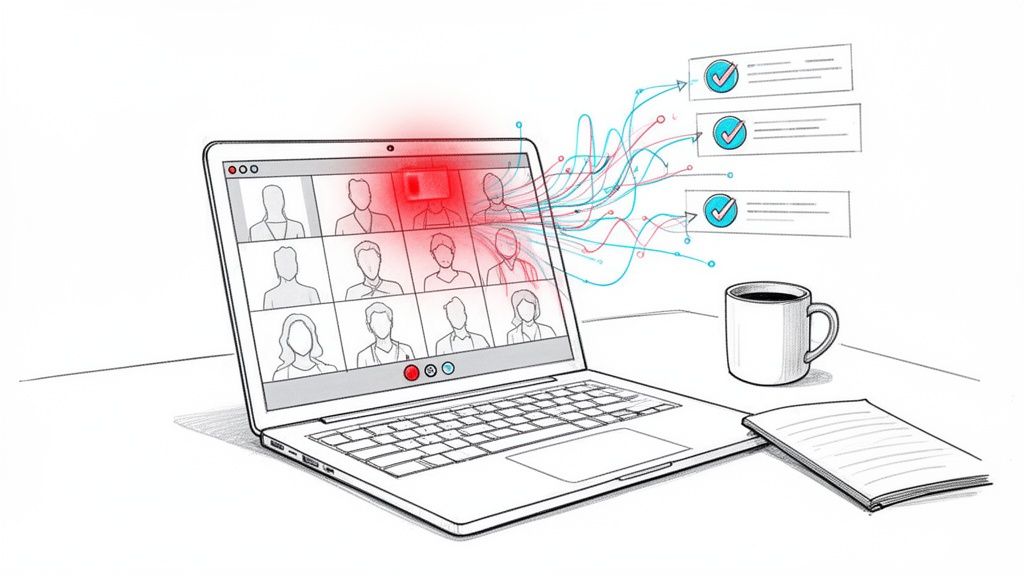
If you have a Teams Premium license, you get a killer feature called Intelligent Recap. It's like having a smart assistant watch the meeting for you. Instead of you blocking out an hour to re-watch a recording, it automatically generates summaries, pulls out key discussion points, and even flags action items.
This kind of AI integration has become a cornerstone of modern collaboration. Microsoft has been consistently baking AI into its recording tools, and Intelligent Recap is the star of the show. It automatically creates transcripts and smartly summarizes meetings, pinpointing key topics and action items, and it's now available for webinars and town halls too. You can get a behind-the-scenes look at how Microsoft is recapping meetings with AI at microsoft.com.
These AI-generated notes are a lifesaver for anyone who couldn't make the meeting or just needs a quick refresher on what was decided.
My Experience: For project managers, this is a game-changer. After a long client call, instead of re-listening to the whole thing, I can scan the AI-generated summary in two minutes to draft my follow-up email and update our project board. It easily saves me an hour of post-meeting admin work.
Find Key Moments with AI Chapters
Another fantastic feature in Teams Premium is how AI creates chapters within your recording. It listens to the conversation and automatically carves up the video timeline into distinct topics.
This completely eliminates that tedious process of scrubbing back and forth through the video to find one specific moment. Need to review the budget discussion? Just click the "Budget Review" chapter. Want to hear what a specific person had to say? The timeline is marked with speaker indicators, so you can jump right to their contributions.
- Topic-Based Chapters: Sections are created automatically, like "Marketing Update" or "Q3 Planning."
- Speaker Timeline Markers: See exactly when each person spoke during the meeting.
- Personalized Markers: The recap even highlights moments when your name was mentioned.
What If You Don't Have Teams Premium?
Of course, not everyone has access to the premium features. But that doesn't mean you have to miss out on the benefits of AI. Plenty of third-party tools can offer similar, and sometimes even more powerful, functionality.
Tools like HypeScribe step in to serve as an AI meeting notes taker, connecting with Teams to provide real-time transcription, summaries, and action items, much like Intelligent Recap. These platforms often give you a central hub where all your meeting recordings and their insights are stored, making everything easy to search and share with your team. They're a fantastic alternative for organizations that want AI-driven efficiency without being tied to a specific Teams license.
Frequently Asked Questions About Recording Teams Meetings
Even with the best plan, you're bound to hit a snag or have a question pop up, usually right before a critical meeting starts. Let's walk through some of the most common issues people face when recording on Microsoft Teams.
Think of this as your personal troubleshooting guide for those "wait, why isn't this working?" moments. Knowing these answers will help you manage recordings like a pro.
Why Can't I Find the Record Button? (Or Why Is It Greyed Out?)
This is, without a doubt, the number one problem people run into. If the record button is missing or you can't click it, it almost always boils down to permissions.
First, your company's IT admin might have turned off the recording feature. This is common in organizations with strict data or compliance policies. They can disable it for certain people or for the entire company.
The other likely culprit is your role in the meeting. You have to be either the meeting organizer or someone from the same organization as the organizer. Guests, people from other companies, and anonymous attendees can't start a recording.
My Pro Tip: If you need a meeting recorded but you aren't the host, don't wait until the last minute. Shoot a quick message to the organizer beforehand and ask them to either hit record for you or make you a presenter. Depending on their setup, presenters can often record.
How Long Are Teams Recordings Stored?
Your Teams recordings won't live in the cloud forever by default. Most companies have an auto-expiration policy to keep storage costs from getting out of hand. An IT admin typically sets a standard lifespan, often something like 120 days, and after that, the recording is automatically deleted.
The good news is you have control over this for your own recordings. You can head over to the video file in your OneDrive or the team's SharePoint site and easily extend that expiration date or remove it entirely.
Can I Record a One-on-One Call in Teams?
Yes, absolutely. Recording a one-on-one call works exactly the same way as recording a big group meeting. Just click the three dots for More actions during the call and hit Start recording.
The only real difference is where the file ends up. For group meetings, it goes to SharePoint. For a one-on-one call, the recording is saved directly to a "Recordings" folder in the OneDrive of the person who started the recording.
Who Is Notified When I Start Recording?
Teams is big on transparency here. The second you hit record, every single person in the meeting gets a banner notification at the top of their screen. It clearly states that the session is being recorded and transcribed.
This isn't something you can turn off. The notification stays put for the entire recording, and anyone who joins late will see it too. It’s designed to make sure everyone is fully aware.
Once you've nailed the recording process, the real magic is turning that video file into something useful. That's where HypeScribe comes in. It plugs into your meetings to deliver AI-powered transcriptions, summaries, and action items in real-time. Stop wasting hours on post-meeting busywork and find out how to make your meetings truly productive at https://www.hypescribe.com.


