How to Record a Webex Session: A Practical Guide
Learning how to record a Webex session is refreshingly simple. As the host, you just need to find the Record button in your meeting controls and click it. That's really it. Webex immediately starts capturing the video, audio, and any content you're sharing. When you're done, the recording is automatically saved to your cloud account, ready for you to share.
Why Should You Record Your Webex Sessions?
Recording your meetings has shifted from a "nice-to-have" option to a core practice for effective teams. Whether you're kicking off a project, running a training workshop, or presenting a proposal, that recording becomes your single source of truth. It's the best way to ensure anyone who missed the live event can catch up without losing any important details.
With over 61 million monthly active users, Cisco Webex has made this process incredibly smooth. The platform is designed so that hosts can start a recording with one click, capturing participant video, audio, and detailed screen shares. Once the meeting ends, the recording is sent straight to your Webex cloud storage, so you don't have to worry about managing huge video files on your computer.
If you need more advanced details, Webex offers detailed help guides on recording usage reports and other features.
The Real-World Benefits of Recording Meetings
Hitting that record button unlocks some immediate benefits that seriously improve how teams collaborate and share information.
- Creates a Permanent Record: You get a verifiable log of all discussions, decisions, and action items. This eliminates any "who-said-what" debates—you can just check the recording.
- Boosts Accessibility: Colleagues in different time zones or with busy schedules can watch the meeting when it works for them, ensuring no one is left out of the loop.
- Supercharges Training and Onboarding: New team members can get up to speed faster by reviewing past training sessions, helping them feel part of the team from day one.
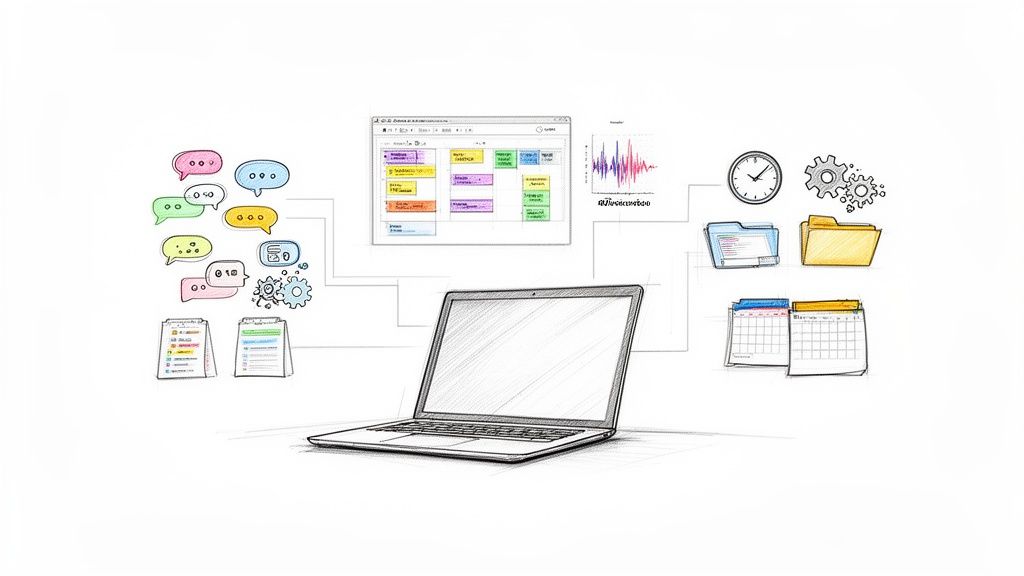
To help you manage this content, administrators can monitor storage and activity through the Webex recording usage report dashboard.
This dashboard provides a high-level view of your recording storage, which is crucial for managing your account resources as your team creates more video content.
For a quick reference, here are the essential controls for managing your recordings during a meeting.
Webex Recording Quick Actions
Mastering these actions will make managing your recordings on the fly feel like second nature.
Preparing for a Flawless Webex Recording
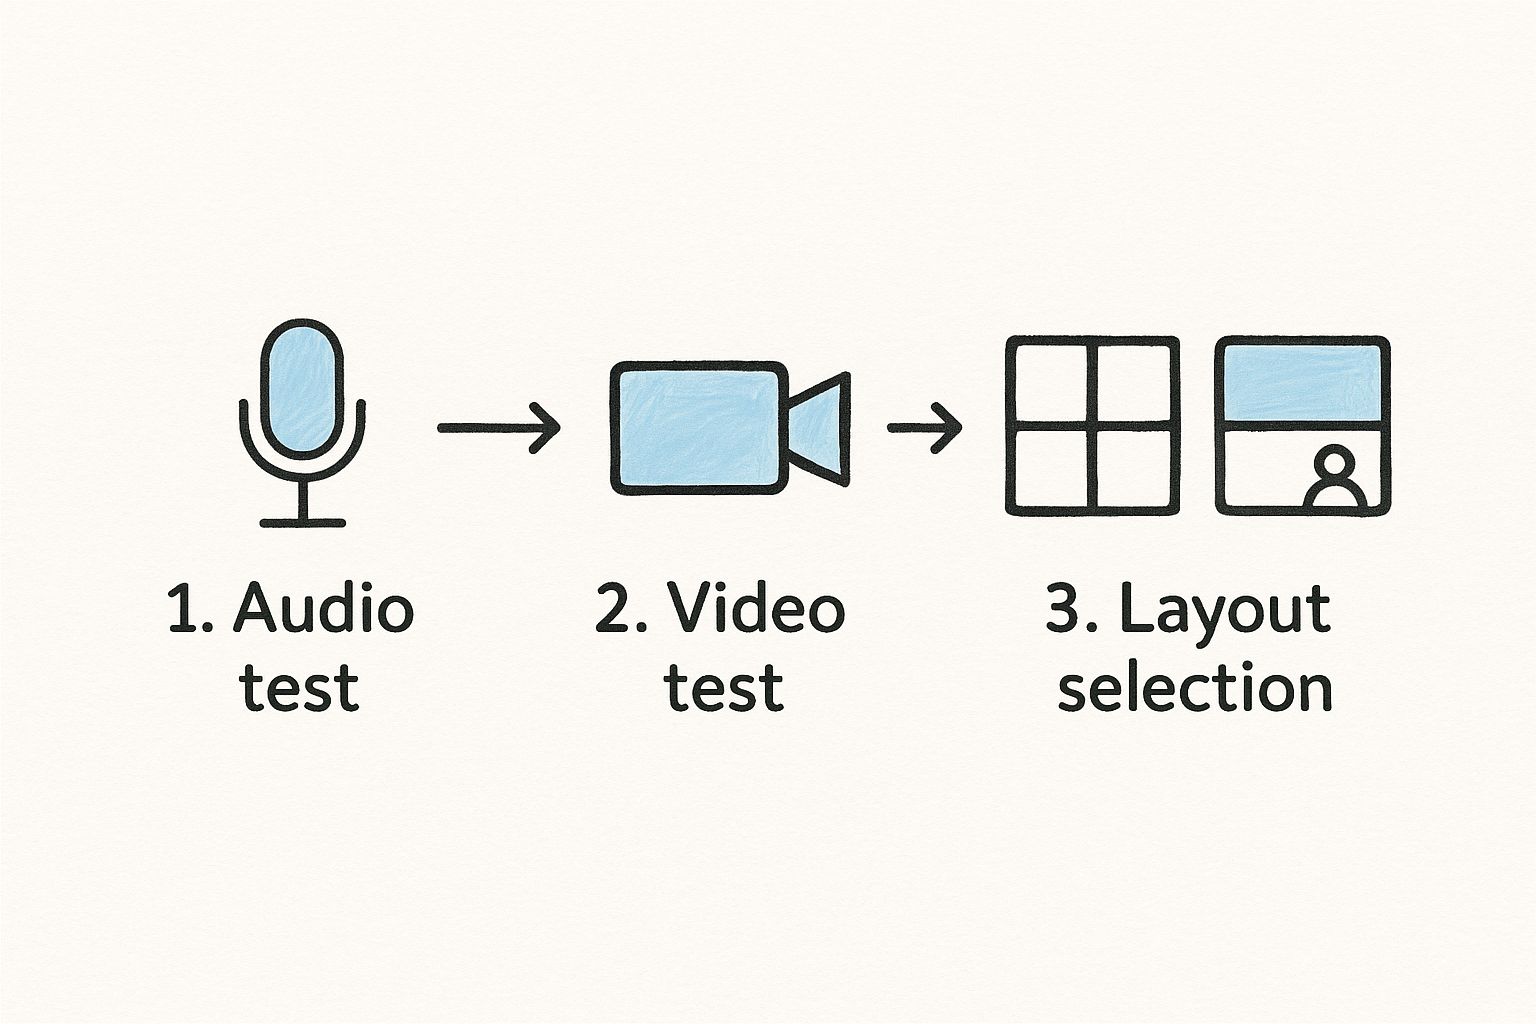
Let's be honest: a great recording doesn't happen by accident. Before you even think about hitting that record button, a few simple pre-flight checks can mean the difference between a polished, professional asset and a chaotic file you'd rather forget.
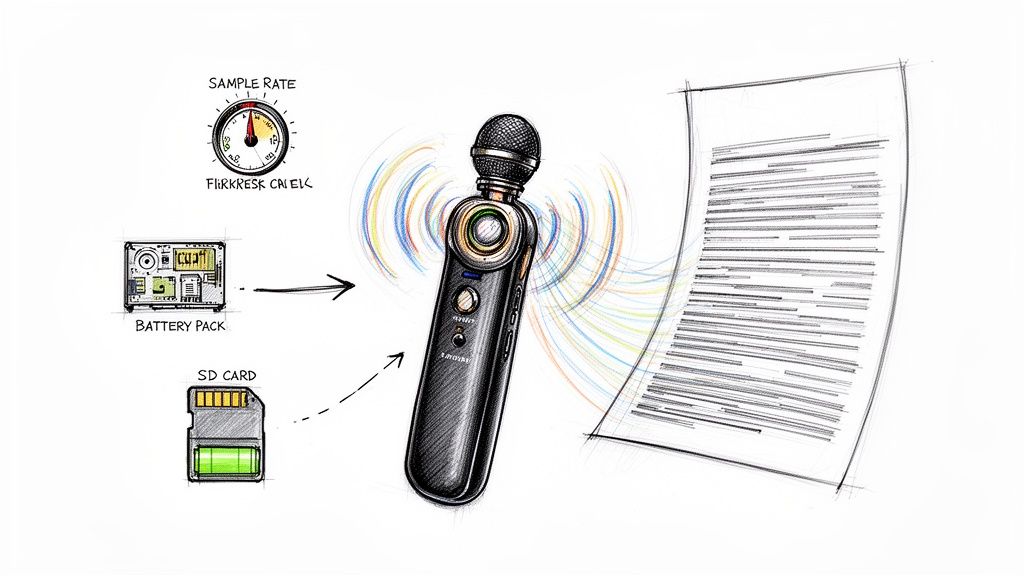
First, always test your tech. Is your audio crisp? Is your video clear? Spend a minute in the Webex settings to make sure your microphone is picking up your voice clearly—not the dog barking in the next room—and that your camera is framed well. These little checks prevent those awkward "can you hear me now?" moments from ruining your final cut.
Just as important is giving everyone a heads-up. You have to let people know they're being recorded. A quick, friendly announcement at the start of the meeting is all it takes to handle the legal and ethical side of things. It builds trust and makes sure everyone is on board.
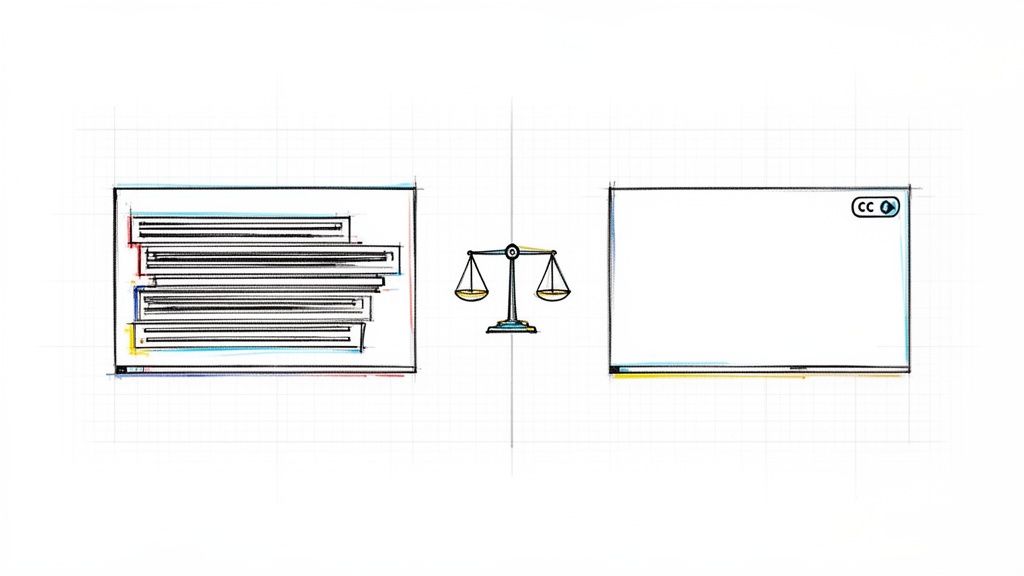
Choosing the Right Recording Layout
How your recording looks and feels comes down to the layout you choose, and the right choice depends entirely on what you're trying to achieve.
For a dynamic team brainstorm where you want to capture everyone's input and reactions, the grid view is perfect. It showcases the entire group and really preserves that collaborative energy.
On the other hand, if you're running a more formal presentation or a webinar, the active speaker view is your best bet. This layout automatically puts the focus on whoever is talking, which creates a much cleaner, more professional video that’s incredibly easy for viewers to follow.
I learned this the hard way. I once recorded a major client presentation in grid view. The final video was a mess of distracting participant windows instead of keeping the spotlight on the main speaker. It's a mistake you only make once.
Taking a moment to test your gear and pick the right layout will pay off big time.
Keep in mind that your settings also affect the final file size. A typical one-hour Webex recording is around 200 MB, but this can definitely fluctuate based on video quality and what's being shared. Dialing in these settings beforehand helps you manage your storage. If you want to dive deeper, you can always check out the official Webex usage reports for more detailed insights.
A Step-by-Step Guide to Recording Your Meeting

Alright, now that your setup is ready, let's get into the specifics of actually recording a Webex session. The process is straightforward whether you’re on a desktop or joining from your phone.
In the desktop app, you’ll find the Record button in the main control panel at the bottom of the screen. Simply click it, confirm you want to start, and you're officially recording.
You'll know it's working because Webex provides a clear visual cue—usually a small red dot or a "Recording" indicator at the top of the window. This not only confirms that the session is being captured but also serves as a reminder for all participants.
Here's a tip I've learned from experience: get comfortable with the pause and resume feature. If the conversation goes off on a tangent or you have a scheduled break, just hit Pause. This little action saves a ton of editing time later, ensuring the final recording is tight, focused, and only contains the important stuff.
Cloud vs. Local Recording Explained
When you hit record, Webex will likely ask where you want to save the file: to the cloud or locally on your computer. While saving it locally might seem like the default choice, I almost always recommend recording to the cloud. Let me explain why.
Think of cloud recording as your meeting's central hub. It doesn't use up your hard drive space, and sharing is incredibly easy. Instead of emailing a massive video file, you just send a link. Anyone with access can stream it instantly, which is a massive win for remote teams.
The real advantage, however, comes with integrations. Tools like HypeScribe can connect directly to your cloud recordings. This enables automatic transcriptions and summaries without you having to lift a finger. If you record locally, you’re stuck with the manual task of uploading the file yourself, which just adds an unnecessary step to your workflow.
Choosing cloud recording is one of the smartest decisions for team efficiency. It removes the friction of file sharing and unlocks the potential for automation, making your recorded content immediately more valuable.
Pro Tips for Managing Your Live Recording
A few simple habits during the live session can make a huge difference in the quality of your final recording.
Here are a few things I always try to do:
- Narrate Your Actions: If you're sharing your screen, get in the habit of explaining what you're doing. "I'm clicking on the 'Settings' tab now" makes the playback crystal clear for anyone who couldn't attend live.
- Manage Participants: Don't hesitate to use the "Mute All" button to cut down on background noise. Clean audio is the secret to a professional recording and, just as importantly, ensures you get a highly accurate transcript.
- End with a Clear Summary: Before you hit "Stop," take 30 seconds to recap the main takeaways and any action items. It’s the perfect way to wrap things up and gives the recording a clean, definitive ending.
Putting these small techniques into practice will turn your recording from a simple video file into a genuinely useful resource for the whole team.
What to Do With Your Webex Recording After the Meeting

Once you’ve finished your meeting, the recording's job is just beginning. Webex needs some time to process the video—anywhere from a few minutes to an hour, depending on the meeting's length. When it's ready, you'll receive an email with a direct link.
If you miss the email, don't worry. All your recordings are stored in your Webex portal. Just log in and navigate to the Recordings tab to find everything neatly organized.
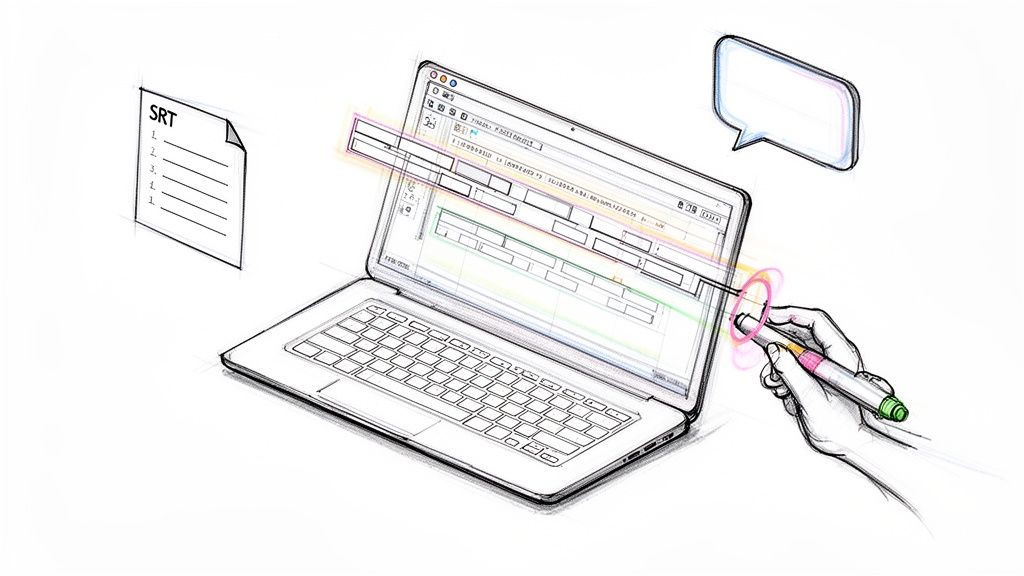
From there, you can do some basic management. I always recommend changing the title from the generic meeting name to something descriptive. This small step makes a huge difference when you're searching for a specific project update or training session weeks later. After that, you can generate a shareable link to send out.
Keep Your Content Secure With Smart Sharing
Sharing your recording doesn’t have to be a free-for-all. Webex gives you some great tools to control who sees your content and what they can do with it, which is crucial for protecting sensitive information.
- Password Protection: The simplest way to secure a recording is to add a password. This ensures only people with the password can access it.
- Download Permissions: Worried about your video ending up in the wrong place? You can disable the download option entirely. This forces everyone to stream it directly from the Webex cloud, preventing unauthorized copies.
The real power of a recording isn't just in capturing the conversation. It's in controlling how that conversation is shared and used later. These security features make sure your information stays exactly where it belongs.
For companies in regulated industries, it's good to know that Webex holds onto recordings for a default of 1,095 days for Pro Pack users and 360 days for everyone else. This is customizable, of course. It's worth looking at the official Webex data retention policies to ensure they align with your company's policies.
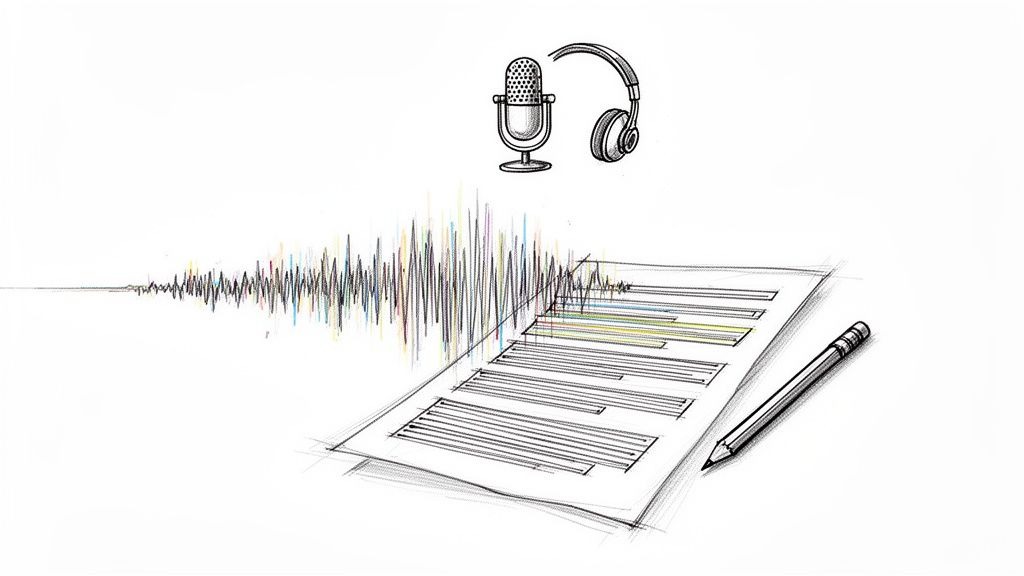
To extract the most value from your recording, consider converting all that spoken audio into searchable text. This is a game-changer for making your content more accessible and easier to reference.
Getting More Out of Your Recordings with HypeScribe
Okay, so you know how to record a Webex session. That’s a great first step, but a raw video file sitting in the cloud isn't all that useful on its own. The real value comes when you turn all that talk into text you can search, share, and act on.
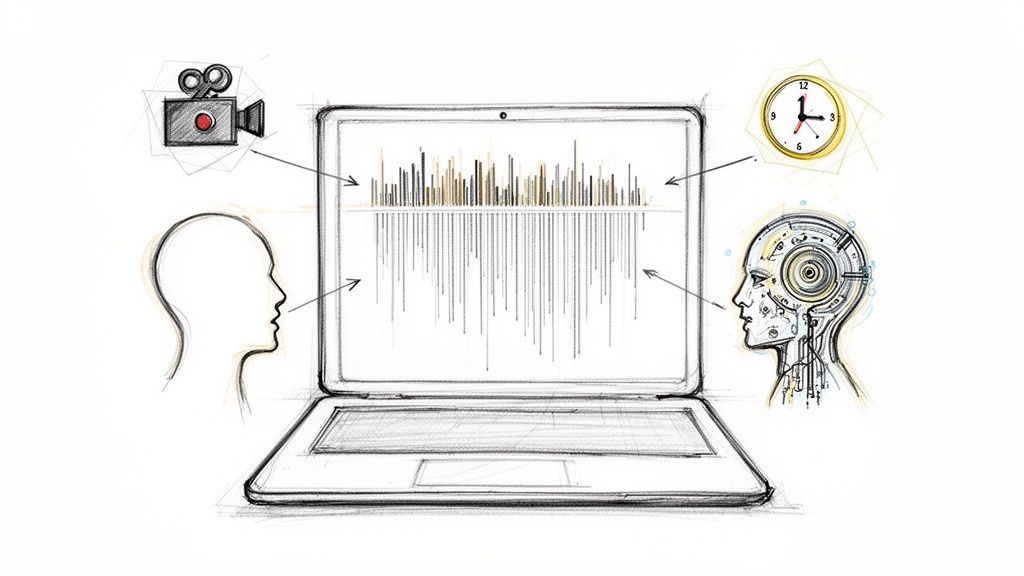
This is where a tool like HypeScribe comes in and completely changes the game. It takes your recordings from being a simple digital archive and transforms them into a living knowledge base for your team.
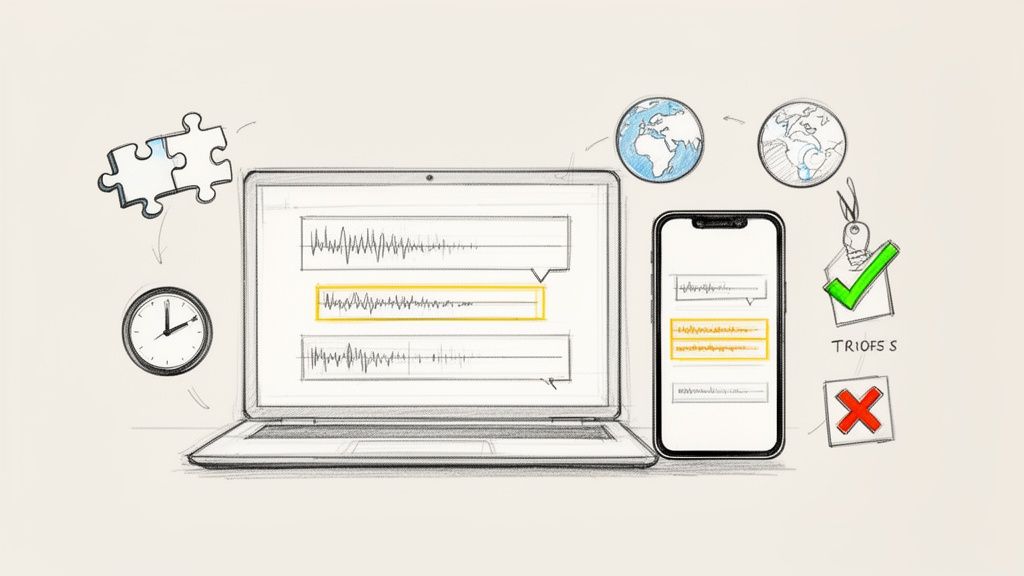
Connecting HypeScribe to your Webex account puts your entire post-meeting workflow on autopilot. Forget spending hours re-watching a recording just to find one key decision. The integration automatically grabs your cloud recordings, transcribes them with high accuracy, and even drafts a neat summary.
Think about it: a one-hour project debrief can become a scannable summary with all the critical decisions and action items, ready for you just minutes after the meeting wraps up.
How to Link Your Webex and HypeScribe Accounts
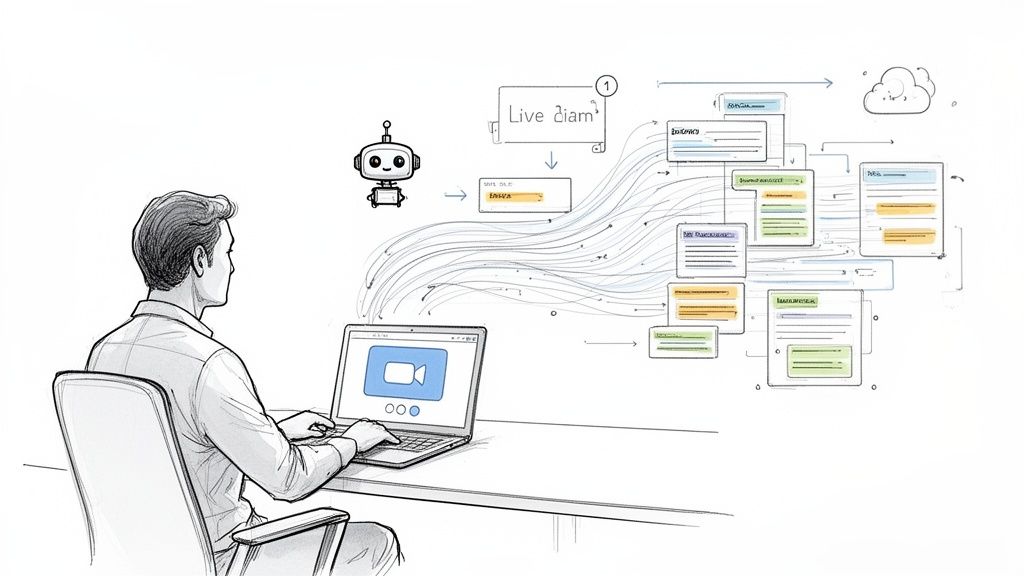
Getting the two platforms to communicate is incredibly simple. It's usually just a matter of a few clicks to give HypeScribe permission to access your Webex cloud recordings. Once connected, it works in the background, creating a seamless flow where every recorded meeting becomes a source of organized, useful information.
This kind of setup is invaluable in industries where solid documentation is non-negotiable. For example, the ability to automatically record and transcribe sessions has been a huge driver for telehealth, which has seen a 300% jump in adoption since 2020. It's a similar story in education, where 85% of universities on Webex use recordings for remote learning—making accurate summaries an absolute must. You can actually dig into some of these Webex usage trends on their help site.
Connecting your meeting platform to an AI transcription tool is the single biggest productivity jump a team can make. It eliminates the tedious task of note-taking and ensures every critical detail is captured and organized automatically.
This automation does more than just save time. It also boosts the accuracy and accessibility of your meeting notes. By using an AI meeting notes taker, your team can instantly find specific details, keep tabs on project progress, and stay aligned—all without ever having to scrub through a video timeline again.
Frequently Asked Questions About Recording Webex Sessions
Even with a simple process, a few questions always seem to pop up. It’s one thing to know how to hit the record button in Webex, but it’s another thing entirely to know what to do when things don't go according to plan. Let’s walk through some of the common snags people hit and how to sort them out fast.
One of the first questions people ask is who can actually record a meeting. In Webex, this is all about permissions.
Only the meeting host or a designated co-host can start a recording. Think of it as a built-in privacy and control feature. It ensures the person who organized the meeting is the one who manages how it gets captured and shared. If you’re a participant and need a recording, you'll have to ask the host to start it for you.
Another point of confusion is where these recordings end up once the meeting is over. They don't just disappear into the cloud.
Finding Your Recordings and Fixing Common Glitches
Webex automatically saves every recording to the cloud, directly linked to your account. After you end the meeting, the file needs to process. This might take a few minutes for a short call or a bit longer for an hour-long deep dive.
Once it's ready, you'll get an email with a direct link. You can also find all your past recordings by logging into your Webex site and heading over to the "Recordings" section. Simple as that.
But what if you can't even start the recording in the first place?
If the Record button is grayed out and unclickable, it's usually one of three things:
- You're not the host or co-host. This is the most common reason.
- Cloud recording is turned off. Your site administrator might have disabled the feature for your account or for that specific meeting type.
- Your device can't handle it. In some rare cases, older hardware or the way you joined the meeting might not support recording.
Knowing about these potential hurdles can save you a lot of stress. The core ideas are pretty similar across different platforms, too. If you're also a Microsoft user, you might find our guide on how to record a Teams meeting helpful.
Ready to turn those recordings into something truly useful? HypeScribe automatically transcribes and summarizes your Webex meetings. You can finally focus on the conversation instead of frantically taking notes. Start your free trial today and see what your meetings have been missing.