Best App for Recording Meetings | Top 12 Picks to Boost Productivity
In a world of back-to-back virtual calls, critical information often vanishes the moment a meeting ends. I've been there myself—struggling to keep up with manual note-taking, only to realize later that I missed a key action item or couldn't recall a specific decision. This leads to forgotten tasks, misaligned teams, and wasted time spent clarifying what was discussed.
The solution I found is a dedicated app for recording meetings. More than just a simple recorder, these tools act as powerful productivity engines that automatically transcribe, summarize, and organize your conversations. This guide is designed to help you cut through the noise and find the perfect tool for your specific needs, whether you're a student transcribing lectures, a project manager tracking client feedback, or a remote team lead ensuring everyone is on the same page.
I'll provide a comprehensive, experience-based comparison of the top options available, from native platform features in Zoom and Google Meet to advanced third-party AI assistants like Otter.ai and Fireflies.ai. Each review includes a detailed analysis of its core features, ideal use cases, pros, cons, and direct links to get started. I’ve done the research so you can quickly identify the best app for recording meetings to reclaim your focus and create an accessible, searchable archive of every important conversation.
1. HypeScribe
HypeScribe distinguishes itself as a premier AI-powered platform that moves beyond basic meeting recording to offer a complete productivity suite. From my experience, it's an exceptional choice for teams and individuals who need not just a record of their conversations, but also actionable intelligence derived from them. The platform’s core strength lies in its lightning-fast, highly accurate transcription engine that supports over 100 languages with up to 99% accuracy.
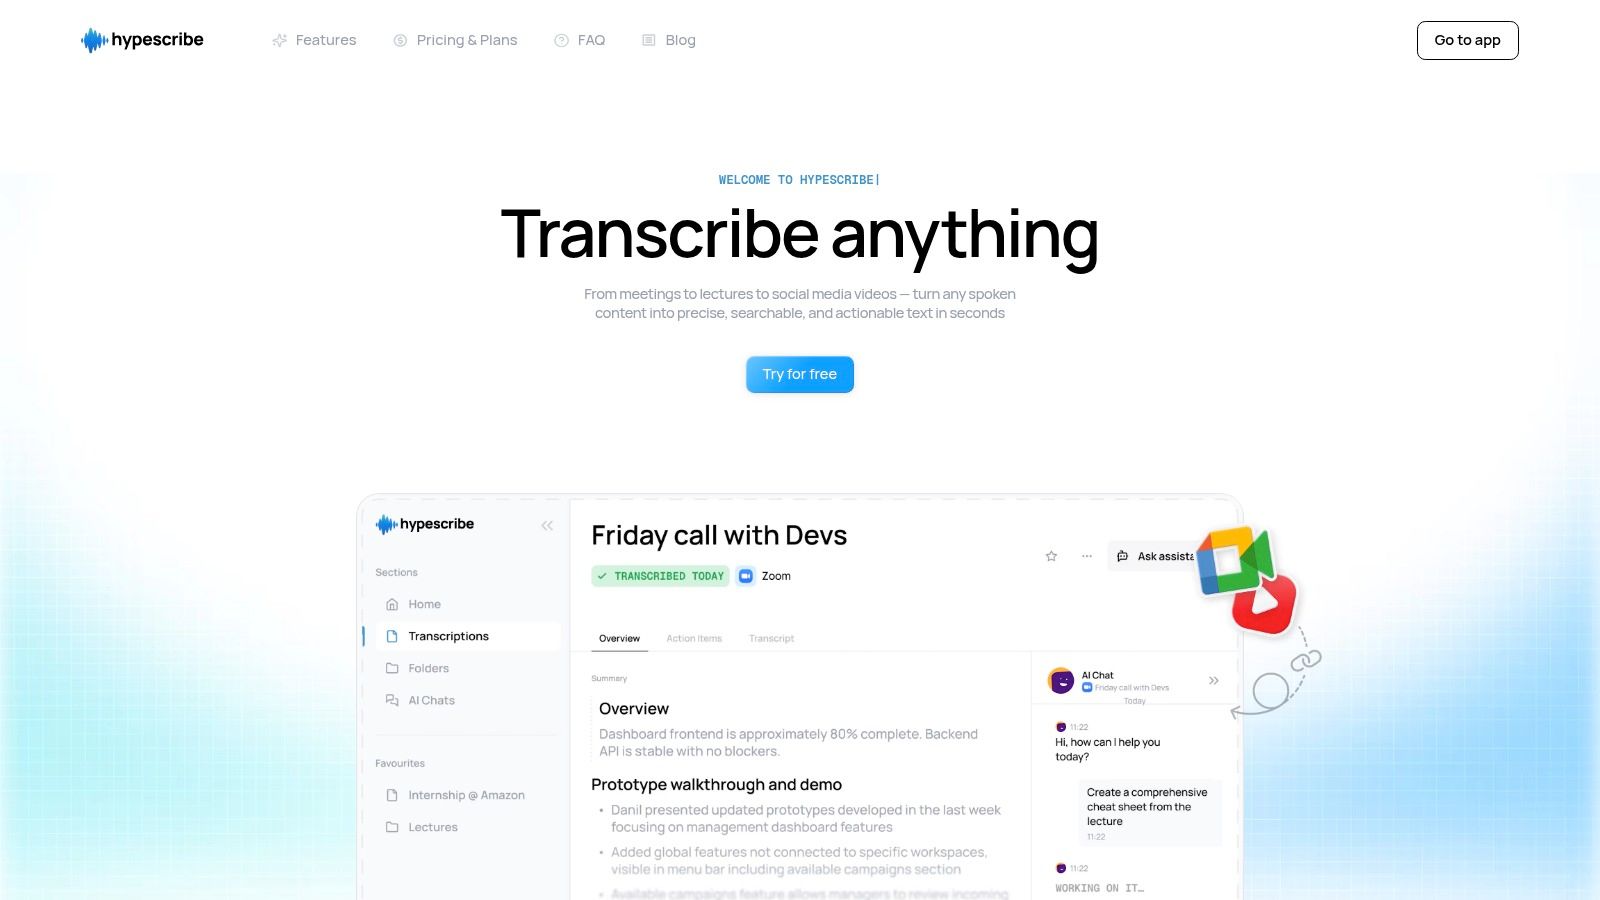
This app for recording meetings shines with its real-time note-taker, which seamlessly integrates with Zoom, Google Meet, and Microsoft Teams. During a live meeting, it not only provides captions but also generates AI-driven summaries, identifies key takeaways, and creates a list of action items. This feature is a game-changer for project managers and team leads, transforming lengthy discussions into concise, structured notes instantly.
Unique Capabilities and Practical Use
What sets HypeScribe apart is its token-based system and an AI chatbot that references your transcripts. The token system allows for unlimited-length transcriptions, processing up to an hour of audio in under 30 seconds. The AI chatbot lets you ask specific questions about your past meetings, like "What were the Q3 marketing budget decisions?" and receive instant, context-aware answers, eliminating the need to re-watch recordings or scan transcripts manually.
- Best For: Hybrid teams, journalists, researchers, and corporate professionals needing fast, accurate transcriptions and intelligent meeting summaries.
- Pricing: Starts with a generous free plan (3 transcriptions/month) and scales to paid plans like Starter, Pro, and Ultra to accommodate higher volumes.
- Standout Feature: The integrated AI chatbot that can be queried for specific information from your entire library of meeting transcripts.
For those interested in the technology behind these features, you can explore more about HypeScribe's auto-transcribe software.
Pros:
- Exceptional transcription accuracy (up to 99%) across 100+ languages.
- Extremely fast processing speeds and support for unlimited-length files.
- Direct integration with major meeting platforms for live note-taking and summaries.
- Robust security features, including encryption and user control over data deletion.
Cons:
- The free tier is limited to three transcriptions per month.
- The token-based pricing model may require some management for new users.
Visit HypeScribe
2. Zoom
As one of the most ubiquitous video conferencing platforms, Zoom’s native recording capabilities make it a default choice for millions. Its strength lies in its familiarity; most people already know how to use the interface, eliminating technical friction. While the free plan offers basic local recording on desktop, the real power is unlocked with paid subscriptions.

Key Features and Use Cases
Paid tiers provide access to cloud recording, which automatically saves files online and generates searchable transcripts. This is invaluable for remote teams needing to review decisions or for educators sharing lectures with students who couldn't attend live. The robust sharing system allows hosts to password-protect recordings or limit access to authenticated users, ensuring security. Its vast ecosystem of integrations means you can pipe recordings directly into platforms like Slack or Google Drive.
- Best For: Teams already using Zoom for daily communication who need a reliable, integrated recording solution.
- Pricing: Free plan includes local recording. Paid plans (starting at $15.99/user/month) are required for cloud recording and advanced features.
- Website: https://www.zoom.com
Pro Tip: Before hitting record, use Zoom’s settings to configure separate audio files for each participant. This gives you much greater control when editing the audio later for a podcast or video highlight reel.
3. Microsoft Teams (Microsoft 365)
For organizations deeply embedded in the Microsoft 365 ecosystem, Teams is the definitive meeting recording tool. Its primary advantage is native integration; recordings are automatically saved to OneDrive or SharePoint, inheriting the organization’s existing security, compliance, and governance policies. This eliminates the need for third-party storage solutions and simplifies access management for internal stakeholders.
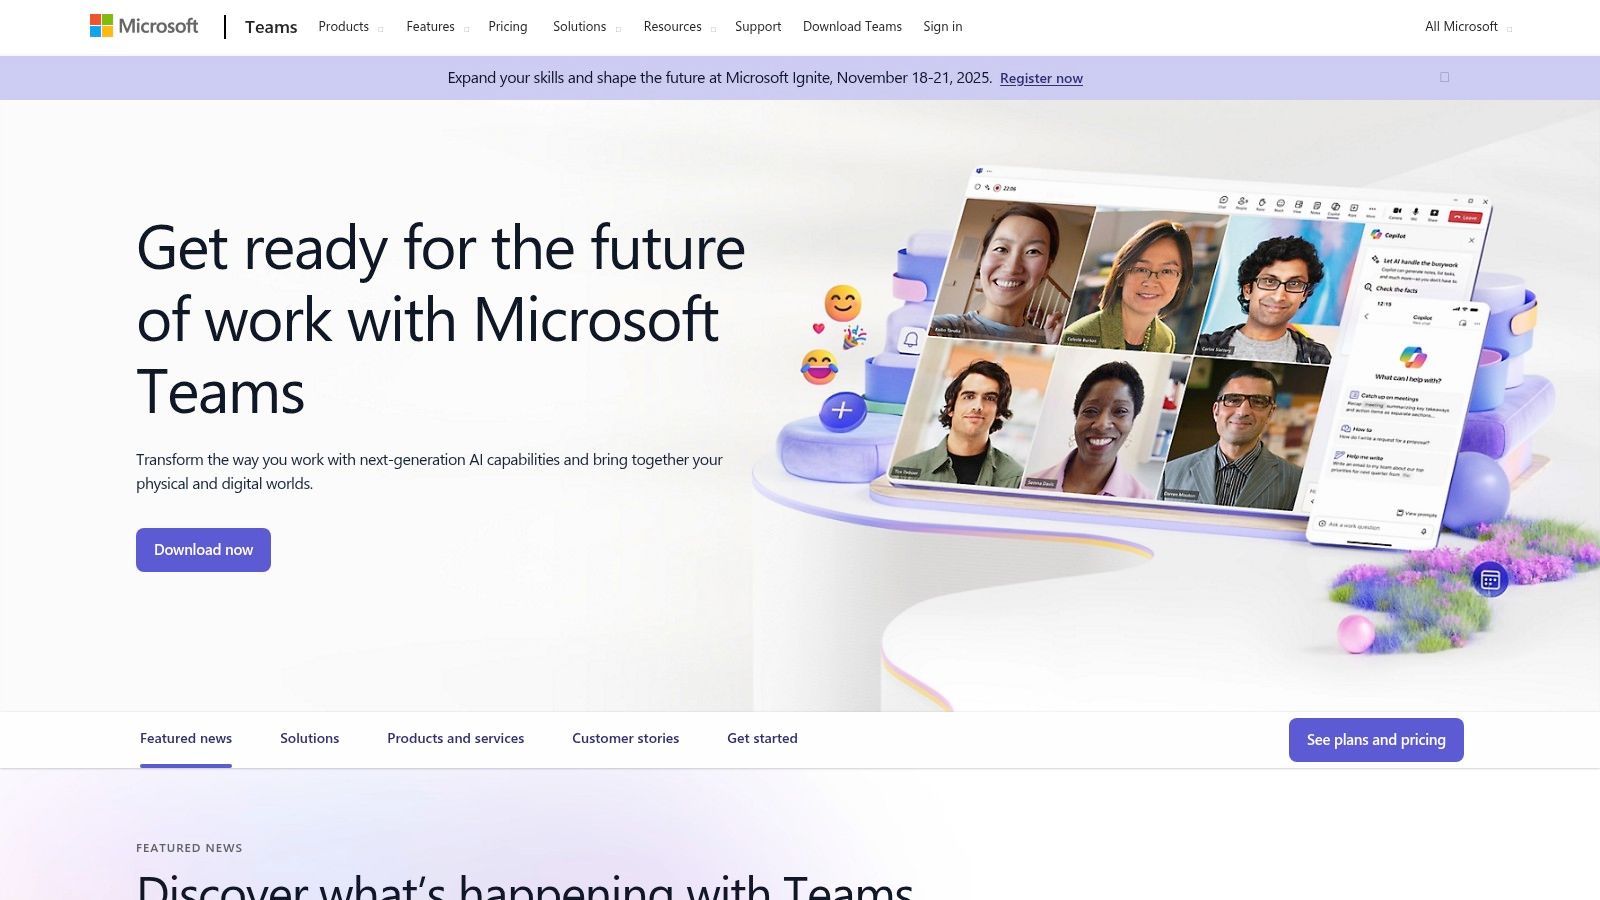
Key Features and Use Cases
Beyond standard recording, Microsoft Teams excels in its structured storage and sharing model. Recordings are treated like any other file in SharePoint, allowing for granular permissions, retention policies, and easy sharing within specific teams or across the company. Depending on the license, users can access automated transcripts and captions, making it easy to search for key topics within a conversation. This is ideal for corporate training sessions, project status updates, and formal committee meetings where documentation is critical.
- Best For: Companies already using Microsoft 365 who need a secure, compliant, and fully integrated meeting recording solution.
- Pricing: Included with Microsoft 365 Business and Enterprise plans (starting at $6/user/month). Advanced transcription features may require higher-tier plans.
- Website: https://www.microsoft.com/microsoft-teams
Pro Tip: Work with your IT administrator to understand the SharePoint or OneDrive retention policies for meeting recordings. This ensures your important files are not automatically deleted after a set period, which is a common default setting in many organizations.
4. Google Meet (Google Workspace)
For teams deeply embedded in the Google ecosystem, Google Meet serves as a seamless and intuitive app for recording meetings. Its primary advantage is its browser-first approach and flawless integration with Google Calendar and Drive, removing the need for separate software installations. While free personal accounts lack recording, eligible Google Workspace subscriptions transform Meet into a powerful documentation tool.

Key Features and Use Cases
The standout feature is how recordings are handled. Once a meeting ends, the video file is automatically processed and saved into a dedicated "Meet Recordings" folder in the host's Google Drive. This simplifies sharing and access control immensely. Higher-tier plans also automatically generate transcripts and attendance reports, which are invaluable for corporate compliance, tracking project updates, or providing accessible lecture notes for students. The simplicity makes it a go-to for organizations that prioritize ease of use over advanced post-call analytics.
- Best For: Organizations using Google Workspace who need a simple, integrated way to record and automatically archive meetings in Google Drive.
- Pricing: Recording is not available on free plans. It's included in paid Google Workspace plans, such as Business Standard (starting at $12/user/month).
- Website: https://workspace.google.com/products/meet/
Pro Tip: Set up your Google Calendar event with a Meet link ahead of time. When the meeting starts, the recording will be automatically associated with that calendar event, making it incredibly easy for all attendees to find later.
5. Otter.ai
Otter.ai goes beyond simple recording, positioning itself as an AI-powered meeting assistant. While it integrates with platforms like Zoom and Google Meet to capture audio, its core strength is its powerful, real-time transcription. This makes it an exceptional tool for situations where the content and dialogue are more important than the video itself, turning spoken words into searchable, actionable text instantly.
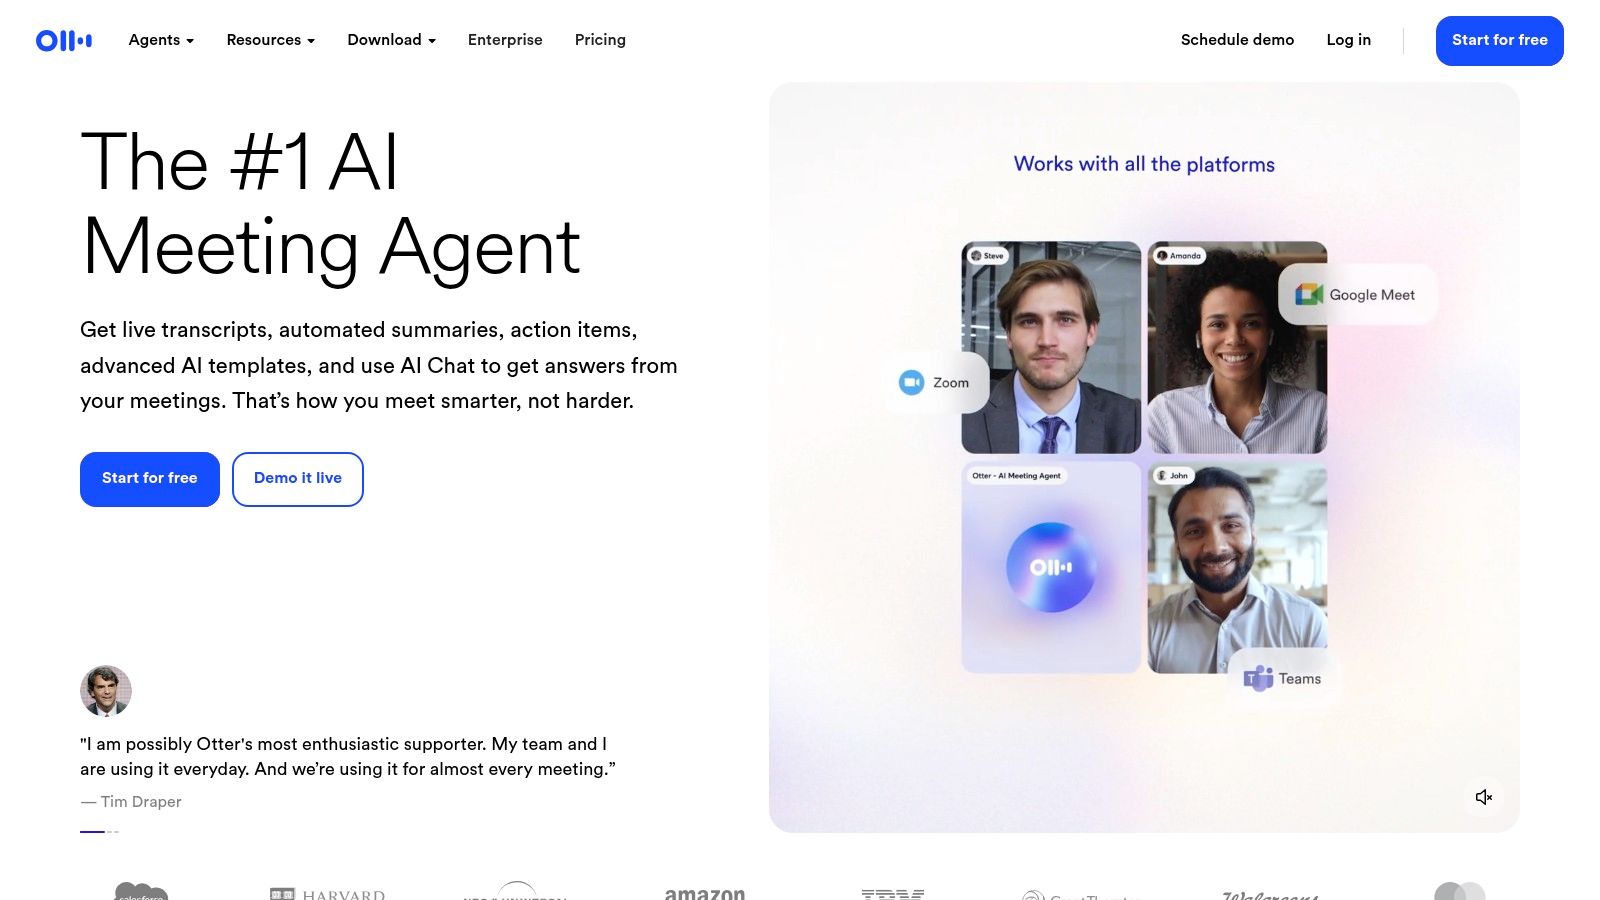
Key Features and Use Cases
The standout feature is the "OtterPilot," an AI bot that can automatically join your calendar meetings to record and transcribe on your behalf, even if you can't attend. After the meeting, it generates an automated summary, outlines key topics, and identifies action items. This is a game-changer for teams looking to create a single source of truth for their discussions without manual note-taking. Users can highlight text, add comments, and share transcripts, creating a collaborative record. Its ability to distinguish between different speakers makes reviewing conversations incredibly efficient. You can explore how it functions as an AI meeting notes taker here.
- Best For: Professionals and teams who need highly accurate transcripts, automated summaries, and a centralized knowledge base from their meetings.
- Pricing: Free plan includes real-time transcription. Paid plans (starting at $16.99/user/month) offer more transcription minutes and advanced features like OtterPilot.
- Website: https://otter.ai
Pro Tip: Train Otter.ai on your specific vocabulary by adding custom terms, names, and acronyms to its dictionary. This significantly improves transcription accuracy for industry-specific or internal jargon.
6. Fireflies.ai
Fireflies.ai functions as an AI meeting assistant rather than a primary video platform, making it a powerful tool for recording meetings across different services. It joins your calls on platforms like Zoom, Google Meet, or Microsoft Teams as a participant to automatically record, transcribe, and analyze the conversation. This "set it and forget it" approach is its biggest differentiator, freeing you from manual note-taking.
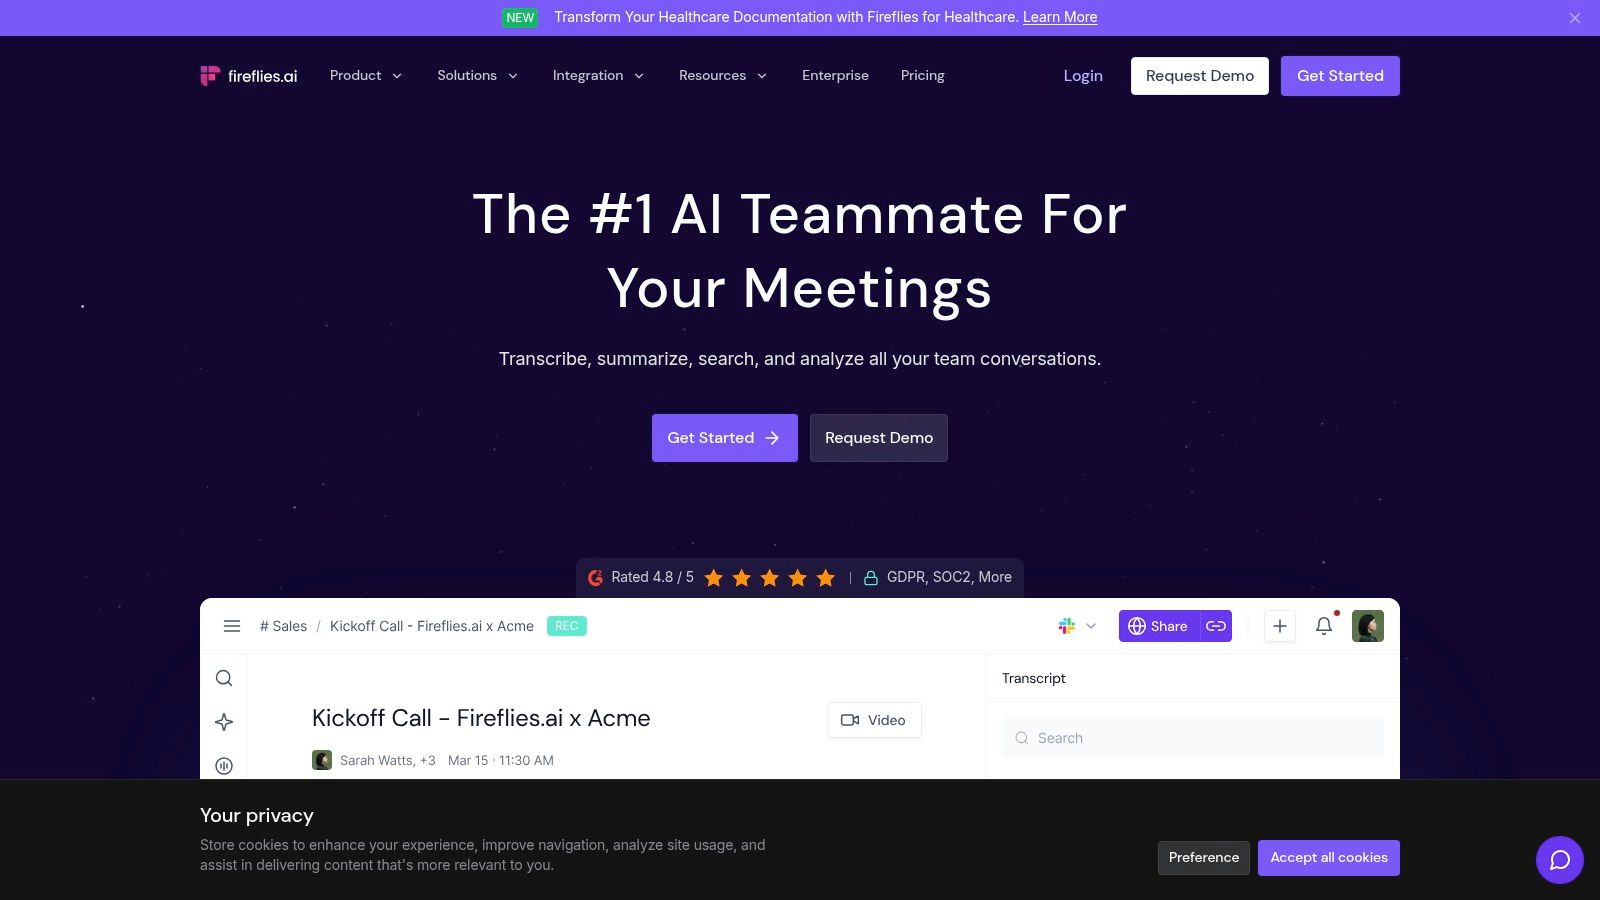
Key Features and Use Cases
The platform excels at turning unstructured conversations into organized knowledge. After a meeting, it delivers a transcript with speaker labels, AI-generated summaries, action items, and other key topics. This is a game-changer for teams needing to document decisions and assign follow-ups without rewatching entire recordings. With over 100 supported languages and integrations into CRMs like Salesforce, it automates workflows by pushing meeting notes directly where they’re needed.
- Best For: Teams wanting to automate note-taking and extract actionable insights from meetings held on various platforms.
- Pricing: Free tier with limited transcription credits. Paid plans start at $10/user/month (billed annually) for more credits, AI summaries, and integrations.
- Website: https://fireflies.ai
Pro Tip: Customize your meeting recap settings to automatically share summaries and transcripts with specific Slack channels or team members. This ensures everyone stays aligned without adding extra manual steps to your post-meeting process.
7. Sembly AI
Sembly AI goes beyond simple recording by acting as an intelligent meeting assistant. This platform joins your calls on platforms like Zoom, Google Meet, and Teams, providing not just a recording but AI-generated summaries, detailed notes, and action items. This makes it an exceptional choice for teams focused on productivity and eliminating manual note-taking.

Key Features and Use Cases
The core strength of Sembly AI is its post-meeting analysis. The "Meeting Notes" feature automatically creates a structured summary, while "Tasks" identifies action items and assigns them. This is a game-changer for project managers tracking deliverables and for consultants needing to provide clients with clear follow-ups. The Team+ plan introduces shared workspaces and analytics, offering insights into meeting topics and team participation trends. It also supports multiple languages, making it suitable for global teams.
- Best For: Teams that want to automate meeting documentation and extract actionable insights without manual effort.
- Pricing: Free plan available. Paid plans start at $10/month for unlimited online recordings and additional features.
- Website: https://www.sembly.ai
Pro Tip: Use the "Sembly for Teams" feature to create a centralized, searchable knowledge base from all your recorded meetings. This helps new team members get up to speed quickly and ensures valuable institutional knowledge isn't lost.
8. Avoma
Avoma positions itself as an intelligent meeting assistant, moving beyond simple recording to offer AI-powered analysis and workflow automation. It serves as a comprehensive tool that also transcribes, summarizes, and extracts key insights automatically. This makes it a powerful choice for sales teams, customer success managers, and anyone looking to turn conversations into actionable data.
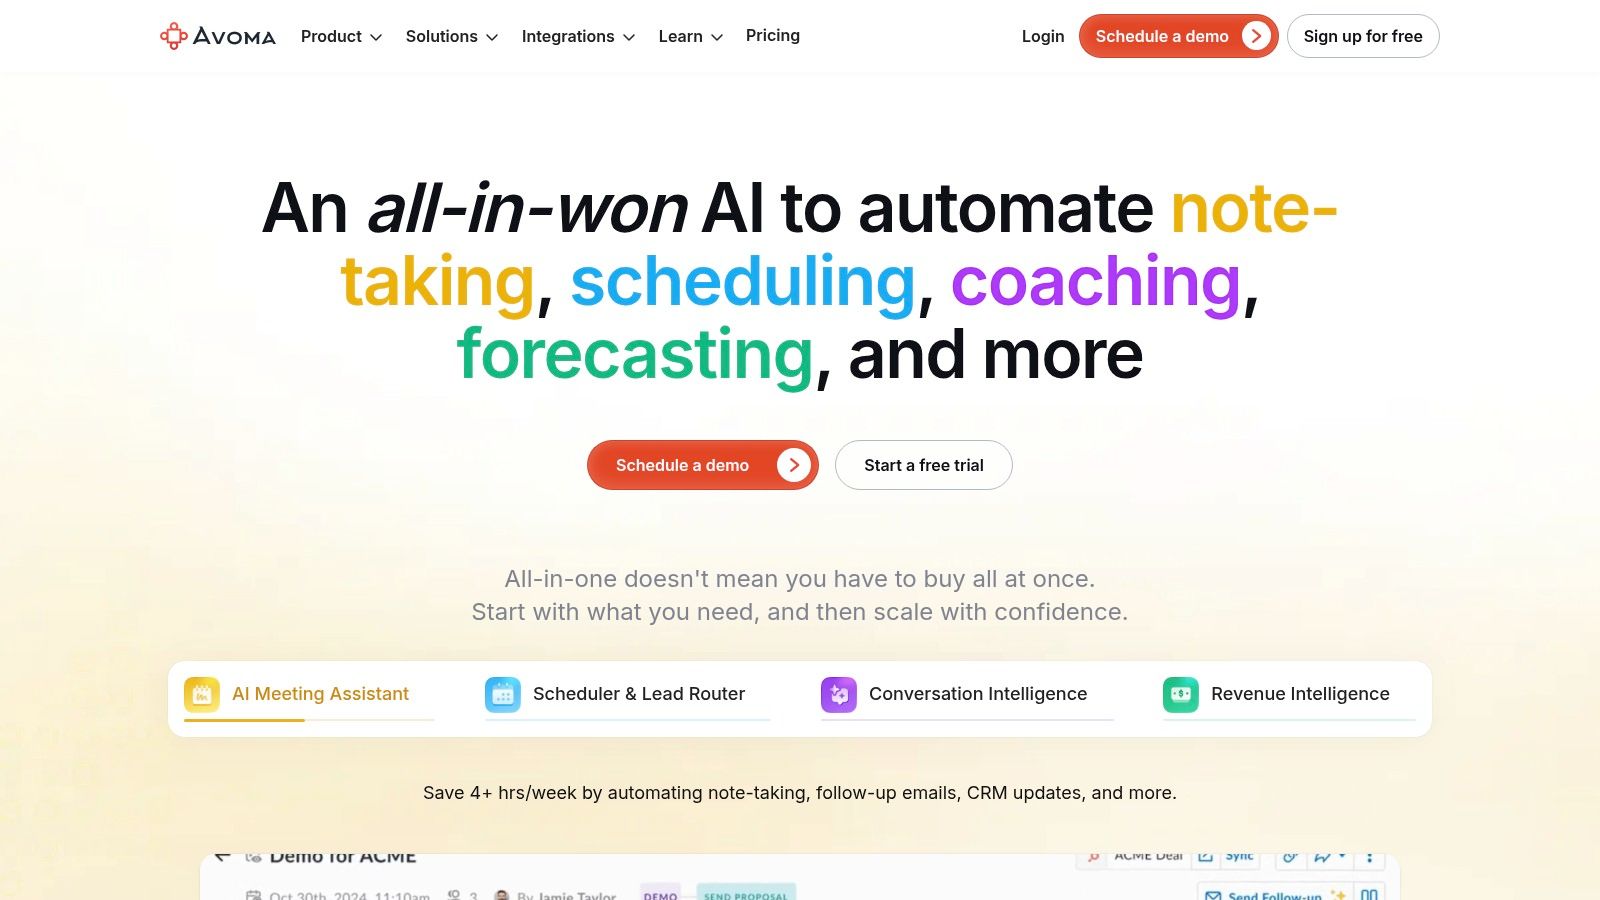
Key Features and Use Cases
Avoma's core strength lies in its AI-generated summary notes, which are automatically categorized into action items, decisions, and key topics. It syncs this data directly into your CRM, saving significant administrative time. The platform's add-ons for Conversation and Revenue Intelligence provide deep analytics on talk patterns, keyword trends, and competitor mentions, making it invaluable for coaching and strategy. Free view-only seats allow stakeholders across the organization to review meeting outcomes without needing a full license.
- Best For: Sales and customer-facing teams who need to analyze conversations, automate note-taking, and sync insights with their CRM.
- Pricing: Starts with a Free plan. Paid plans begin at $24/user/month, with advanced intelligence features available as paid add-ons.
- Website: https://www.avoma.com
Pro Tip: Leverage Avoma's coaching scorecards to create a standardized framework for reviewing sales calls or customer support interactions. This helps ensure consistent feedback and accelerates team development. For more on this, you can learn about how AI transforms meeting minutes.
9. Supernormal
Supernormal positions itself as an intelligent tool that focuses on transforming conversations into structured, actionable notes. Rather than just storing a video file, its core function is to use AI to automatically generate summaries, action items, and key takeaways from calls on Google Meet, Zoom, and Microsoft Teams. This makes it ideal for teams who need to move quickly from discussion to execution.
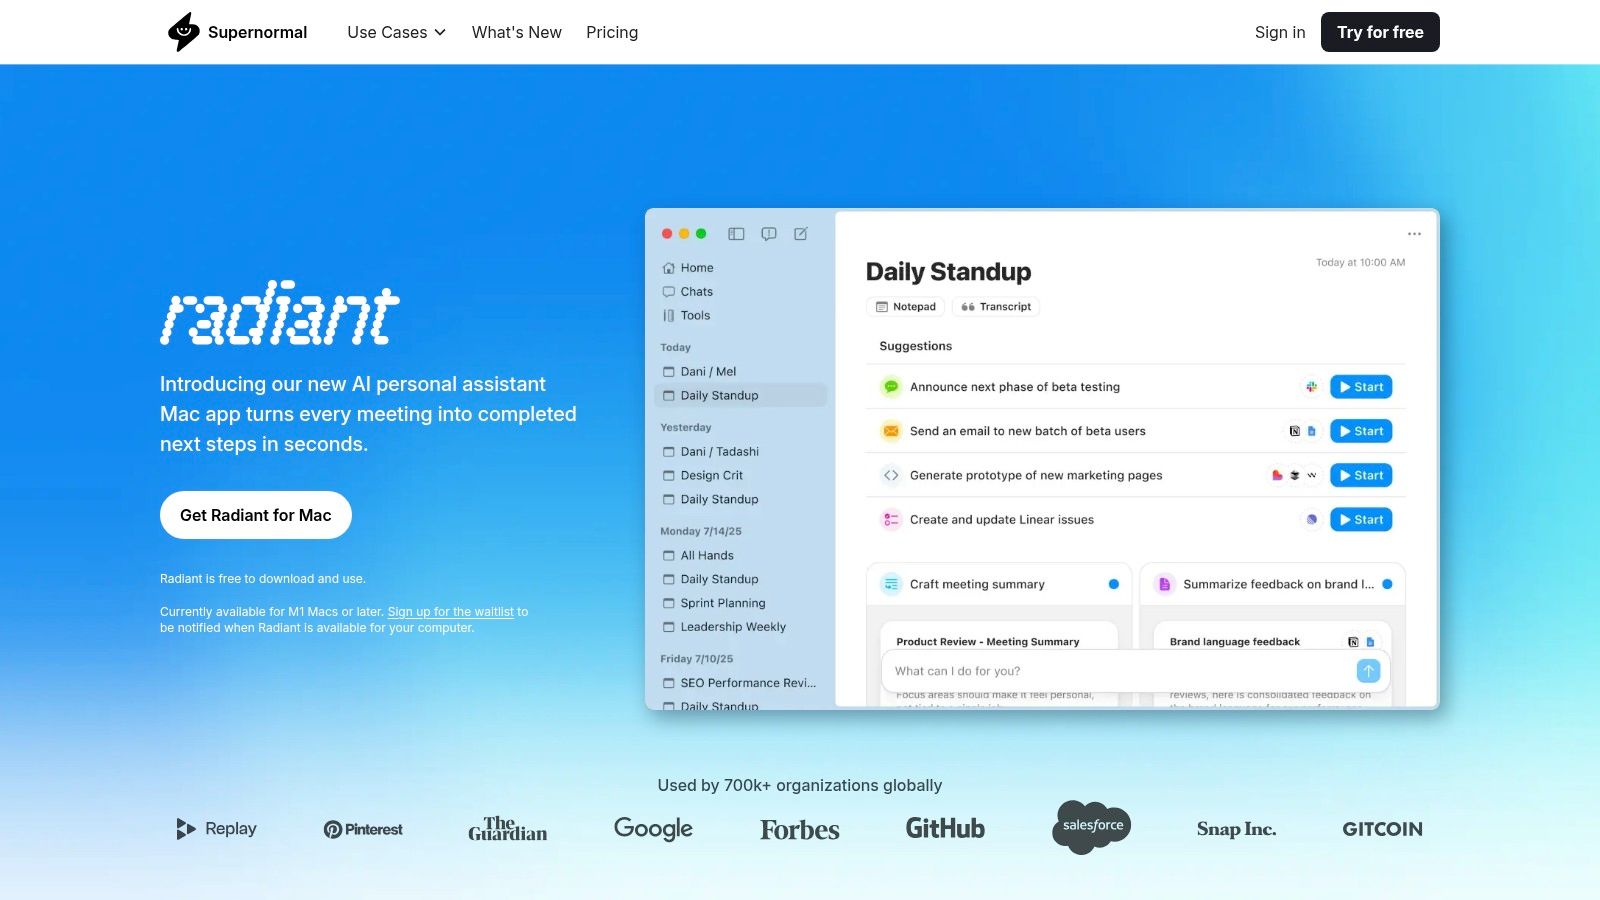
Key Features and Use Cases
The platform's standout feature is its customizable templates, allowing teams to pre-define the structure of their meeting notes for specific purposes like user interviews, sprint planning, or sales calls. This ensures consistency and saves significant time on manual formatting. For growing organizations, the Business plan offers crucial team administration tools and sharing controls, making knowledge management more secure and streamlined. The clean user experience is designed for quick note retrieval and sharing.
- Best For: Teams that prioritize structured, AI-generated notes and action items over simple video recordings.
- Pricing: A free plan is available. Paid plans with unlimited storage and advanced features start at $19/user/month.
- Website: https://www.supernormal.com
Pro Tip: Spend time setting up custom templates for your recurring meeting types before you start recording. This small upfront effort will dramatically increase the value and consistency of the AI-generated notes for your entire team.
10. Fathom
Fathom positions itself as an intelligent AI meeting assistant rather than just a simple recording tool. It joins your calls on platforms like Zoom, Google Meet, or Microsoft Teams to not only record but also transcribe and summarize the conversation in real-time. This makes it a powerful option for those who want to automate their post-meeting workflow and focus entirely on the discussion at hand. Its standout feature is the incredibly generous free plan for individuals.
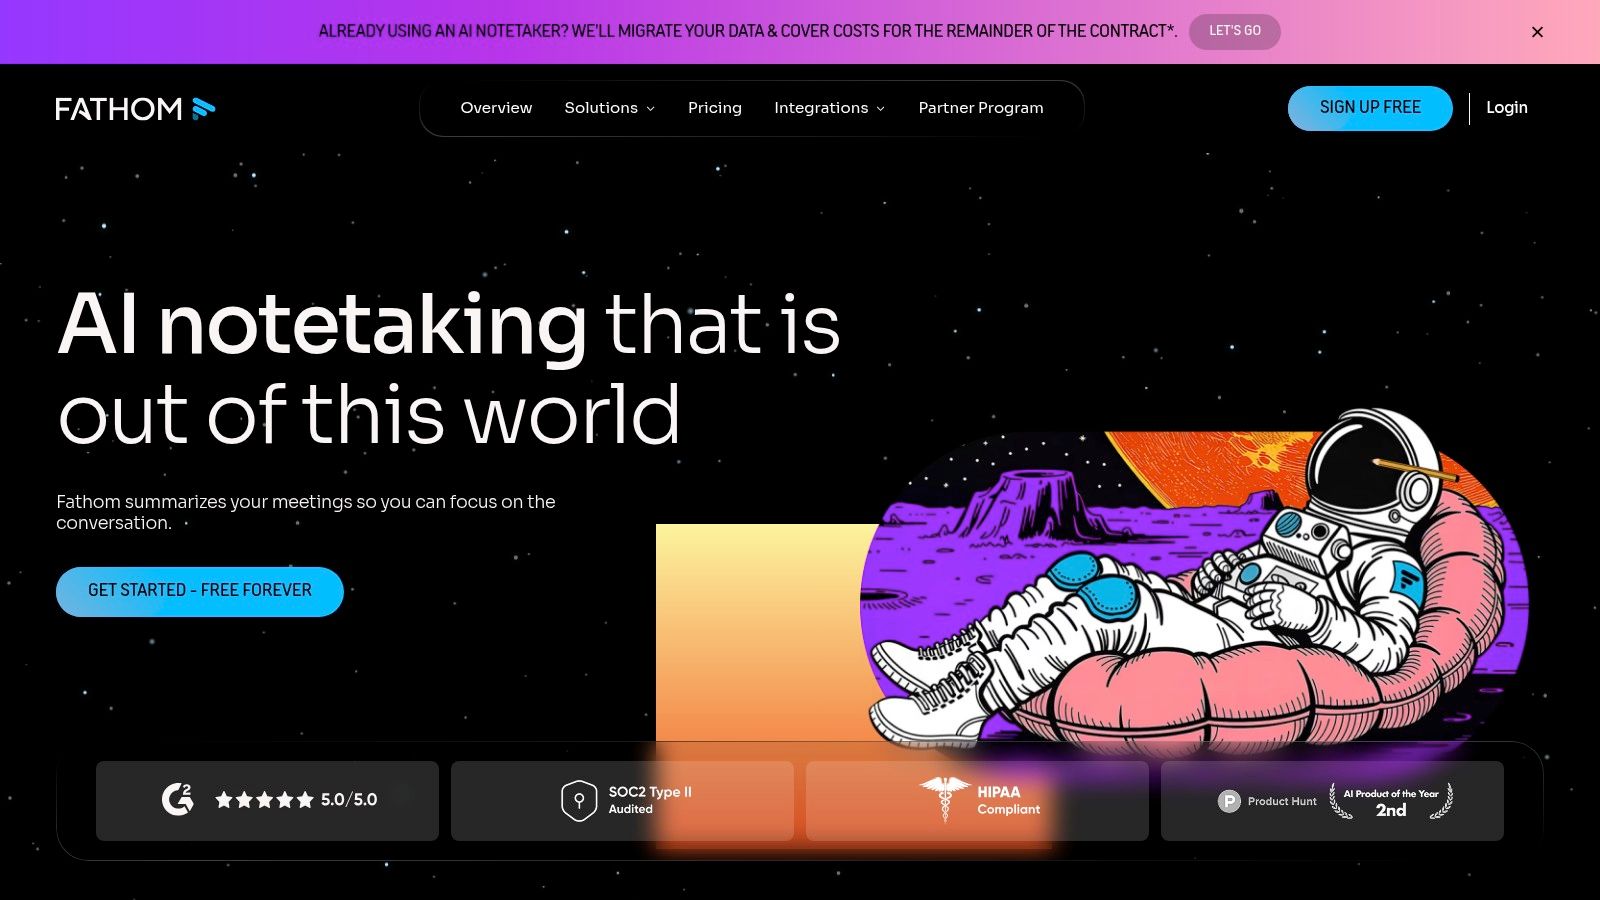
Key Features and Use Cases
Fathom automatically generates summaries, action items, and key highlights from your call, which can be instantly pushed to CRMs like Salesforce and HubSpot or productivity tools like Slack and Asana. This is a game-changer for sales teams logging client interactions or project managers tracking follow-up tasks. Team features on paid plans introduce collaborative workspaces with shared folders and custom summary templates, ensuring consistency across an organization.
- Best For: Individuals and sales teams who need to automate note-taking and streamline post-meeting administrative tasks.
- Pricing: A robust free plan is available for individuals. Paid team plans (starting at $24/user/month) add advanced CRM sync, team features, and deeper analytics.
- Website: https://www.fathom.ai
Pro Tip: During your call, click the Fathom interface to bookmark important moments. This helps the AI identify key highlights and makes it significantly faster to create shareable video clips of crucial decisions or customer feedback afterward.
11. Grain
Grain positions itself as a storytelling tool for meetings, going beyond simple recording to help teams capture, clip, and share key moments. It's an excellent app for recording meetings when the goal is to extract and distribute insights rather than just store a full-length video. It automatically joins your calls, transcribes them, and uses AI to generate concise summaries, making post-meeting workflows incredibly efficient.
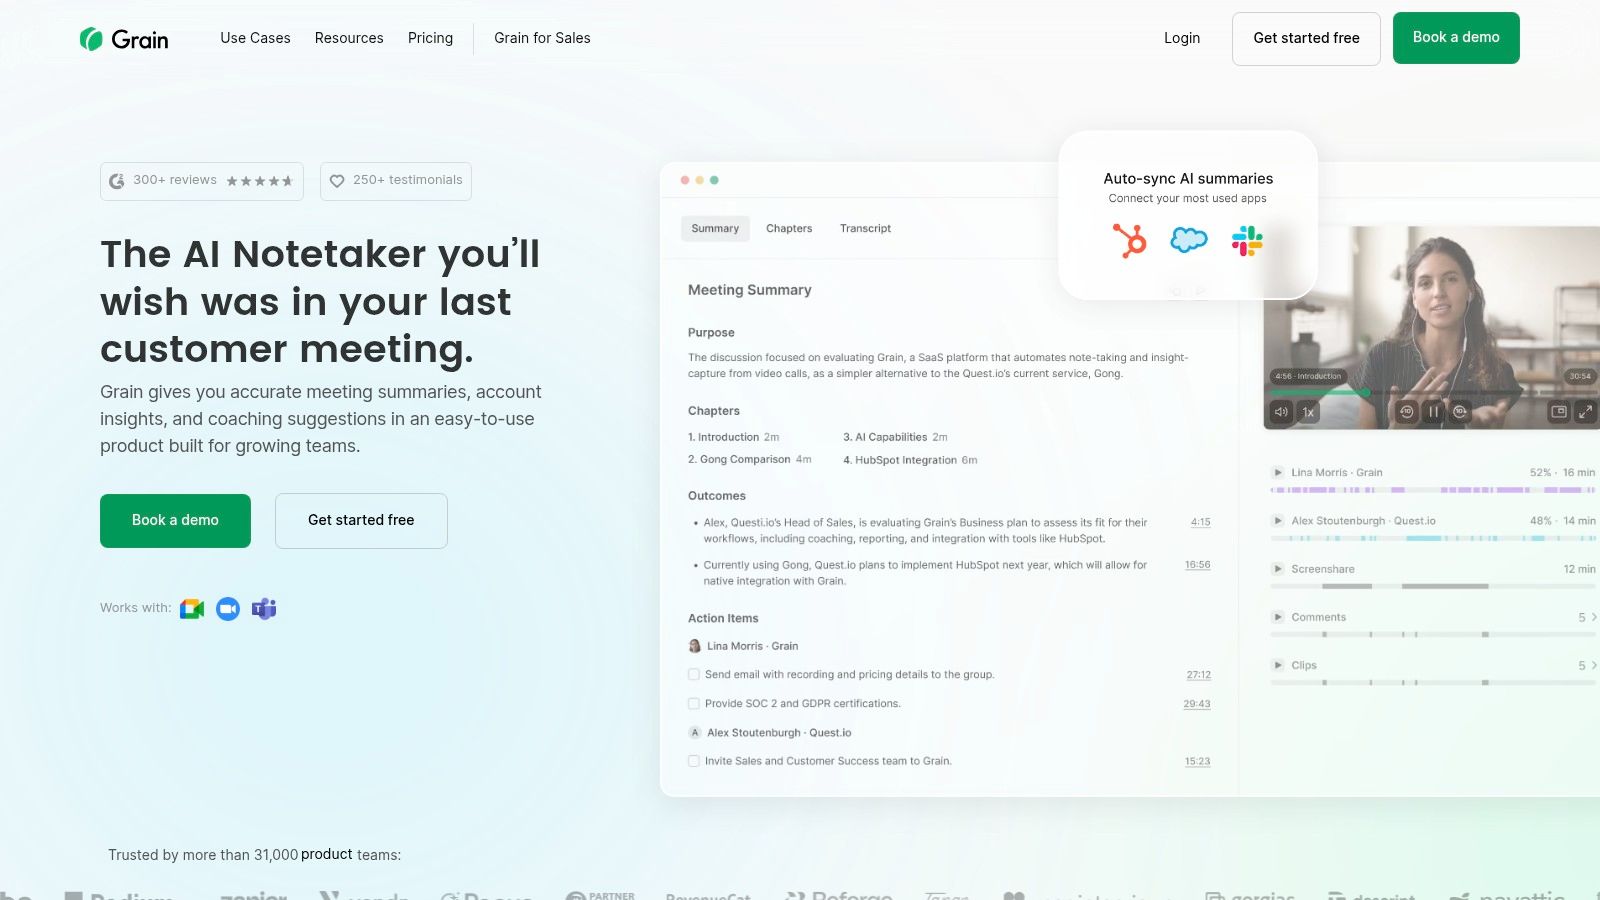
Key Features and Use Cases
Grain’s core strength is its highlight-clipping and "Stories" feature, which lets you stitch multiple video clips together to create a narrative. This is perfect for sales teams sharing customer feedback with product managers or for HR professionals creating training reels from past onboarding sessions. The platform also syncs with CRMs like Salesforce and HubSpot, automatically enriching contact records with meeting notes and key moments. This direct integration turns conversations into actionable data without manual entry.
- Best For: Sales, customer success, and product teams focused on sharing customer voice and collaborative insights.
- Pricing: A free plan with basic features is available. Paid plans with advanced AI and integrations start at $19/user/month.
- Website: https://grain.com
Pro Tip: Use Grain's "bot-less" recording option when you want to capture the meeting discreetly without a visible "Grain Notetaker" participant, which is ideal for more sensitive client conversations.
12. Notta
Notta positions itself as a powerful AI meeting assistant, transforming spoken conversations from platforms like Zoom, Teams, and Google Meet into structured, searchable text. This tool excels at live transcription and speaker identification, making it a go-to for teams that need accurate notes in real-time. It acts as a bot that joins your call, ensuring every word is captured without distracting participants.
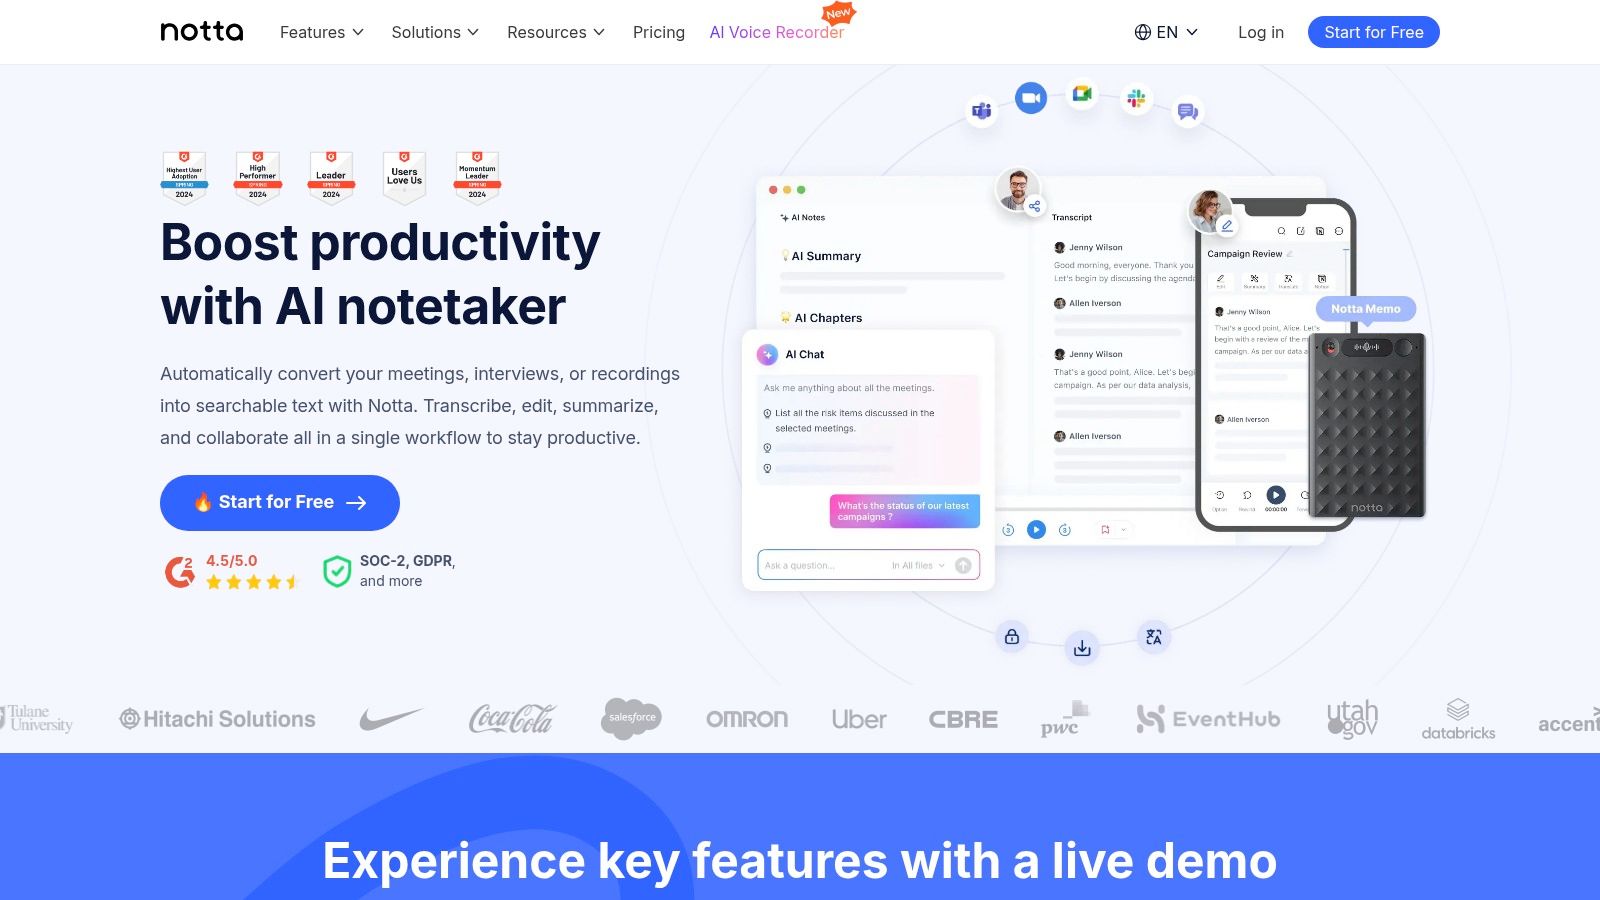
Key Features and Use Cases
Beyond simple transcription, Notta generates AI-powered summaries, action items, and key takeaways, saving hours of manual review. Its strength lies in organization; users can create customizable templates to standardize meeting notes across an entire organization. For teams needing a full visual record, the Business+ plan adds video recording capabilities. The included Chrome extension and cloud storage make it easy to record, manage, and share meeting assets securely.
- Best For: Teams and individuals who prioritize highly accurate transcriptions and AI-generated summaries over basic video recording.
- Pricing: Free plan available with short per-recording limits. Paid plans (starting from $13.99/user/month) offer higher quotas, video recording, and advanced features.
- Website: https://www.notta.ai
Pro Tip: Use Notta’s customizable templates before a recurring meeting, like a weekly sales sync or project check-in. This ensures your AI summaries are consistently structured and highlight the specific information your team needs every time.
Meeting Recording Apps Feature Comparison
PlatformCore Features/CharacteristicsUser Experience & Quality ★Value & Pricing 💰Target Audience 👥Unique Selling Points ✨🏆 HypeScribe100+ languages, token-based unlimited transcriptionUp to 99% accuracy, lightning-fastFree trial + scalable Starter, Pro, UltraTeams, journalists, educators, influencersReal-time Zoom/Meet/Teams integration, AI chatbot, encryptedZoomVideo meetings, local & cloud recording, searchable transcripts (paid)Reliable, enterprise scale ★★★★☆Free & paid plans, storage limitsBusinesses, schoolsWidely known, strong integrationsMicrosoft TeamsMeeting & webinar recording, OneDrive/SharePoint storageSeamless for MS365 users ★★★★☆Included in Microsoft 365 subscriptionsEnterprises, organizationsEnterprise security, admin controlsGoogle MeetBrowser-based, cloud recording for Workspace tiersSimple, integrates with Drive ★★★☆☆Premium Google Workspace plansBusinesses using Google WorkspaceTight Google ecosystem integrationOtter.aiReal-time transcription, speaker ID, AI summariesGood balance of accuracy & speed ★★★★☆Value plans for individuals & teamsIndividuals, teamsCalendar-aware bot, mobile appsFireflies.aiMulti-platform recording, AI summaries, team analyticsFlexible capture, strong summaries ★★★★☆Tiered plans with limitsSolo users to enterprisesCRM & Slack integrations, conversation intelligenceSembly AIOnline meeting recorder, AI notes/tasks, team workspacesCompetitive pricing ★★★☆☆Unlimited recording with paid plansTeams needing collaborationAutomation, team analyticsAvomaAutomatic recording, AI notes, CRM syncTransparent seat pricing ★★★☆☆Modular add-ons for intelligenceSales, customer success teamsRevenue & conversation intelligence add-onsSupernormalOne-click recording, AI notes, templatesClean UX, unlimited storage (paid) ★★★☆☆Simple paid plansGrowing teamsCustomizable templates, admin controlsFathomAuto-transcribe, AI summaries & action itemsGenerous free tier ★★★☆☆Free, team & business tiersIndividual users & teamsHighlight clips, CRM syncGrainAuto-recording, clip creation, AI notesStrong storytelling tools ★★★☆☆Evolving pricingTeams needing highlight sharingPlaylists, “stories,” CRM syncNottaLive transcription, video recording (paid), AI summariesCompetitive pricing ★★★☆☆Free plan with limits, Pro & BusinessIndividuals & businessesChrome extension, speaker ID
Stop Taking Notes, Start Driving Action
We've explored a comprehensive landscape of tools, from dedicated AI assistants like HypeScribe and Fireflies.ai to the built-in recording functions of giants like Zoom and Microsoft Teams. The central lesson is clear: the modern app for recording meetings is no longer just a passive recording device. It's an active participant that transforms spoken words into a structured, searchable, and actionable knowledge base for your entire organization.
The most significant shift this technology offers is the freedom to be fully present. Instead of frantically typing notes and worrying about missing a key detail, your team can engage in creative problem-solving and genuine collaboration, confident that an accurate record is being created automatically. This single change can dramatically improve the quality and outcome of every conversation.
How to Choose the Right Meeting Recorder for Your Needs
Selecting the perfect tool from this list requires moving beyond feature comparisons and focusing on your specific operational needs. Your decision-making process should be guided by a clear understanding of your primary use case.
To help you narrow down the options, consider these key questions:
- What is your primary goal? Are you looking for simple, high-fidelity transcription (like Otter.ai), or do you need deep conversation intelligence and sales coaching analytics (like Avoma)? Defining this will eliminate half the options immediately.
- Where do you work? Your existing tech stack is a critical factor. If your team lives in Google Workspace, a tool with deep Google Meet and Calendar integration like Grain is a natural fit. For Microsoft-centric organizations, leveraging the native Teams recording and transcription features might be the most seamless starting point.
- What is your budget? Your financial constraints will guide you toward the right tier. Free tools like Fathom offer incredible value for individuals and small teams, while enterprise-grade platforms provide advanced security, integrations, and support that justify their cost.
- Who is the end-user? A tool for a solo researcher (like Notta) has different requirements than a tool for a large sales team. Consider the technical skill and daily workflow of the people who will be using the app.
The ultimate test is a real-world trial. Nearly every app for recording meetings reviewed here offers a free plan or a trial period. Choose two or three top contenders based on your needs and run them in parallel for a week. This hands-on experience is the only way to truly understand which platform best integrates with your workflow and delivers the most value. By investing this time upfront, you ensure the tool you choose becomes an indispensable asset, not another forgotten subscription.
The future of work is not about attending more meetings; it's about extracting more value from the ones we have. By implementing the right recording and intelligence platform, you are not just capturing conversations-you are building a collective intelligence that fuels smarter decisions, ensures accountability, and drives your entire team forward.
Ready to see how an AI-powered platform can transform your meetings from simple conversations into strategic assets? HypeScribe goes beyond basic recording and transcription to deliver advanced summaries, speaker analysis, and actionable insights that save you time and drive results. Start your free trial today and experience the future of meeting productivity with HypeScribe.
Related reading


