How to Trim an MP4 Video: A Step-by-Step Guide for 2026
You’ve probably got a long MP4 open right now that contains one useful stretch and a lot of dead weight. A lecture with ten important minutes. A meeting recording with one decision you need on the record. An interview where only a few answers matter for notes, quotes, or transcription.
That’s why learning how to trim an MP4 video matters. The hard part usually isn’t making a cut. It’s making the right cut, with clean audio, stable sync, and no unnecessary quality loss before the file goes into an AI transcription workflow.
A fast trim is easy. A precise trim that preserves the original file’s integrity takes a little more care. The difference shows up later, when words get clipped, speech starts half a beat too early, or an online tool re-encodes your upload in the background and softens the audio.
Why Trimming Your MP4 Is a Critical First Step
You trim first because long recordings hide the useful part.
A client call might contain four minutes of greetings before the core decision. A lecture recording might include screen-sharing setup, side comments, and a Q&A that has nothing to do with the concept you need transcribed. If the goal is AI transcription, sending the whole file wastes time and often lowers the quality of the result you get back.
The problem is not file length by itself. The problem is irrelevant audio.
Transcription systems perform better when the clip starts near the first meaningful sentence and ends after the last one, with a little context on both sides. That gives you cleaner speaker turns, fewer partial words at the boundaries, and less junk text from room noise, chatter, or dead air. For researchers, students, and professionals working from interviews, meetings, lectures, or field recordings, that extra precision matters more than shaving off a few megabytes.
Trimming isolates the part that deserves attention
A good trim turns one broad recording into a file with a single job.
- Professionals: isolate the decision, approval, or objection from a meeting before sending it for notes or documentation.
- Students: keep the exact explanation, example, or exam review segment instead of processing a full class recording.
- Researchers and journalists: extract one answer, one observation, or one exchange without unrelated discussion around it.
- Course creators and trainers: remove false starts, pauses, and setup talk so the transcript reflects the actual lesson.
I usually leave a small buffer before the first spoken word and after the last one. That protects the first and last syllables, which are the easiest parts to lose in an aggressive cut and the hardest parts for transcription software to recover.
Trim choices affect audio clarity and sync
This is the part many how-to guides skip. Trimming is not only about shortening a clip. It is also about deciding whether the file stays close to the original or gets exported again.
Some tools perform a simple cut near the original media structure. Others re-encode the entire file when you save. Re-encoding can be acceptable for casual sharing, but it often introduces small losses that matter in transcription workflows, especially if the source already came from a phone, screen recording, or web meeting. Audio can soften. Sync can drift. Cut points can land awkwardly between spoken sounds.
MP4 is the standard container you will handle most often, as the format is widely used across phones, desktop editors, cameras, lecture capture tools, and online platforms. That makes trimming a routine skill, not a one-off fix. The best habit is to preserve the original recording, make a clean trimmed copy, and avoid unnecessary exports before upload.
For transcription work, the best trim is usually the one that removes distractions while keeping the media intact enough for clear speech analysis. That balance saves time now and prevents cleanup later.
Quickly Trim MP4s with Built-in Desktop and Mobile Tools
You finish recording a lecture, interview, or meeting, then notice the first 20 seconds are laptop fumbling and the last 15 are someone saying goodbye off mic. Built-in tools are often the fastest way to remove that waste before sending the file for transcription.

For this kind of cleanup, speed matters more than editing depth. Default apps on Windows, macOS, iPhone, and Android let you open the MP4, set new in and out points, preview the cut, and save a shorter copy in under a minute. If the clip only needs obvious trimming at the head or tail, that is usually enough.
What the built-in workflow looks like
The process stays pretty consistent across devices:
- Open the MP4 in the default video or photos app.
- Choose Edit or Trim.
- Drag the start and end handles to keep the useful portion.
- Preview the result with headphones if speech clarity matters.
- Save as a new clip.
That last step matters. Keep the original file untouched so you can return to it if the trim cuts too close to the first or last spoken word.
Windows, Mac, iPhone, and Android
On Windows, the practical options are usually Photos or Clipchamp, depending on which app opens the file on your system. Microsoft positions Clipchamp as its built-in video editor for Windows and web workflows, and its own product documentation shows trimming is one of the core edit actions for quick cleanup before export. For a broader roundup of creator-friendly options beyond the default apps, this best tools for content creators guide is a useful reference.
On macOS, QuickTime Player stays hard to beat for a fast single cut. Open the file, choose Edit > Trim, move the yellow handles, preview once, and save. I use QuickTime when the cut is obvious and I do not need to inspect the audio in detail.
On iPhone, open the video in Photos, tap Edit, drag the handles on the timeline, and save the result as a new clip. On Android, the labels vary by device maker, but the default Gallery or Photos app usually offers the same edge-handle trimming workflow.
Comparison of Built-in Video Trimming Tools
| Tool | Platform | Best For | Key Limitation |
|---|---|---|---|
| Photos | Windows | Fast start/end trims on a local file | Limited precision |
| Clipchamp | Windows | Quick edits with slightly more control than a viewer app | Export settings may add complexity for a simple cut |
| QuickTime Player | macOS | Clean single trims without extra setup | Basic editing only |
| Photos app | iPhone | Trimming clips right after recording | Minimal timeline detail |
| Gallery or Photos app | Android | Quick cleanup before sharing or upload | Interface varies by device |
Built-in tools work best when the cut points are obvious.
They are a good fit for tasks like these:
- Removing dead air before a speaker starts.
- Cutting off a trailing recap or side conversation after the useful content ends.
- Saving a short excerpt for a teammate, student group, or research assistant.
- Cleaning a phone recording before sending it to a transcription service.
Where built-in tools start to break down
The limits show up fast when a transcript needs to match spoken content closely. These apps rarely show a detailed waveform, so it is harder to cut around breaths, clipped consonants, or low-volume speech. They also do not always make their save behavior obvious, which matters if you are trying to preserve audio quality and sync for AI transcription.
That trade-off is the core story here. Built-in apps are fast, convenient, and already installed. They are less reliable when a professor starts speaking half a second before the visible cue, when an interview answer begins under room noise, or when a research clip has to start exactly at the first usable sentence.
If you expect to make frequent trims and want more control without paying for a pro suite, a practical guide to free video editing can help you choose the next step.
Gain More Precision with Free Video Editing Software
Built-in trimmers are fine for obvious cuts. They start to miss when a transcript has to begin on the first usable word, not half a breath late.

What changes when you move to a real editor
A proper editor gives you timeline zoom, frame-level scrubbing, and an audio waveform you can read. That combination is what makes clean transcription prep possible. You can see where a consonant begins, where room tone drops, and where a speaker trails off instead of guessing from thumbnails.
Editors that support detailed timeline zoom and waveform-based trimming make it much easier to avoid cutting into speech or leaving extra dead air. In practice, that means fewer clipped openings, cleaner sentence endings, and less transcript cleanup later. The Filmora trimming guide and benchmark summary shows the kind of precision these tools are built for, even if your final tool choice is different.
Free tools worth knowing
Brand matters less than the editing model.
- Lossless cutters: tools like LosslessCut are a strong fit when you want to keep the original audio and video streams intact.
- Traditional free editors: apps like Shotcut give you a full timeline, multiple tracks, and more detailed preview control.
- Freemium editors: Filmora and similar apps often make trim points easier to place visually, though some export options or advanced features may sit behind paid tiers.
If you want a broader shortlist before choosing one, this practical guide to free video editing is a useful companion resource.
How to trim with more precision
The method is straightforward, but the details matter:
- Import the MP4.
- Place it on the timeline.
- Zoom in until the waveform shows clear speech peaks.
- Set the start point just before the first intended word, not on top of it.
- Set the end point after the final word finishes naturally.
- Preview the first second and last second with headphones before saving or exporting.
That last check saves a lot of bad clips. I usually listen for clipped consonants at the front and swallowed final syllables at the end, because both mistakes hurt AI transcription more than editors expect.
For interviews, lectures, and research recordings, the waveform is often the most reliable guide. It exposes breaths, false starts, and low-volume words that are easy to miss in the picture.
Lossless versus exported edits
This choice affects transcription quality more than the interface does. Some free editors require a full export, which can recompress the file and soften speech detail. Others let you save a trimmed segment without re-encoding, which is better when the recording is headed to AI transcription and audio clarity needs to stay intact.
Use a standard editor if you need visual control, rough cleanup, or a few manual adjustments around the cut points. Use a lossless tool if your source is already good and the goal is to extract an exact segment without touching quality or sync.
For people comparing editing, clipping, and transcription-ready workflows, this roundup of tools for content creators is a practical place to continue.
Use FFmpeg for The Fastest Lossless MP4 Trimming
If you trim video often, FFmpeg is hard to beat. It skips the GUI, works across major desktop platforms, and handles MP4 trimming with a level of speed and control that timeline editors rarely match for repetitive jobs.
The command that matters most
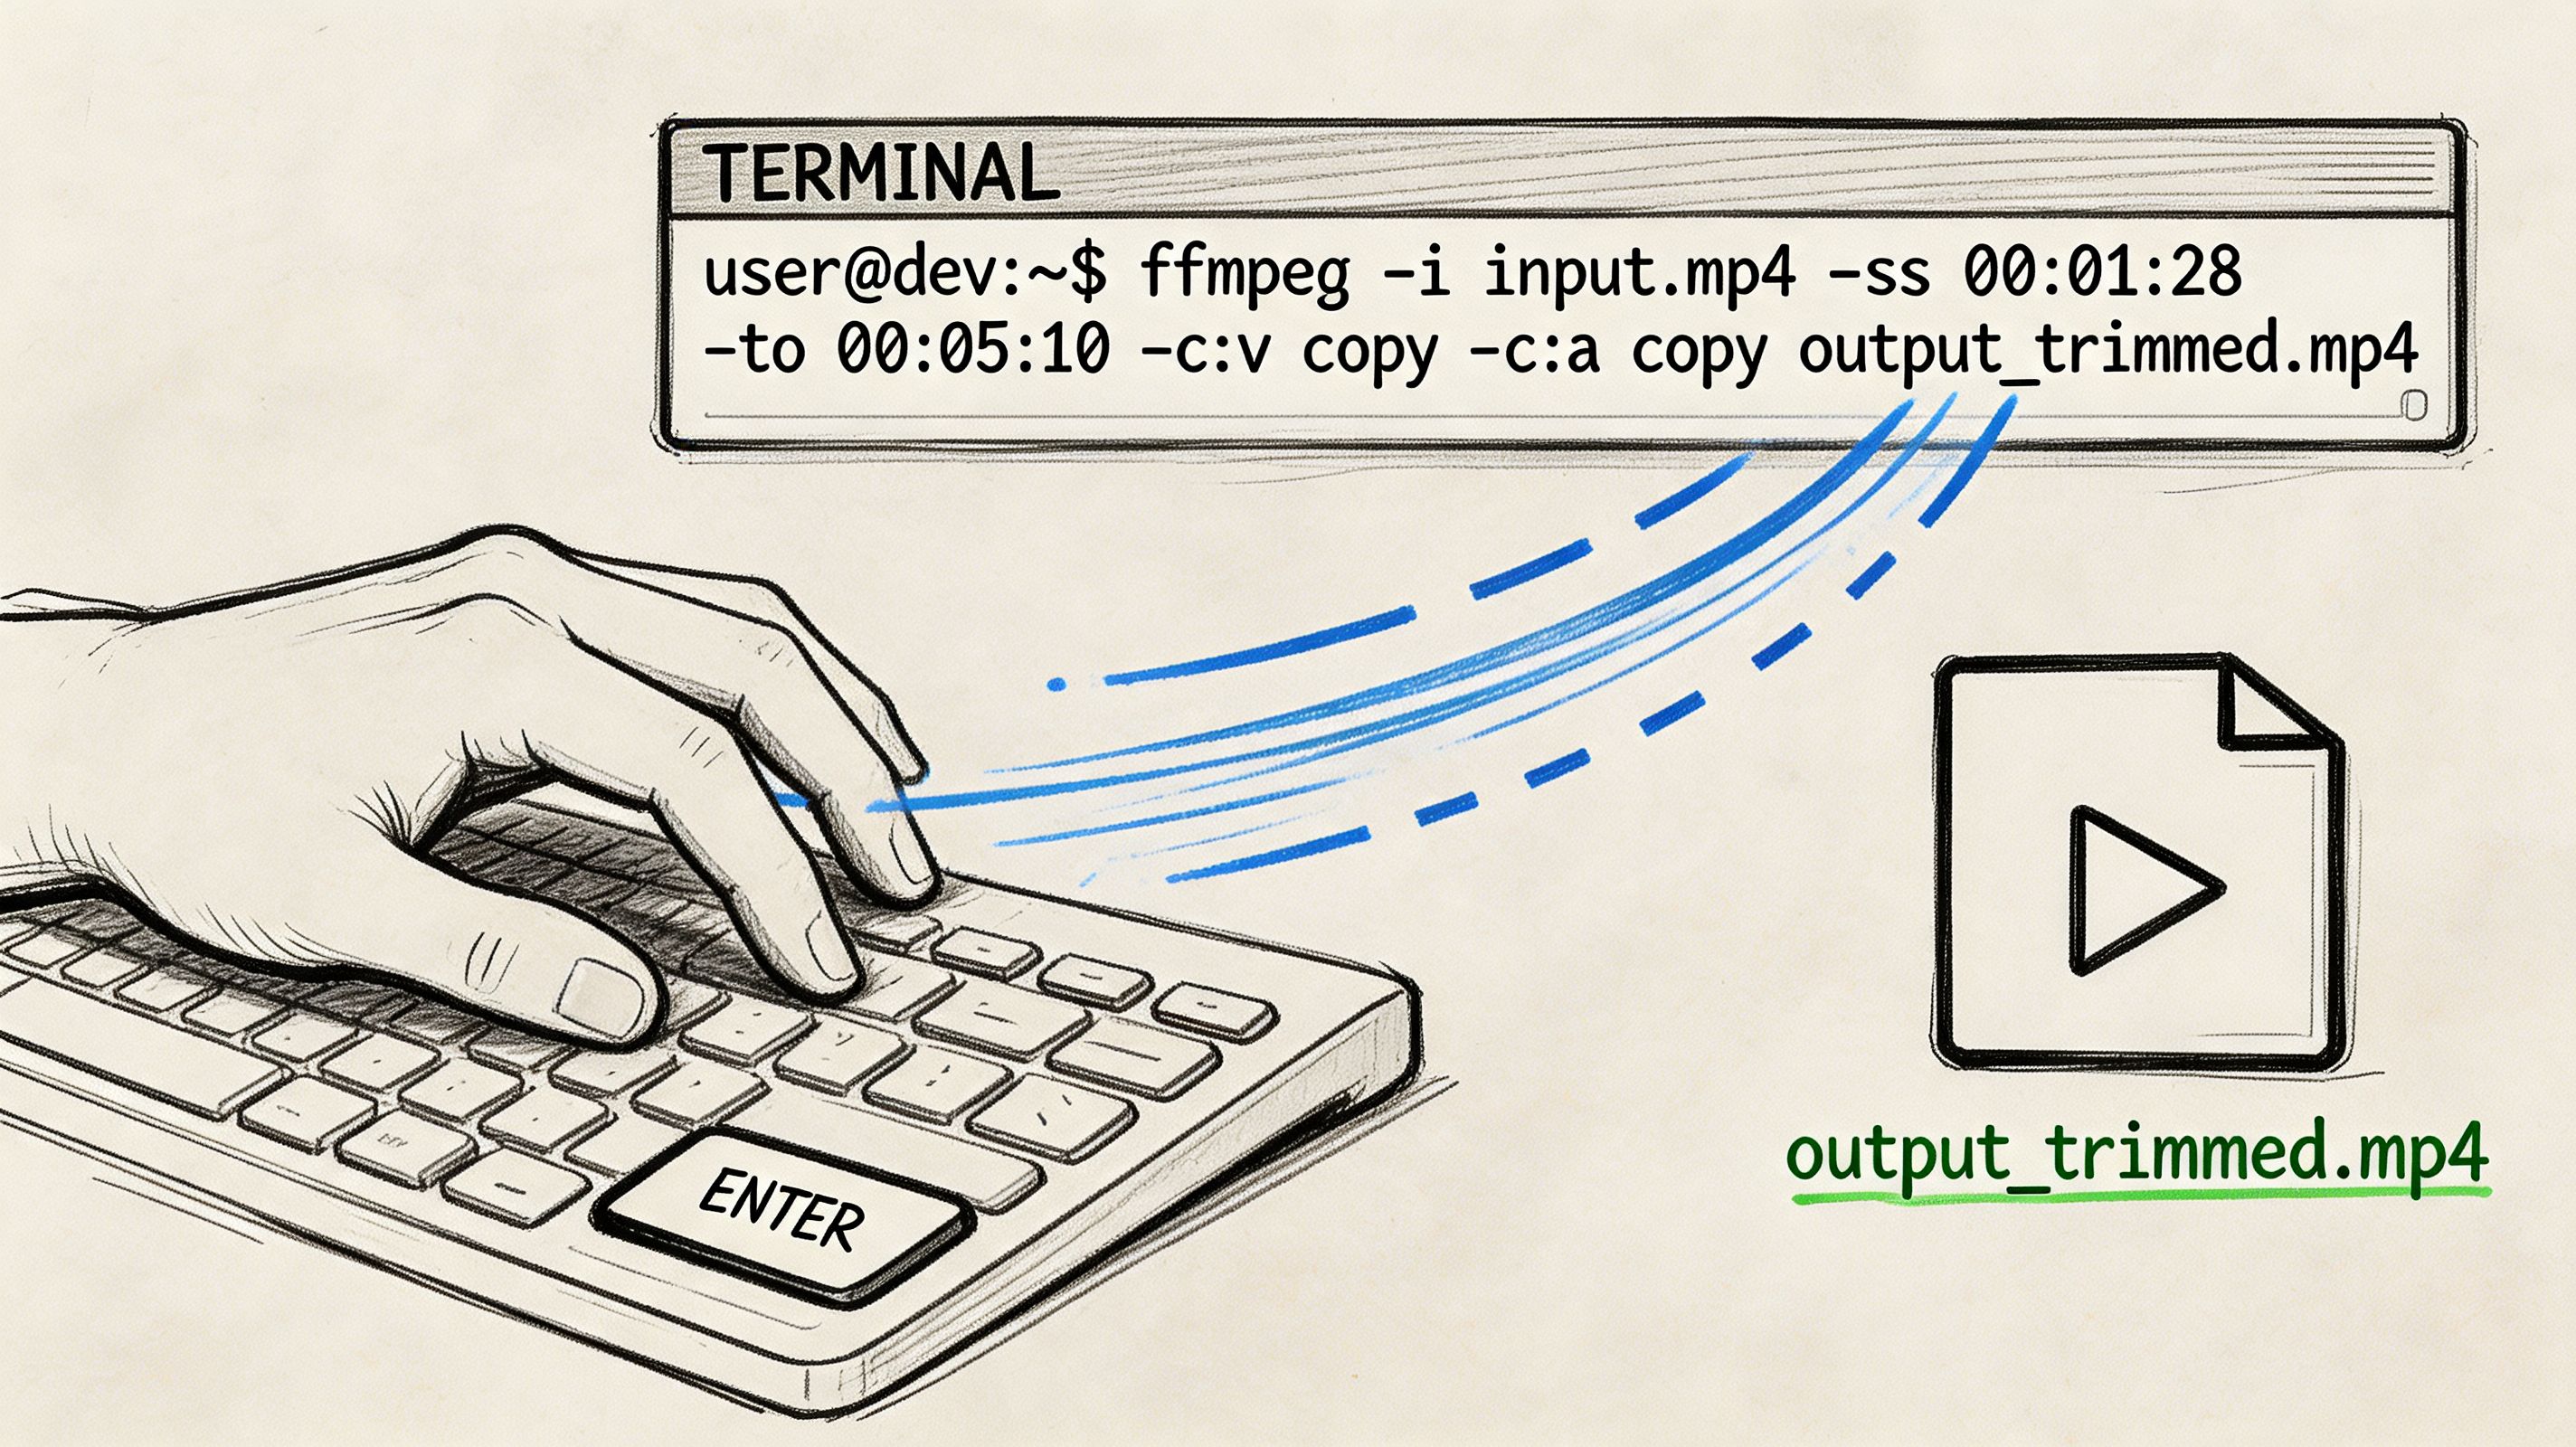
For a basic lossless trim, use:
ffmpeg -i input.mp4 -ss 00:00:30 -to 00:01:45 -c copy output.mp4
Here’s what each part does:
-i input.mp4loads the source file.-ss 00:00:30sets the start point.-to 00:01:45sets the end point.-c copycopies the existing video and audio streams without re-encoding.
That last flag is the reason editors and technical users keep coming back to FFmpeg. In the verified benchmark, using FFmpeg with -c copy enables lossless trimming without re-encoding and achieves near-instantaneous processing, and the same source says it can be up to 10x faster than GUI tools like Adobe Premiere for batch trimming while preserving full quality, as noted in this FFmpeg trimming benchmark reference.
What works well and what can go wrong
FFmpeg is excellent when you need to process a lot of files quickly or preserve original quality. It’s especially strong for preprocessing long recordings before archiving, review, or transcript generation.
But it has one important limitation. With stream copy trimming, cuts can drift if your selected trim point doesn’t land on a keyframe. The verified source notes that frame-accurate cuts can fail with up to 5 to 10 frame drift in those cases.
Common fixes include:
- Adding timestamp handling: use
-avoid_negative_ts make_zeroif the output behaves oddly. - Converting variable frame rate recordings first: some screen recordings can produce duration errors unless you standardize them.
- Re-encoding as a fallback: slower, but useful when exact frame accuracy matters more than pure speed.
Field note: If a clip starts a fraction early in FFmpeg, that usually isn’t corruption. It’s keyframe behavior. Test the opening seconds before assuming the command failed.
A practical companion use case appears when you need another container after trimming. If your workflow requires that, this guide on converting MP4 to AVI helps sort out when a format change is useful and when it just adds friction.
When FFmpeg is the right choice
Use it if any of these sound familiar:
- You batch-process files: interview sets, screen recordings, lecture archives.
- You care about original quality: especially before review or transcript work.
- You want reproducible commands: same input pattern, same output logic, every time.
- You’d rather script than click: ideal for technical users and operations-heavy workflows.
If you want to see the process in action before trying it yourself, this walkthrough is worth a look:
FFmpeg isn’t the friendliest starting point. It is, however, one of the best answers when speed, consistency, and lossless output matter more than interface comfort.
Optimizing Your Trimmed Video for AI Transcription
A clean-looking cut is not always a transcript-ready cut. The files that cause trouble usually fail in the first second or the last second, where clipped syllables, cut breaths, or slight sync drift make speech harder for an AI model to follow.

What a transcription-ready trim looks like
For transcription work, the goal is not the tightest possible edit. It is a clip that gives the speech room to start naturally, finish cleanly, and stay synchronized all the way through.
That usually means leaving a short lead-in before the first spoken word and a short tail after the last one. For meetings, lectures, interviews, and research recordings, that extra half-second often prevents the exact problem that hurts transcripts most: the first consonant getting shaved off.
Lossless trimming matters here because spoken-word files do not benefit much from cosmetic reprocessing. They benefit from stability. This is reflected in the growing number of searches for lossless trimming techniques, especially as more teams process meeting recordings and recorded calls. If a trim can be done without re-encoding, the original audio texture, timing, and sync are more likely to stay intact.
The trimming habits that help most
Use this checklist before sending a clip to an AI transcription service:
- Leave runway at both ends: Give the clip a little space before speech starts and after it ends.
- Read the waveform: Plosives, breaths, and low-level room tone often show up there before boundary errors are obvious in playback.
- Keep processing to a minimum: Every unnecessary export creates another chance for audio softening, sync shifts, or compression artifacts.
- Stay with standard MP4 settings when possible: Unusual codec combinations create avoidable compatibility problems.
- Check the boundaries twice: One pass for content, one pass for audio detail.
Headphones catch mouth noises, clipped consonants, and faint cut points better than laptop speakers. Speakers are still useful for checking whether the edit feels natural in a normal listening environment. I use both when the clip is headed for transcription instead of casual sharing.
What usually hurts transcription quality
The first mistake is trimming by picture alone. A frame can look like the right starting point while the waveform shows the speaker inhaling or forming the first sound just before it. If you cut on the visual cue only, the transcript may start mid-word.
The second mistake is exporting out of habit. Many browser tools and quick editors save a new file even when the original clip only needed a simple range cut. That extra encode can slightly change audio character or timing. For social clips, that may not matter. For a deposition excerpt, seminar segment, interview answer, or usability test clip headed to transcription, it can.
A third problem is over-cleaning. Removing every pause, breath, or room-tone fragment can make a spoken clip feel neat on a timeline, but speech recognition often performs better when transitions still sound human and continuous.
For transcript prep, the best edit usually preserves more than it changes.
A reliable workflow for spoken MP4 clips
For professional and academic footage, I recommend a simple standard.
Start with the source file and make the broad trim with a lossless method if your cut points allow it. Then listen to the first sentence and the final sentence in full, not just the exact cut point. If either edge sounds abrupt, adjust for speech, not for visual neatness. Only re-export if you need a frame-accurate correction that the lossless pass could not deliver.
Before upload, confirm three things: the voices are clear, sync still holds, and the clip starts early enough that no one sounds cut off. After that, the handoff is straightforward. If you want the next step, this guide on how to transcribe MP4 to text walks through the transcription side.
The standard to aim for
A strong transcription clip feels slightly generous at the edges, sounds natural on playback, and stays close to the source file. That is the standard worth keeping whether you trimmed in a phone app, a desktop editor, or FFmpeg.
For AI transcription, precision is not just where the clip begins and ends. Precision is preserving the speech inside it.
Choosing Your Trimming Method and Next Steps
You have a 45 minute lecture, interview, or meeting recording, and only 6 minutes of it need to go to transcription. The trimming method you choose decides whether that handoff is fast and clean, or whether you spend extra time fixing clipped words, drift, or unnecessary quality loss.
For low-stakes cuts, the built-in tools are enough. They work well when you only need to remove obvious material at the start or end and the exact edit point is not sensitive.
For spoken-content work, I usually pick based on risk. If the clip includes a quote that needs to start cleanly, overlapping speakers, or quiet dialogue that an AI transcript needs to catch, a timeline editor or FFmpeg is the safer choice. Those tools give you better control over where speech begins and ends, which matters more for transcription than visual polish.
A practical way to choose
| Situation | Best fit |
|---|---|
| One quick trim for sharing | Built-in Photos, QuickTime, or phone gallery tools |
| Spoken clip that needs careful boundaries | Free editor with timeline and waveform view |
| Preserve original quality as much as possible | Lossless cutter |
| Repeatable trimming across many files | FFmpeg |
The trade-off is simple. Built-in apps are fast. Editors are more precise. FFmpeg is the best option when you need speed, repeatability, and no unnecessary re-encoding, but it assumes you are comfortable checking cut points and running commands.
One mistake I see often is choosing the tool based on convenience alone. That works for casual sharing. It breaks down for professionals, students, and researchers who need clips that hold up in transcription, review, and citation. If the recording will be searched, quoted, or archived, protect the audio first and trim as lightly as the job allows.
The best trimming method is the one that preserves speech quality while giving you the control the clip actually needs.
Choose the lightest workflow that still gives you reliable boundaries, natural speech at the edges, and source-level quality where possible.
Once your clip is clean, focused, and ready, upload it to HypeScribe to turn spoken video into searchable text, summaries, and action items without wasting time on the dead air you already removed.


