How to Convert a FLAC to MP3: A Complete 2026 Guide

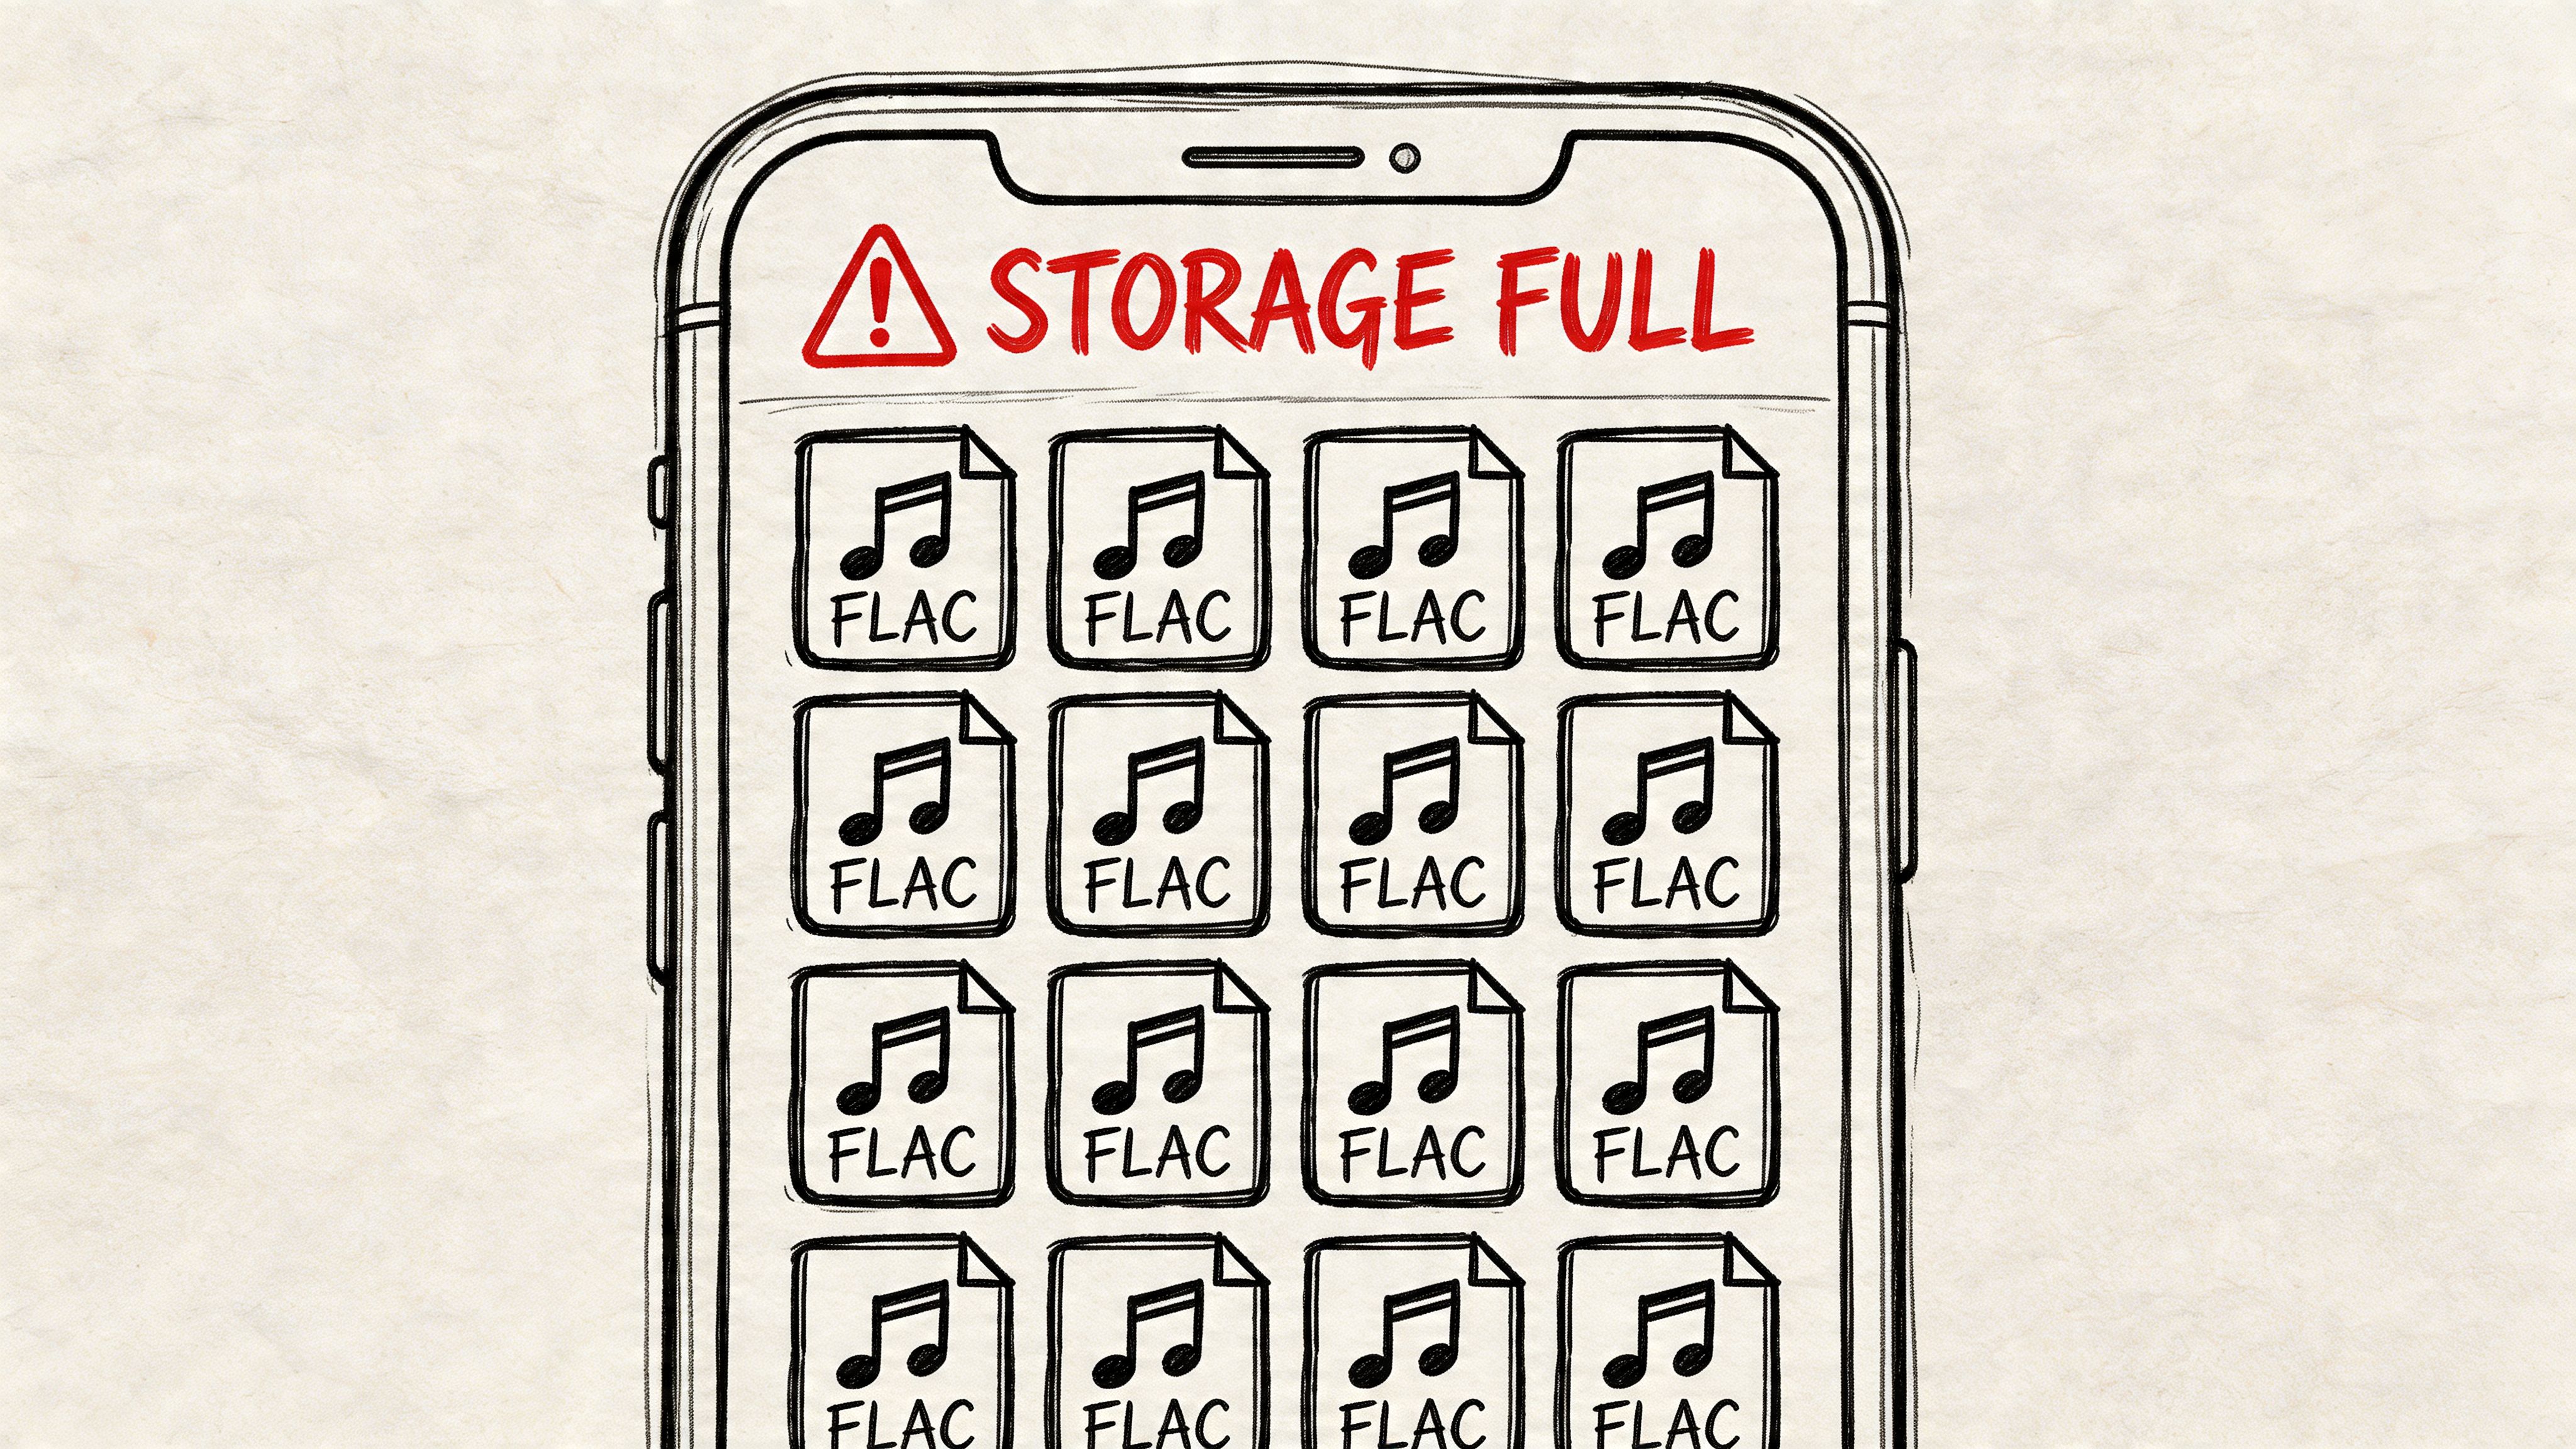
You’ve got a folder full of FLAC albums that sound great, and a phone, car stereo, or older portable player that doesn’t care. Storage fills up fast. Syncing drags. Some apps choke on FLAC entirely. That’s usually when people start looking up how to convert a FLAC to MP3.
The basic job is simple. The part most guides skip is what matters: choosing settings that don’t trash the sound, using tools that won’t take forever on a big library, and keeping your tags and album art intact so your collection doesn’t turn into a mess.
Why Convert FLAC to MP3 and What to Consider First
FLAC and MP3 solve different problems. FLAC is lossless, which means it preserves the original audio data while still shrinking the file. MP3 is lossy, which means it removes some audio information to make files much smaller. That’s the trade-off.
The space savings are why people convert. According to CloudConvert’s FLAC to MP3 format overview, FLAC can compress audio files up to 50% of their original size with no quality loss, while MP3 uses lossy compression to reduce sizes by up to 90%. The same source notes that a typical FLAC album of 300-400MB becomes about 50-70MB as a 320 kbps MP3.
Know what bitrate actually means
When people talk about MP3 quality, they usually mean bitrate, measured in kbps. Higher bitrate usually means more audio data is kept and fewer compression artifacts make it through.
For music, the practical decision is usually between 320 kbps CBR and a high-quality VBR setting. If you want a broader primer on how these formats fit into everyday workflows, this breakdown of WAV or MP3 is useful because it explains the compatibility-versus-quality mindset that drives most real-world conversions.
Practical rule: Keep FLAC as your archive format. Create MP3 copies for portable listening, sharing, older devices, and space-constrained libraries.
Metadata matters more than most people expect
A clean library depends on metadata. That includes artist, album, title, track number, cover art, and sometimes lyrics or extra tags. If your converter strips that data, the audio may still play fine, but the listening experience gets ugly fast.
That’s why “how to convert a flac to mp3” isn’t just about getting an output file. It’s about getting an MP3 that still shows up correctly in MusicBee, Apple Music, your car display, or a phone app without forcing you to retag everything by hand.
Before converting anything, decide three things:
- Your goal: Portable listening, car stereo use, sharing, or a compressed backup copy.
- Your quality target: 320 kbps if you want a simple high-quality default, or V0 VBR if you want strong quality-to-size efficiency.
- Your library priority: If tags and album art matter, choose a tool that handles metadata properly.
If you only remember one thing, remember this: converting is easy, but converting well means protecting quality, speed, and organization at the same time.
Choosing Your Conversion Method A Quick Comparison
Some people need to convert a single album once. Others need to process a library that has grown for years. Those are different jobs, and the right tool changes with the scale.
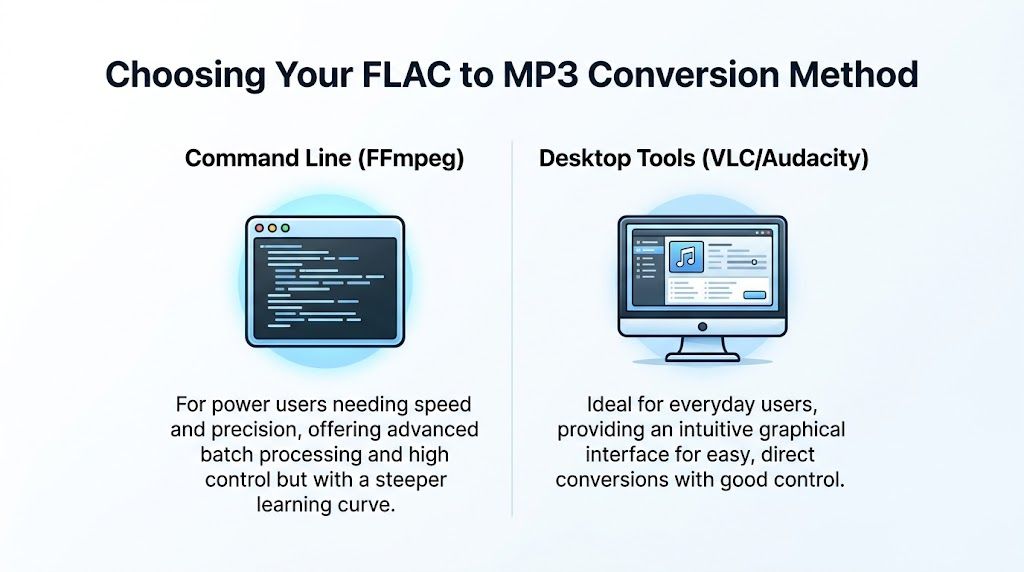
The short version
If you care about speed, batch conversion, and control, use FFmpeg. If you want a visual interface and you’re converting a smaller set of files, use VLC or Audacity. If you need one quick file converted and don’t want to install anything, an online converter can work, but only in limited cases.
Large libraries are where the difference becomes obvious. A Microsoft Tech Community discussion on FLAC to MP3 conversion highlights a common pain point: FFmpeg can process 100 FLAC files in under 10 minutes on modern hardware, while some GUI tools can take over 45 minutes for the same job.
FLAC to MP3 Conversion Methods Compared
| Method | Best For | Ease of Use | Batch Processing | Control & Quality |
|---|---|---|---|---|
| FFmpeg | Large libraries, repeat jobs, advanced users | Low | Excellent | Excellent |
| VLC | Casual users converting a few files | High | Basic | Good if you change defaults |
| Audacity | Users who want a GUI and some batch handling | Medium | Good for modest jobs | Good if configured properly |
| Online converters | One-off, non-sensitive files | Very high | Weak | Limited |
The biggest mistake is choosing a tool based only on convenience. The second biggest is trusting the default quality settings.
How to choose without overthinking it
Use this decision filter:
- You have hundreds or thousands of files: FFmpeg is the right answer.
- You dislike the terminal: Audacity is usually the better desktop choice for controlled exports.
- You already have VLC installed: It’s fine for quick conversions if you manually set quality.
- You care about privacy: Stick with local tools.
- You care about preserving tags and cover art: Favor FFmpeg or dedicated library tools over browser converters.
Command-line tools look intimidating at first, but they pay you back in time. Desktop tools are easier to start with, but they become slow and repetitive on very large collections. Online tools are convenient in the moment and frustrating the moment after that.
That’s why experienced collectors usually settle into a split workflow. They use one solid local tool for serious batch work and keep browser converters for emergencies only.
The Power User Method Using FFmpeg for Batch Conversions
If you’re converting more than a handful of files, FFmpeg is the tool that saves your weekend. It’s fast, scriptable, and consistent. Once it’s set up, it handles bulk jobs far better than point-and-click apps.
Start with a single file
Install FFmpeg first. It’s widely available on Windows, macOS, and Linux. Once it’s installed, a basic single-file conversion looks like this:
ffmpeg -i input.flac -codec:a libmp3lame -q:a 0 output.mp3
That command tells FFmpeg to read the FLAC, encode audio with LAME, and use V0 variable bitrate quality.
The key flag is -q:a 0. The ArchWiki FLAC to MP3 conversion guide documents the standard batch approach and notes that -q:a 0 uses LAME’s V0 VBR setting, producing files around 220-260 kbps that are acoustically indistinguishable from the original FLAC for over 99% of listeners.
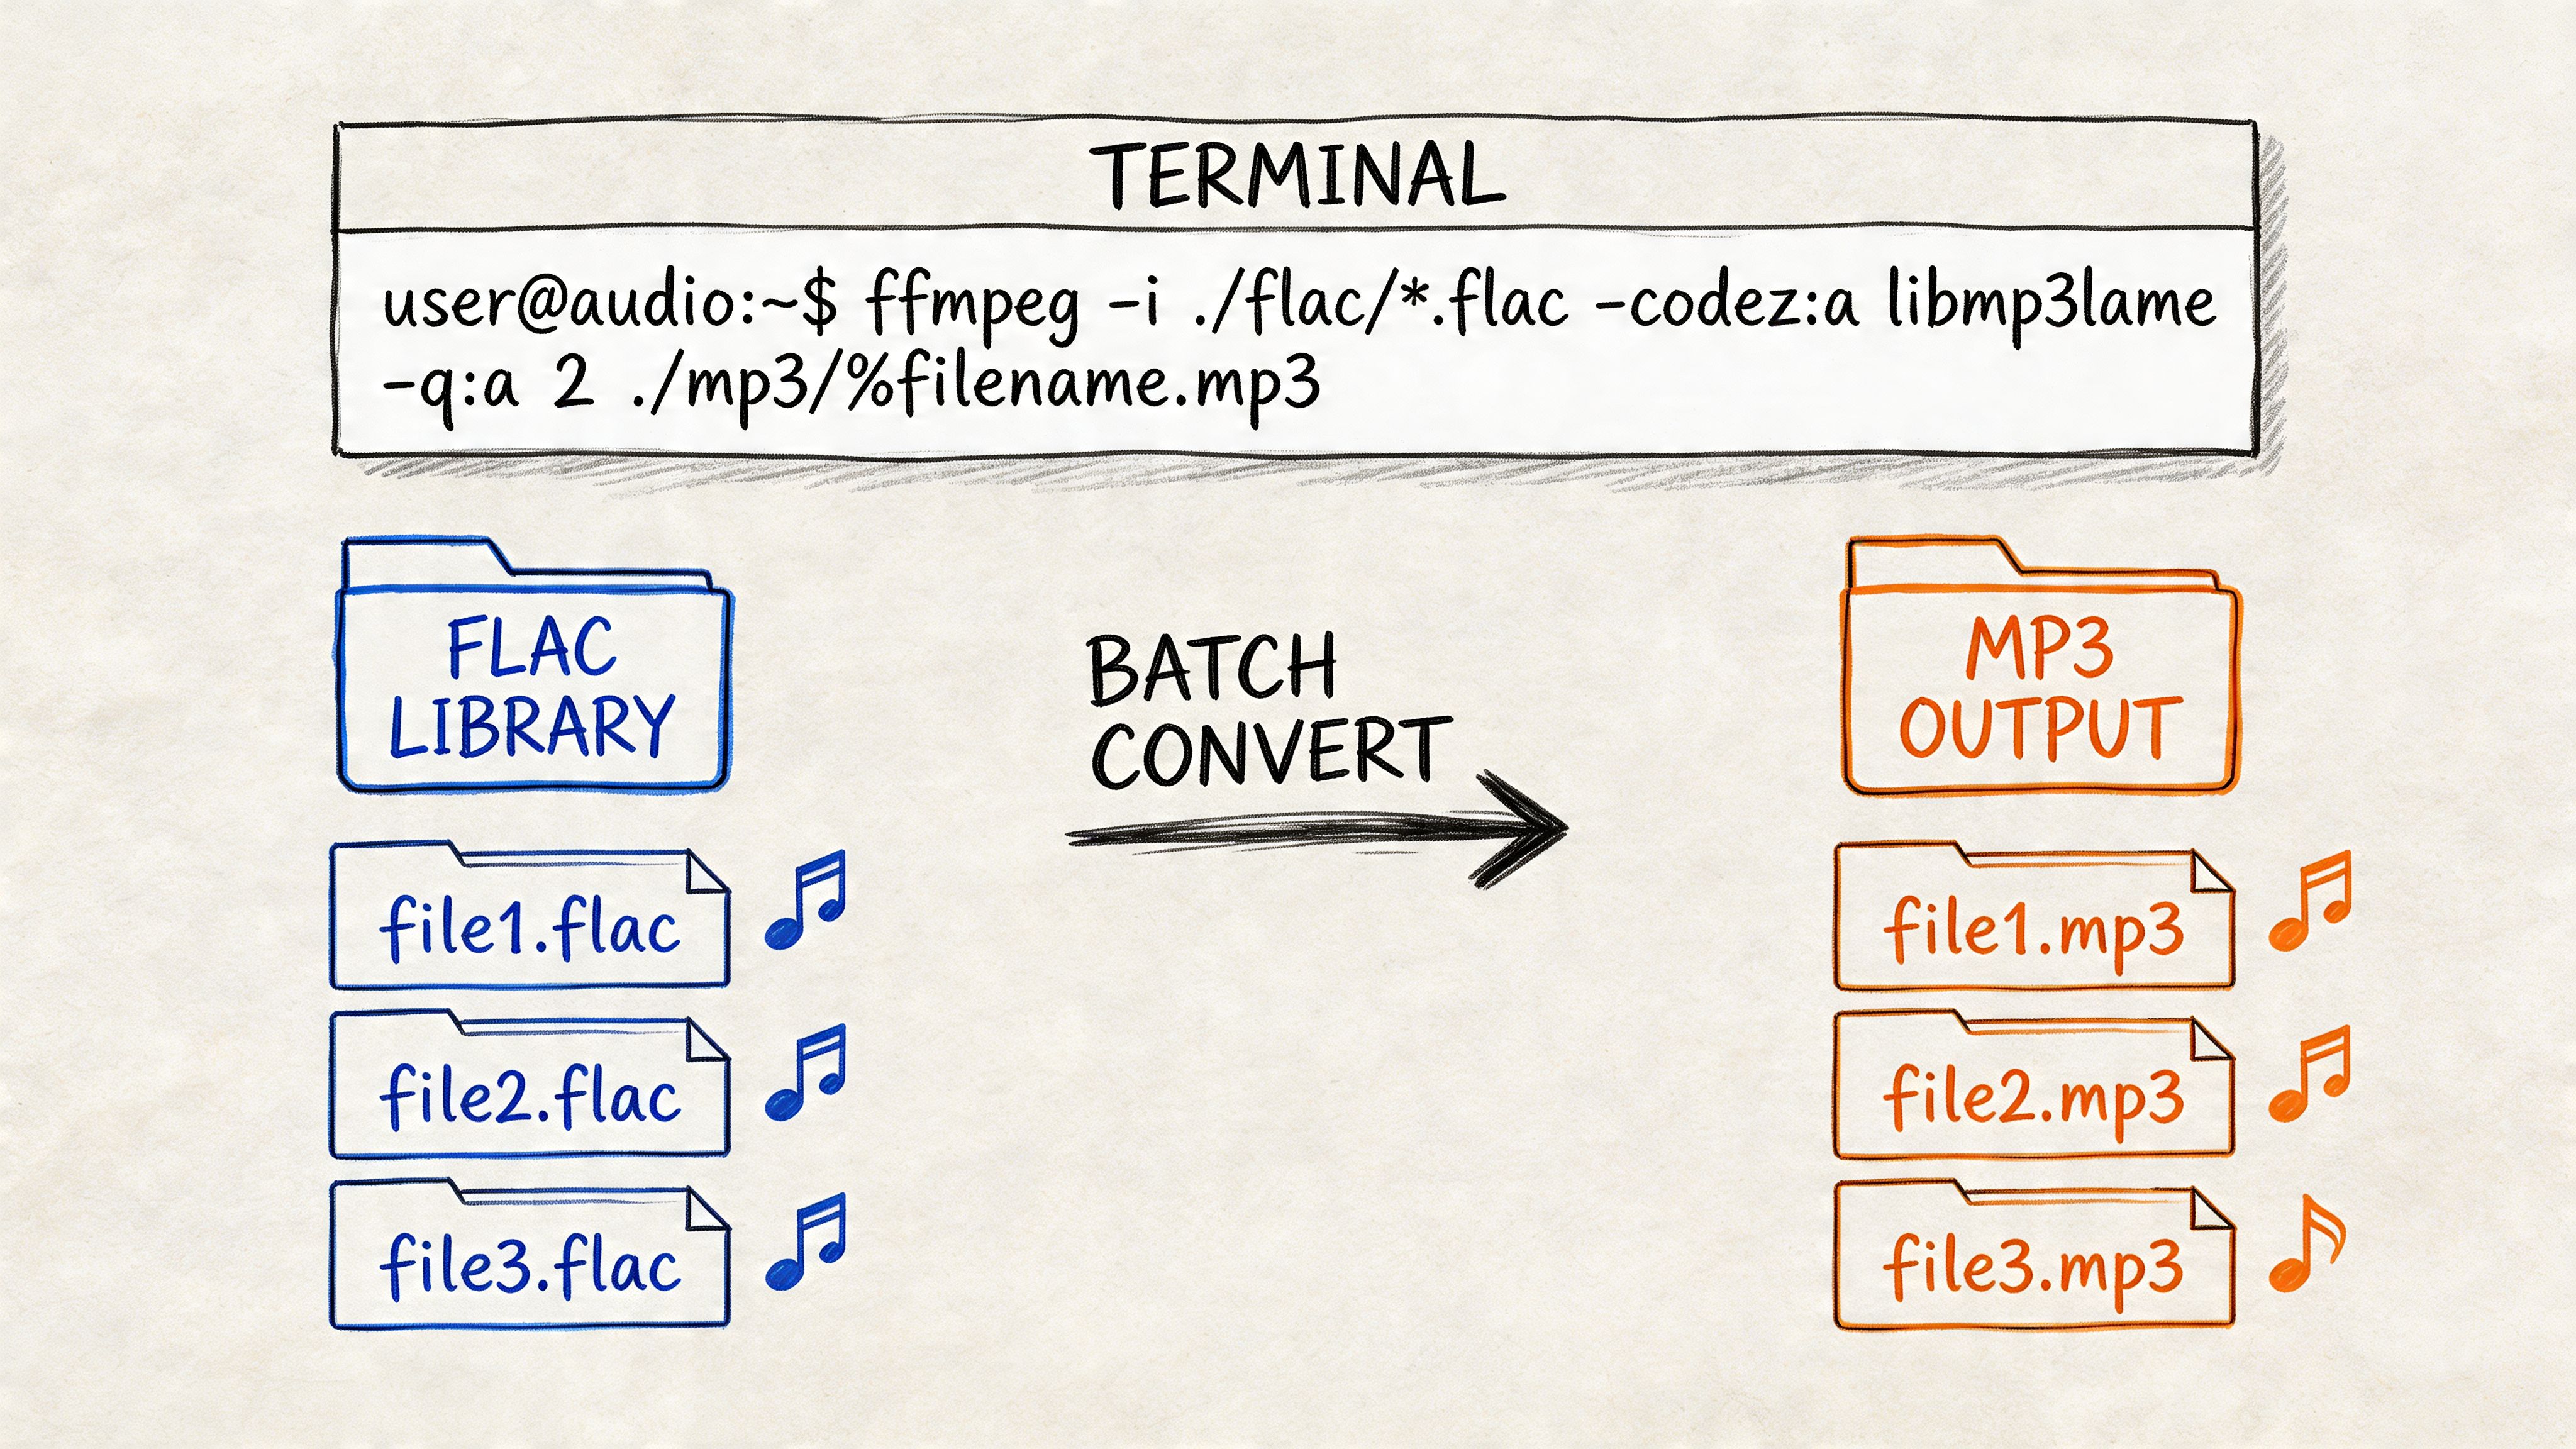
The batch command that actually matters
For a folder full of FLAC files, use:
for a in *.flac; do ffmpeg -i "$a" -codec:a libmp3lame -q:a 0 "${a%flac}mp3"; done
That’s the command many basic guides leave out. It loops through every FLAC file in the current folder and creates MP3 versions automatically.
If metadata matters, add the metadata mapping flag:
for a in *.flac; do ffmpeg -i "$a" -map_metadata 0 -codec:a libmp3lame -q:a 0 "${a%flac}mp3"; done
That one addition is the difference between a polished library and a cleanup project.
What each part does
-i "$a"reads the current FLAC file.-map_metadata 0tells FFmpeg to copy metadata from the source.-codec:a libmp3lameuses the LAME MP3 encoder.-q:a 0applies the high-quality V0 VBR preset."${a%flac}mp3"writes the new filename with an.mp3extension.
If filenames contain spaces, keep the quotes exactly where they are. That prevents broken batch jobs.
When to use 320 kbps instead
Some people prefer fixed-rate MP3s because they’re easier to reason about and supported everywhere. If that’s your preference, use:
ffmpeg -i input.flac -map_metadata 0 -codec:a libmp3lame -b:a 320k output.mp3
That gives you a straightforward 320 kbps CBR file. In practice, I’d use V0 for personal libraries and 320 kbps when I want predictable output settings for devices or workflows that expect fixed bitrate files.
Why FFmpeg wins on big libraries
FFmpeg isn’t just a converter. It’s a repeatable workflow. You can point it at folders, combine it with scripts, and rerun the same process whenever you add new music. That matters when your collection isn’t static.
It also avoids the usual GUI friction. No repetitive clicking. No mystery presets. No hidden defaults. If you work with a lot of media in general, a practical companion read is this MP4 to AVI workflow guide, because the same principle applies: command-line tools are often the cleanest option when you care about scale and consistency.
What usually goes wrong
The failures are predictable:
- Using old defaults: Some tools still steer users toward 128 kbps quality, which is not where you want to be for music.
- Skipping metadata mapping: The files play, but tags disappear.
- Running the script in the wrong folder: FFmpeg does nothing because it can’t see the FLAC files.
- Converting your only copy: Always keep FLAC as the source archive.
FFmpeg is the method I’d trust first for any serious library migration. Once you’ve used it on a few albums, it stops feeling technical and starts feeling obvious.
User-Friendly Desktop Tools Like VLC and Audacity
Not everybody wants to open a terminal. Fair enough. VLC and Audacity can both do the job well enough if you change the right settings before hitting convert.

The default setting is the trap
Many desktop-tool guides fail by showing the menu path but skipping the quality menu, which is the one thing you can’t afford to ignore.
According to AnyMP4’s guide to converting FLAC to MP3 in VLC and Audacity, leaving the MP3 quality at the default 128 kbps can cause audible artifacts on over 30% of complex tracks, and manually setting 320 kbps in VLC or Audacity is essential for reaching 95-99% of original FLAC fidelity.
VLC works, but check every setting
VLC is often already installed, which makes it convenient.
Use this path:
- Open Media menu: Choose Convert/Save.
- Add your FLAC file: Load the source file.
- Choose MP3 profile: Select an MP3 output preset.
- Open profile settings: This is the important part.
- Set bitrate to 320 kbps: Also keep stereo and a standard sample rate for compatibility.
- Choose destination: Save the file with an
.mp3extension. - Run the conversion: Let VLC create the output file.
VLC is fine for occasional jobs. I wouldn’t use it for a huge archive unless I had no better option. It’s easy to start with, but it’s not the most efficient tool once the file count climbs.
Audacity gives you better export control
Audacity is more useful if you want a desktop interface with a bit more discipline around export settings. It’s also better for modest batch jobs because Export Multiple lets you send several files out in one pass.
A typical flow looks like this:
- Import the FLAC files
- Open Preferences and set MP3 quality
- Choose Export Multiple
- Select MP3 as the format
- Confirm output folder and naming
- Export
Here’s a walkthrough if you want to see a visual example before clicking through menus:
What desktop tools are good at, and where they fall short
Desktop apps fit a very specific kind of user well. They’re ideal when you want visual feedback and you aren’t converting a giant collection in one session.
Their weak spots are just as specific:
- Batch jobs become tedious: Better than one-by-one conversions, but still clunkier than FFmpeg.
- Metadata can be inconsistent: You need to verify results instead of assuming tags carried over cleanly.
- Defaults aren’t trustworthy: Quality settings often need manual correction every time.
If your project is small and you prefer a GUI, this route is completely workable. If you eventually need to clean up or combine output files after conversion, this guide on how to merge multiple MP3 files into one is handy for managing spoken-word or segmented exports.
Use VLC when convenience matters most. Use Audacity when you want a desktop app but still care enough to control the export.
For a few albums, both are fine. For a long-term library workflow, they’re usually the stepping stone before people move to FFmpeg.
When and How to Use Online FLAC Converters
Online FLAC converters have one real advantage. They’re fast to access. You open a browser, upload a file, choose MP3, and download the result. For one song, one lecture, or one throwaway test file, that can be enough.
That convenience is also why people use them for jobs they shouldn’t.
The narrow use case where they make sense
Use an online converter when all of these are true:
- It’s a one-off file
- The audio isn’t sensitive
- You don’t care much about metadata
- You don’t want to install software
- You’re willing to accept less control
That’s it. Outside those cases, local tools are usually the better choice.
The trade-offs most people notice too late
Browser converters hide the messy parts. Your file has to upload first. Then the service processes it. Then you download it back. If the file is large, that round trip gets annoying fast.
There’s also the issue of privacy. If the file is a private recording, interview, meeting, or unreleased track, uploading it to a third-party service may be a bad idea. That’s especially true when the service doesn’t clearly explain what happens to uploaded files after conversion.
Metadata is another common casualty. Many online tools focus on “convert successfully” rather than “preserve everything properly.” If your collection is organized, that’s a poor trade.
Online conversion is about convenience, not control.
A practical rule for online tools
I’d use an online converter for a non-sensitive file when I need a quick MP3 and don’t expect to keep the result as part of a carefully maintained library. I would not use one for a batch job, a tagged music archive, or anything private.
If your real goal is to pull usable audio out of another media file before converting or processing it, this guide on how to get audio from video is often the more useful starting point than a basic browser converter.
For serious library work, online tools are the backup plan, not the main one.
Preserving Metadata and When Not to Convert
A sloppy conversion usually shows up in your library before it shows up in your ears. Cover art disappears. Track numbers break. Album names get replaced with filenames, and a clean collection turns into a sorting job.
For anyone converting more than a handful of files, metadata is part of the audio workflow, not an afterthought.
What to preserve every time
A good FLAC to MP3 workflow should carry over:
- Artist and album tags
- Track title and track number
- Embedded album art
- Genre, year, and disc number if your player uses them
- Folder structure that still makes sense after export
According to Happy Scribe’s FLAC to MP3 tool page, many basic conversion guides skip metadata handling entirely. In practice, that is exactly why people end up with thousands of perfectly playable MP3s that are miserable to browse. Tools like foobar2000 and FFmpeg are better choices because they let you keep tags intact instead of forcing you to repair the library later.
Album art deserves special attention. Some converters preserve text tags but drop embedded artwork, which is easy to miss until you open your player on a phone, in a car, or on a streamer and half the library has blank covers.
Spoken word changes the decision
Music is not the only use case. If you are working with lectures, interviews, voice notes, meetings, or podcast archives, MP3 often makes sense for sharing and portable listening because speech holds up well at lower bitrates than dense music does.
But convenience is not the same as best source quality.
For transcription, analysis, or long-term storage, the original FLAC is still the better file to keep. Lossy conversion removes detail, and speech tools benefit from cleaner source audio, especially when the recording already has room noise, cross-talk, or inconsistent mic levels.
When not to convert at all
Do not convert just because MP3 is familiar.
Keep the FLAC if you are building an archive, feeding audio into transcription software, or storing a master copy you may want to edit again later. MP3 is a delivery format. FLAC is the file you keep when quality and flexibility still matter.
That is the rule I use in large libraries. Preserve the original. Create MP3 copies only for the devices, apps, or workflows that need them.
Keep FLAC as the master. Make MP3s for compatibility, smaller files, or easier sharing.
A practical workflow looks like this:
- Store the original in FLAC
- Batch-convert only the copies you need in MP3
- Verify tags and cover art after the first test batch
- Leave spoken-word source files in FLAC if you plan to transcribe or process them
If your real goal is transcripts, summaries, or searchable notes, converting first may be wasted effort. Upload the original file to HypeScribe instead. It handles spoken audio directly, which lets you keep the best source file and skip an unnecessary MP3 step.


