How to Capture Streaming Video: A 2026 Guide
A webinar is ending in a few minutes. The replay expires tomorrow. A training session ran long, and nobody took clean notes. A live sports segment is available only through a streaming app, and you need a reference copy for later review. That’s usually when people start searching for how to capture streaming video.
The problem isn’t just recording. The main problem is choosing the right method before you waste time on a bad capture, trip over DRM, or end up with a file nobody can search, quote, or reuse. In practice, the recording step is only half the workflow. The other half is deciding whether you should capture it, how clean the source is, and what you’ll do with the file once it lands on disk.
Why You Need to Capture Streaming Video
Individuals don’t start with a technical question. They start with a risk.
A lecture disappears after a short access window. A client demo contains decisions that need to be checked later. A team meeting includes commitments, objections, and approvals that nobody wants to reconstruct from memory. In all of those cases, capturing the stream creates a durable record you can review instead of relying on screenshots, handwritten notes, or someone’s vague recap.
Common situations where capture matters
Some use cases are obvious. Others show up in day-to-day work.
- Meetings and webinars: Teams keep a reference copy for documentation, training, or follow-up.
- Lectures and seminars: Students and educators preserve material that may not stay online.
- Interviews and research sessions: Journalists and researchers need a reviewable source.
- Operations and support: Internal walkthroughs often become repeatable training assets.
- Event monitoring: Broadcasters, analysts, and fans sometimes need a record of scheduled live coverage. If you’re tracking where a live event is available, a guide like Turkey World Cup TV channel info can help you identify the platform before you decide how to capture it.
The reason matters because it changes the method. A public webinar on a standard platform is different from a DRM-protected movie stream. A Zoom meeting is different from a social clip embedded in a browser. A live stream with chat and overlays is different from on-demand video where you only care about the clean media.
Practical rule: Decide what you need to preserve before you hit record. If you need the exact on-screen experience, record the screen. If you need the cleanest possible source file, look for direct capture options first.
Recording is only useful if the result survives review
A lot of failed captures aren’t technical failures. They’re workflow failures.
Someone records the wrong display. System notifications get baked into the audio. The file name is useless. Nobody marks the date, source, or subject. A week later, the team has a video file called “final-recording-2.mp4” and no idea what’s in it.
Capture works best when the reason is clear at the start. That’s what turns a saved stream into a usable asset instead of digital clutter.
Screen Recording vs Direct Stream Capture
A client says, “I just need a copy of this stream.” The primary question is what kind of copy they need, what the platform allows, and what they plan to do with the file afterward.
There are two practical capture paths. Screen recording saves the video as it appears on your display. Direct stream capture saves the underlying media file when the service, protocol, and player make that possible.
That choice affects more than image quality. It also changes failure risk, setup time, storage use, and whether the file will be useful for review, editing, transcription, or evidence later.

What screen recording does well
Screen recording is the method with the broadest compatibility. If the content plays on your screen, there is a good chance you can capture it, even when the player is embedded in a browser, locked behind a login, or wrapped inside a webinar or meeting tool.
That makes it the practical option for internal portals, live presentations, training sessions, software walkthroughs, and protected players that do not expose a clean stream URL. It also captures the full viewing context. Chat panels, lower-thirds, cursor movement, captions, and live overlays all stay in the recording. In some projects, that context is the point.
The trade-off is straightforward. You are recording playback, not saving the original source file. As Applian’s guide to recording streaming video explains, that usually means re-encoding, larger files, and some quality loss compared with the original stream.
What direct stream capture does well
Direct stream capture is better when the goal is source fidelity. Instead of filming the screen, the tool detects and saves the media being delivered by the platform. When it works, the result is usually cleaner and smaller than a screen recording.
This method is a good fit for supported, unprotected streams where you want the closest possible copy of the original media. It is also easier to work with later if you plan to trim clips, extract audio, or run analysis on a cleaner file.
The limitation is platform support. Direct capture can fail on protected services, custom players, encrypted delivery methods, and DRM-controlled content. It can also take longer to troubleshoot than the recording itself is worth.
If file quality matters most, test direct capture first. If getting the session saved matters most, use screen recording.
A simple way to choose
Use the source, not your preference, to decide.
| Method | Best For | Quality | File Size | Compatibility |
|---|---|---|---|---|
| Screen recording | Webinars, meetings, protected players, anything visible on-screen | Lower potential because the video is re-encoded | Larger | Very broad |
| Direct stream capture | Supported unprotected streaming platforms | Higher, closer to source | Smaller | Limited by platform support |
A common mistake is to spend too long trying to force direct capture on a source that is clearly resisting it. If the video sits inside a browser player, behind account controls, or inside a platform that obscures the media requests, screen recording is usually the faster and more dependable option.
What works in real projects
For meetings, browser-based training, and anything a team may need to review quickly, I usually start with screen recording. It is less elegant, but it fails less often in mixed real-world environments.
For public video sources that are not protected and need to hold up in post-production, direct capture is worth trying first.
There is also a third decision that many guides skip. Sometimes you should not record at all. If the primary goal is transcription, summarization, or reference, a lighter workflow may be better than generating another local video file. For a YouTube source, for example, it makes sense to review screen capture workflows for YouTube videos and decide whether a link-based process will do the job before you start recording.
What each method misses
Neither method is universally better because they preserve different things.
Screen recording preserves experience. You get the exact view that appeared to the user, including interface elements and timing.
Direct stream capture preserves media. You usually get a cleaner file, but you may lose surrounding context such as chat, pop-ups, captions rendered outside the video, or interactive elements that mattered during the session.
That difference matters later. A compliance team may need the full on-screen record. An editor or analyst may need the clean media file. A legal review may require you to ask whether recording was permitted in the first place.
What doesn’t work well
A few habits create avoidable problems:
- Using one method for every source: Protected platforms, custom players, and DRM systems often block direct capture.
- Recording without controlling the environment: Notifications, cursor drift, wrong-tab mistakes, and system audio conflicts can ruin an otherwise usable screen recording.
- Choosing based only on what is easiest today: A low-quality file becomes harder to search, transcribe, clip, and archive later.
- Ignoring permission and retention questions: Capturing the video is only part of the job. You also need to know whether you are allowed to keep it, share it, or process it downstream.
The right method is the one that matches both the source and the next step. Recording is only the first decision. The useful workflow starts after the file exists.
The Best Tools for Capturing Streaming Video
Tool choice should follow the job. If you need a quick one-off copy of a visible stream, built-in tools may be enough. If you need scene control, source selection, audio routing, or repeated use, you’ll want something more deliberate.
A practical setup starts small and scales only when you need more control.
Built-in tools for quick captures
On macOS, the Screenshot utility is the fastest way to grab a window or display. On Windows, Game Bar is often the first option people try because it’s already there.
These tools are good for speed. They’re less good for precision. You usually get fewer controls over source audio, encoding behavior, and file organization. They also encourage people to record first and think later, which is how you end up capturing the wrong window or the wrong monitor.
For short sessions, they’re fine. For client work, training archives, or anything you may need to reference again, they feel limiting quickly.
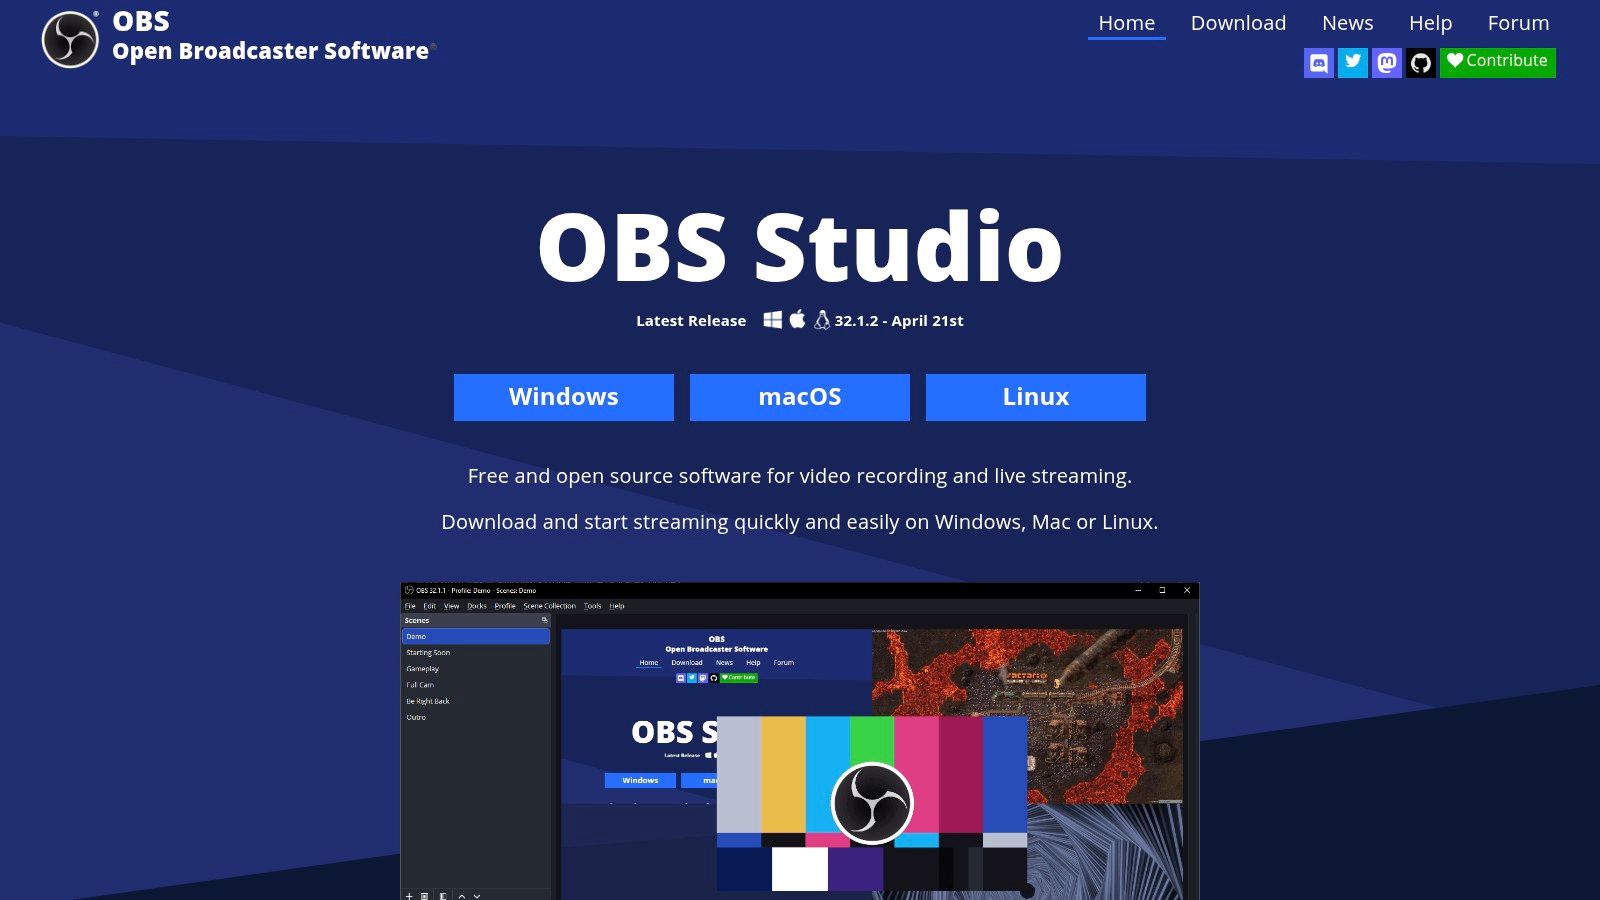
OBS Studio for control
OBS Studio is the tool I recommend when the recording matters. It handles display capture, window capture, audio sources, scene switching, and live monitoring in a way built-in tools don’t.
A basic OBS setup for streaming capture usually looks like this:
- Create one scene for the stream you want to record.
- Add a source such as Display Capture or Window Capture.
- Add system audio carefully so you record the stream, not every sound your computer makes.
- Run a short test and play it back before the actual session starts.
- Save to a predictable folder with meaningful filenames.
OBS asks for more setup, but that setup prevents common mistakes. You can monitor levels, confirm framing, and keep reusable presets for recurring work.
A five-minute test recording in OBS saves more trouble than any “fix it in post” plan.
If you want to see the interface before installing it, this overview is useful:
Browser extensions and specialized capture tools
Browser extensions appeal to people who want convenience. They can be useful for lightweight web capture, especially when the task is simple and the source stays inside one tab.
The risk is inconsistency. Extensions vary a lot in permissions, update quality, and support for different players. Some work well on standard pages and struggle with protected or unusual playback environments. If you use one, test it on the exact platform before you trust it for an important session.
Specialized capture tools sit between OBS and browser extensions. Some focus on direct stream detection, some on scheduled capture, and some on particular platforms. They’re worth considering when you repeatedly capture the same kind of source.
One more tool category people forget
If the end goal is text, search, or meeting notes, capture software isn’t always the only tool in the workflow. HypeScribe can take uploaded audio or video files, accept links from platforms like YouTube, Vimeo, Facebook, Reddit, VK, and Rutube, and generate transcripts, summaries, key takeaways, and action items. For Zoom, Google Meet, and Microsoft Teams, its note-taker can join and transcribe live sessions directly.
That matters because sometimes the right capture tool is the one that gets you to a clean input for the next step.
Settings and Tips for a Perfect Recording
Most bad captures come from three places: wrong video settings, messy audio, or a weak source stream. Fix those before recording, and the file becomes easier to watch, clip, and transcribe.
Match the source instead of guessing
If the stream looks smooth at one frame rate and you record at another, motion can look uneven. If the source fills a certain resolution and you capture at a mismatched size, text and interface elements can soften.
The practical move is simple:
- Match resolution to the source display: Don’t upscale a smaller stream and expect it to improve.
- Use a stable frame rate: Keep it aligned with what the source appears to deliver.
- Avoid unnecessary resizing in the capture chain: Every extra transformation creates another chance for blur or stutter.
When people ask how to capture streaming video cleanly, this is usually the first fix. They recorded the content, but they didn’t preserve how it was being presented.
Clean audio matters more than most people think
Viewers will forgive a soft image faster than they’ll forgive bad audio. The same goes for downstream transcription.
Route system audio intentionally. Mute notification sounds. Close apps that might interrupt the session. If your software lets you separate audio sources, do it. That gives you a chance to recover from mistakes later instead of baking every sound into one track.
A short pre-flight checklist helps:
- Silence interruptions: Messaging apps, calendar alerts, and browser pings should be off.
- Test levels: If the platform audio is too hot or too quiet, fix it before the session starts.
- Wear headphones when monitoring live: That prevents feedback loops and accidental bleed.
Check stream health before you commit
A shaky source produces a shaky recording. One of the clearest early signals is startup performance. Mux’s guide to live streaming analytics notes that video startup times exceeding 2 seconds correlate with significant viewer abandonment. For capture work, that same signal is useful because slow startup can indicate a weak or unstable source before you record.
If the stream starts slowly, buffers early, or fails to settle, don’t assume the recording will somehow come out clean. Wait, reload, switch networks, or move devices if needed.
If your connection is the suspect, it helps to check fiber speeds for smooth broadcasts before an important session. That won’t fix a bad source platform, but it can eliminate your own network as the bottleneck.
Record a short sample, stop, and review it with headphones. Problems are easier to catch in the first minute than after an hour-long session.
One more practical detail: store files in a format your editing and transcription tools can handle comfortably. If you’re unsure what container to keep, a plain-language guide to the best video format for your workflow helps avoid unnecessary conversions later.
Understanding DRM and Legal Boundaries
A lot of online tutorials jump straight to bypass techniques. That’s the wrong starting point.
DRM, or Digital Rights Management, is the access-control layer many streaming services use to protect content. If a platform uses DRM, it’s telling you very clearly that the content is controlled, licensed, and not meant to be copied freely.
The issue most recording guides skip
The problem isn’t just whether a trick works. It’s whether using that trick violates terms or creates legal exposure.
As noted in this discussion of DRM bypass tutorials and compliance gaps, many tutorials on capturing streams from services like Netflix or Disney+ explain how to bypass DRM but fail to address the legal and terms-of-service violations involved. For professionals in journalism, research, and corporate roles, that missing context matters more than the workaround itself.
That’s why “can I record it?” and “should I record it?” are separate questions.
A safer decision framework
Use a simple review before you capture:
- Who owns the content: Internal meeting, licensed training, public stream, or commercial entertainment platform.
- What permissions exist: Contract terms, organizational policy, platform rules, and participant consent.
- Why you’re recording: Documentation, accessibility, research, training, or simple convenience.
- How the recording will be used: Internal archive, shared excerpt, published asset, or evidentiary record.
If you can’t answer those clearly, pause before recording.
Legitimate use cases still matter
None of this means video capture is necessarily risky. Plenty of professional uses are straightforward and responsible.
Internal company meetings, non-DRM webinars, research interviews, public domain material, and accessibility-driven documentation are all common reasons organizations capture video. The key is to treat consent, licensing, and handling rules as part of the workflow, not an afterthought after the file already exists.
Good capture practice includes permission, retention rules, and audience limits. The file itself is only one part of compliance.
If people appear in the recording, release and consent processes may matter too. A practical video recording release form guide can help teams document expectations before sessions begin.
Turn Your Captured Video into Actionable Insights
A raw recording has value, but it’s hard to use. Nobody wants to scrub through a long file just to find one quote, one decision, or one moment where the discussion shifted.
That’s why the post-capture workflow matters as much as the recording itself.

What makes a capture useful after recording
The useful version of a captured stream is usually not the video file. It’s the package around it:
- A transcript so people can search and scan
- A summary so a manager or editor can understand the session quickly
- Key takeaways so the main points don’t stay buried in the timeline
- Action items so the recording leads to decisions, not just storage
This is even more important when teams capture more than one source. As noted in this discussion of multi-source capture and synchronized transcription workflows, many guides focus on recording a single stream but miss the workflow of capturing and transcribing multiple simultaneous streams from platforms such as YouTube, VK, Facebook, and Reddit for comparative analysis or research. That creates an organizational problem as much as a technical one.
A simple post-capture routine
A practical routine looks like this:
- Name the file clearly with date, source, and topic.
- Store source context such as platform, participants, and purpose.
- Create searchable text from the audio.
- Extract the decisions and open questions.
- Group related captures if the project spans multiple streams or sessions.
That’s the difference between an archive and a working knowledge base. A file on a drive is passive. A transcript with searchable moments, summaries, and next steps can move work forward.
For teams doing research, monitoring, education, or recurring meetings, capture transitions from a defensive habit into a useful system.
If you’re capturing video because you need decisions, quotes, notes, or searchable records afterward, HypeScribe gives you a practical next step. Upload recorded files, process supported video links, or transcribe live meetings so the result isn’t just a saved stream, but a transcript, summary, key takeaways, and action items your team can use.