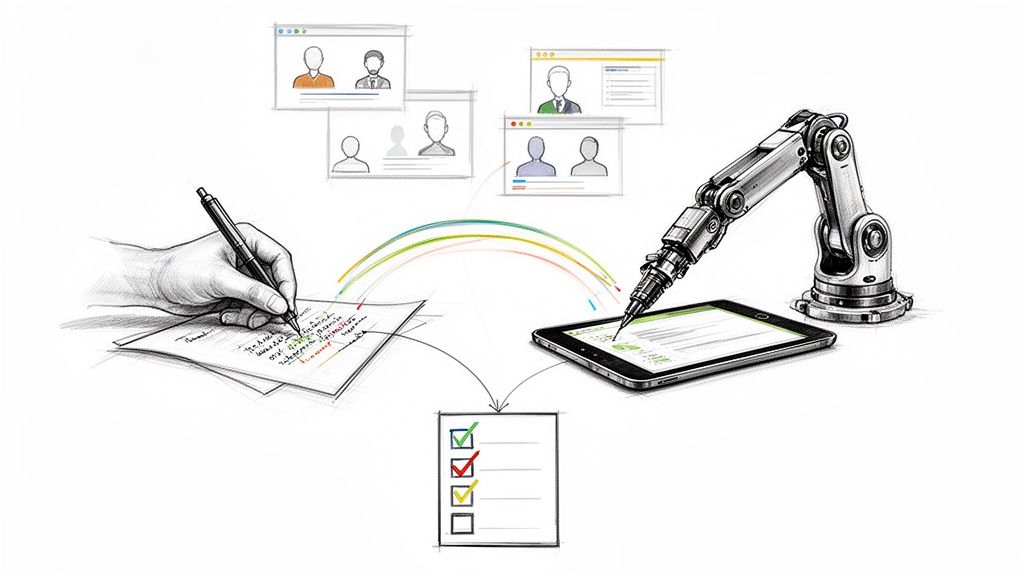
How to Convert OGG to MP4 The Right Way (All Methods)
You’ve probably got an OGG file sitting on your desktop right now that refuses to fit the next step in your workflow.
It might be a meeting recording, a lecture capture, a field interview, or a voice note exported from a recorder app. The audio plays fine. Then you try to upload it to a platform that expects video, drop it into an editor that behaves better with MP4, or send it into a transcription workflow that prefers a standardized container. That’s when the friction starts.
The fix is usually simple. The right method depends on what you care about most: speed, control, privacy, batch handling, or ease of use. Some jobs call for FFmpeg. Some are faster in VLC or HandBrake. Some can be handled with an online converter, though that route comes with real compromises.
Why You Need to Convert OGG Files to MP4
A common failure point shows up right after recording. The audio is fine, the file opens locally, and then the upload form, editor, or transcription tool refuses it because the container is wrong for that workflow.
That is why OGG to MP4 conversion matters.
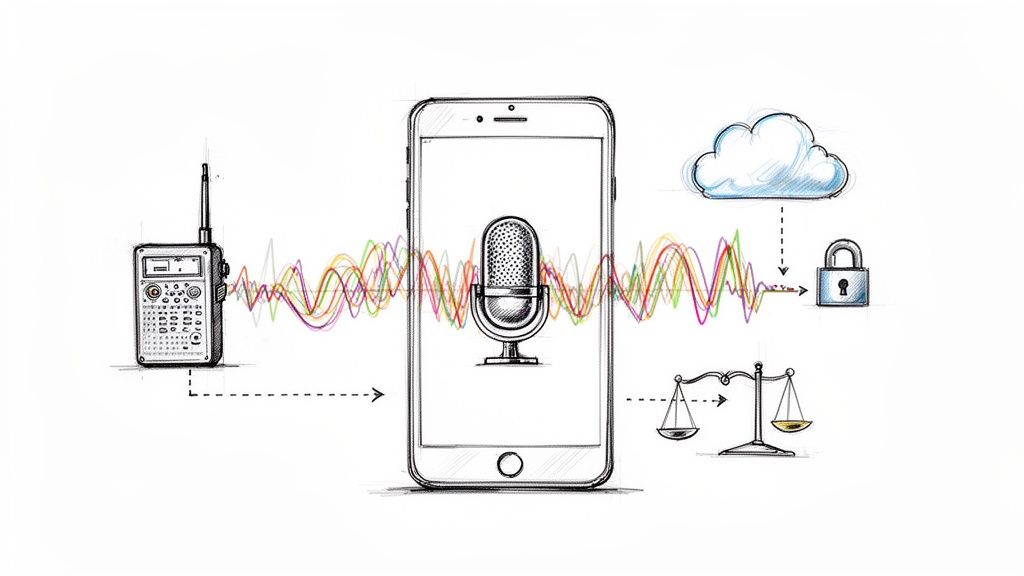
OGG works well for storing audio, especially from recorders, browsers, and open-source tools. MP4 is the safer handoff format when the next step involves editing, sharing across devices, uploading to a platform built around video, or preparing media for automated speech tools. In practice, the conversion is usually less about changing the sound and more about packaging it in a format other systems accept without complaints.
For AI transcription, that packaging choice can save time and improve consistency. A standardized MP4 is easier to queue, preview, archive, and route through mixed tools without stopping to check whether a service supports OGG natively. If the audio is part of a legal interview, client call, research session, or internal meeting, fewer manual workarounds also means fewer chances to expose a sensitive file to the wrong app or person.
Why teams convert in real workflows
The problem usually starts in one of these places:
- Upload systems built for video: Many platforms accept MP4 first and treat audio-only formats as secondary support, if they support them at all.
- Editing software: NLEs and review tools tend to behave more predictably with standard MP4 inputs than with less common audio containers.
- Cross-device sharing: MP4 is easier to pass between phones, browsers, desktops, and cloud systems without codec surprises.
- Transcription pipelines: A consistent container reduces failed imports, odd waveform previews, and avoidable reprocessing.
There is another practical reason. Some OGG files arrive with codec combinations or metadata that one app reads correctly and another app mishandles. Converting to MP4 with known settings gives you a controlled deliverable, which is exactly what you want before sending hours of speech into an AI transcription queue.
In many cases, the MP4 file includes a simple static or black video track so video-based tools will accept it. The goal is compatibility, not visual content.
If you are also deciding what output format fits the rest of your media pipeline, this guide to the best video format for compatibility and delivery helps frame that decision.
A clean conversion removes friction at the handoff points. That matters more than playback alone. It affects upload success, batch processing, storage consistency, and how much cleanup your transcription team has to do later.
The right target is not just “an MP4 that opens.” It is an MP4 that passes through the next tool on the first try, preserves clear speech, and stays inside your security requirements.
Choosing Your OGG to MP4 Conversion Method
Before you convert anything, decide what kind of job this is.
A single short file for personal use is one thing. A folder full of interview recordings, compliance calls, or lecture captures is something else. The wrong method usually fails in one of four places: time, quality control, privacy, or batch handling.
What each method is really for
FFmpeg is the professional choice when you want exact settings and repeatable output. It’s strong when you need to process many files, automate the task, or avoid unnecessary clicks.
Desktop GUI apps like VLC and HandBrake are better when you want a visible workflow. You still get local processing, which matters for sensitive recordings, and you can usually dial in codec and audio settings without touching the command line.
Online converters are for quick, low-risk tasks. They’re easy, but they’re the least predictable for quality, limits, and privacy.
OGG to MP4 Conversion Methods Compared
| Method | Best For | Ease of Use | Control & Quality | Security |
|---|---|---|---|---|
| FFmpeg | Batch jobs, repeatable workflows, precise settings | Low for beginners | Highest control over video wrapper, audio settings, and batch logic | Strong, because files stay local |
| VLC or HandBrake | Everyday desktop conversion with visible controls | High | Good control for most users | Strong, because files stay local |
| Online converters | One-off casual conversions | Highest | Limited, often simplified | Weakest, because files are uploaded to third-party servers |
The trade-offs that matter
If I’m working with interview material, HR recordings, or client meetings, I avoid browser-based converters unless there’s no other option. Local tools keep the file on your own machine, and that alone changes the risk profile.
For people who also work with other format changes, this practical guide on MP4 to AVI is useful because the same decision logic applies: local tools for control, online tools only when the stakes are low.
Here’s the simple decision path I use:
- Choose FFmpeg when you need consistency across many files, want scripting, or care about exact flags.
- Choose VLC or HandBrake when you want local conversion without terminal work.
- Choose an online tool only when the file is non-sensitive and the job is small.
Practical rule: If the file contains anything confidential, don’t upload it to a browser converter just because it’s convenient.
My default recommendation
For most colleagues, I recommend a desktop app first.
It gives you enough control to avoid obvious quality mistakes, but it doesn’t ask you to learn command syntax. If you convert media often, move to FFmpeg. The time you spend learning it pays back quickly when you stop repeating the same manual steps.
The Power User Path Converting with FFmpeg
A terminal-based workflow pays off fast when you have a folder of interview recordings due by the end of the day and the transcript system only accepts MP4. FFmpeg gives you repeatable output, clear logs, and enough control to avoid the small encoding mistakes that turn into bad transcripts later.
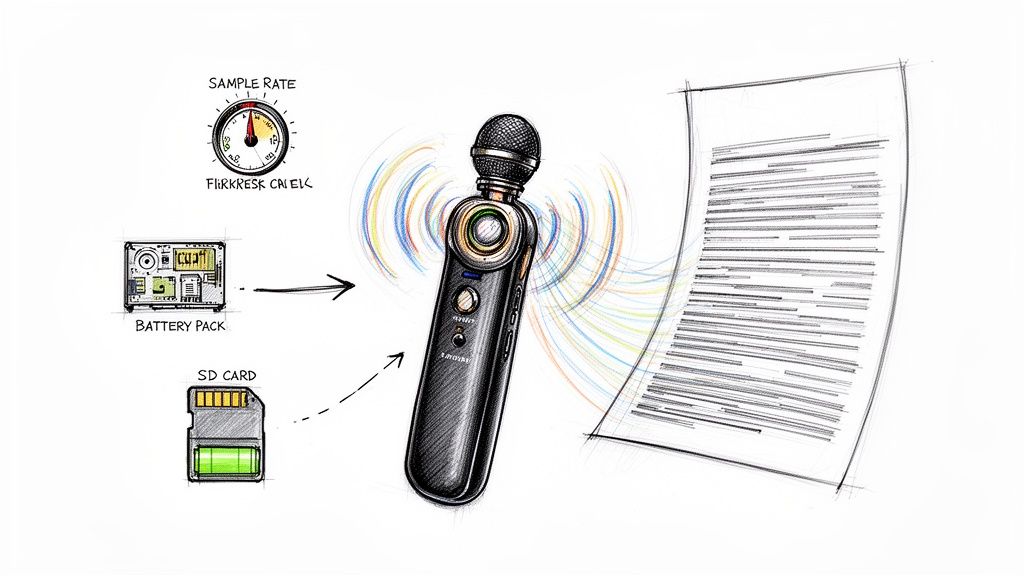
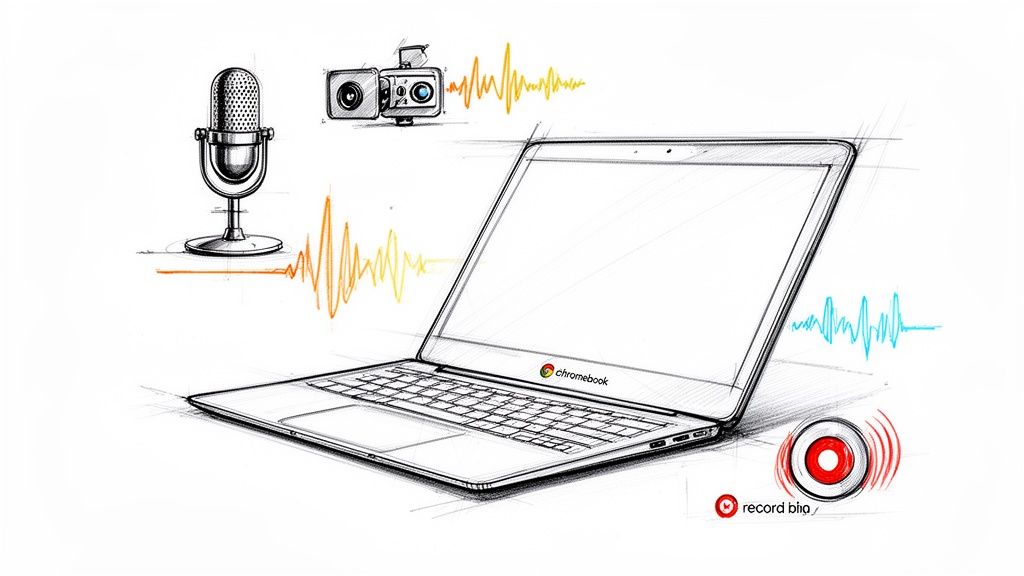
It also forces you to handle the format change correctly. OGG is often audio-only, while MP4 is a container that typically expects a video track, so the practical fix is to pair the audio with a simple visual stream, usually a black frame.
The command that solves the common case
Use this when you need a standard MP4 with a black background and AAC audio:
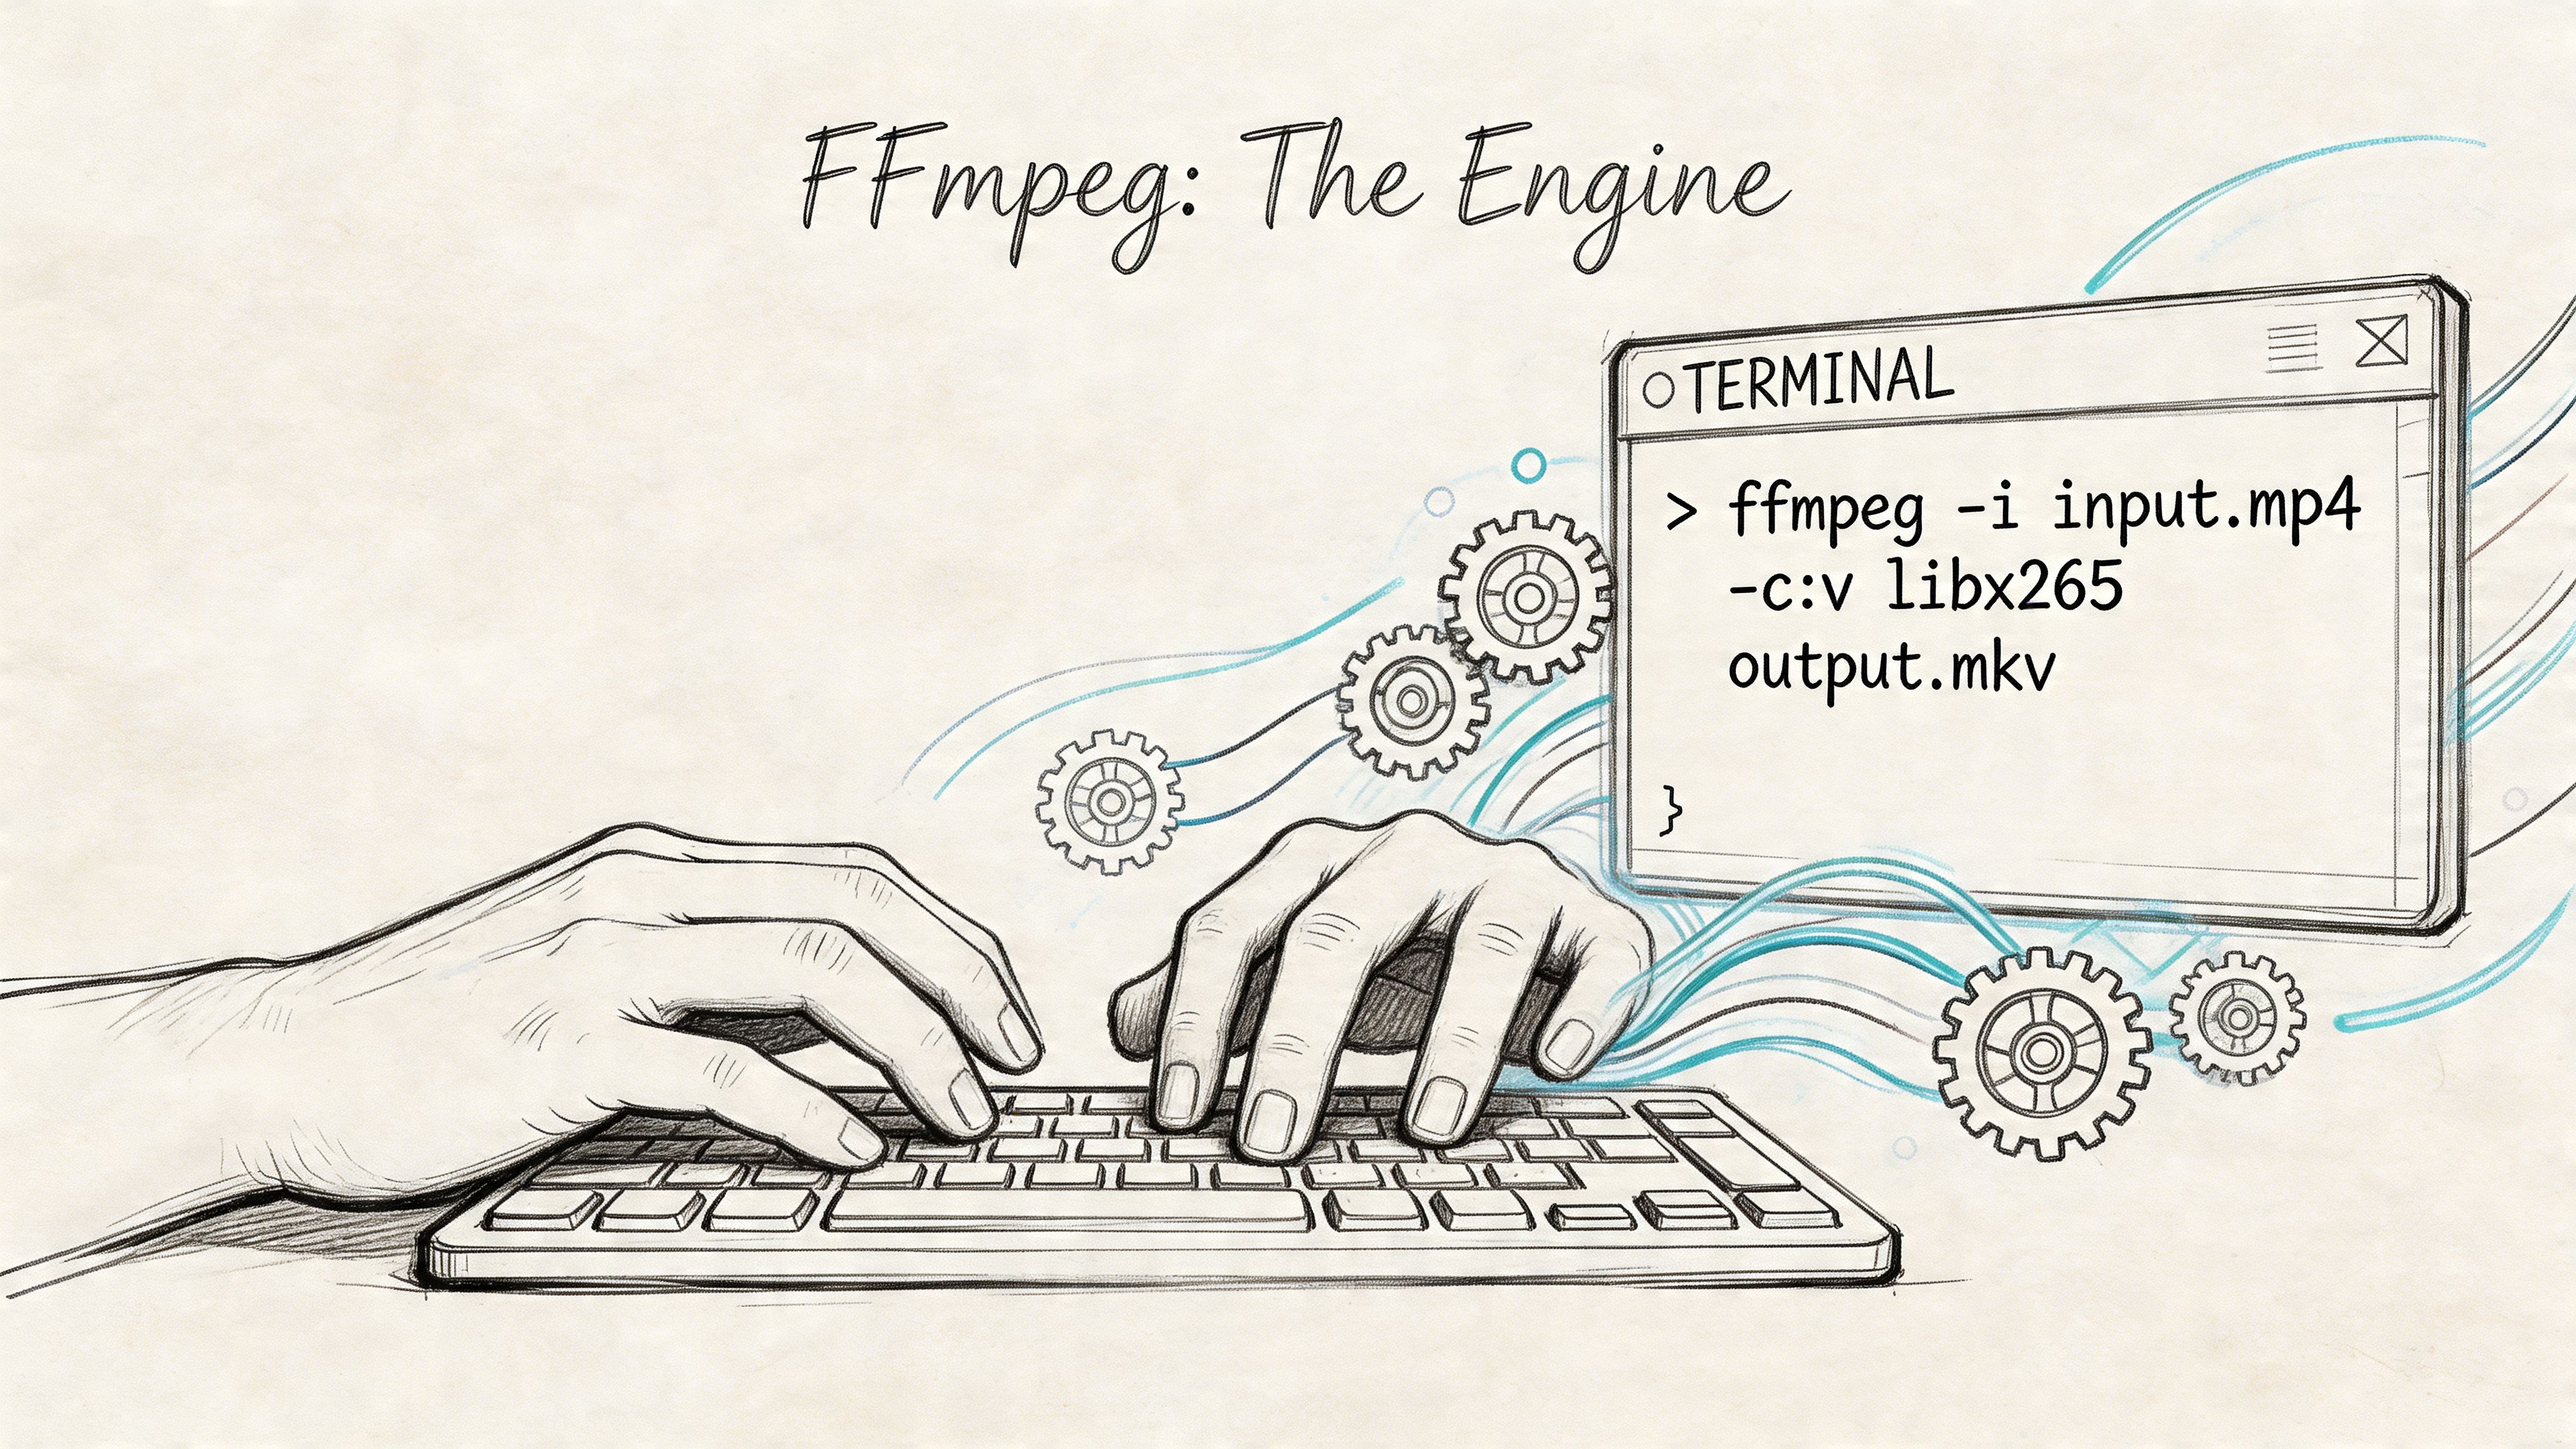
ffmpeg -f lavfi -i color=c=black:s=1920x1080:r=30:d=duration_in_seconds -i input.ogg -c:v libx264 -pix_fmt yuv420p -c:a aac -b:a 128k -shortest output.mp4
This is the command shape I use for dependable, broad compatibility. It creates a synthetic video source, combines it with the OGG audio, and stops the file when the audio ends.
What the command is doing
People often copy FFmpeg commands line for line and only troubleshoot after something breaks. It is better to know which flags matter and which ones are just defaults.
-f lavfiuses FFmpeg’s built-in filter input instead of an existing video file.-i color=c=black...generates the black video track.s=1920x1080:r=30sets a safe, widely supported frame size and frame rate.d=duration_in_secondssets the generated video duration.-i input.oggbrings in the source audio.-c:v libx264encodes video as H.264, which plays well across devices and platforms.-pix_fmt yuv420pavoids compatibility problems with players that reject less common pixel formats.-c:a aacconverts the audio to AAC, the codec you usually want inside MP4.-b:a 128ksets the audio bitrate.-shorteststops the output at the end of the shorter stream, which is usually the audio.
That last option prevents a lot of wasted time. Without -shortest, it is easy to generate an MP4 that outlives the audio or cuts off in ways that confuse downstream tools.
Better settings for transcription-ready output
If the file is headed to AI transcription, I usually tighten the audio settings instead of relying on a generic preset.
A practical version looks like this:
ffmpeg -f lavfi -i color=c=black:s=1920x1080:r=30:d=duration_in_seconds -i input.ogg -c:v libx264 -pix_fmt yuv420p -c:a aac -b:a 192k -ar 44100 -shortest output.mp4
The reason is simple. Transcription systems care far more about clean, stable audio than they do about video quality. A black H.264 stream is just there to satisfy the container. The audio settings do the essential work.
I usually raise AAC to 192k for spoken-word material that has multiple speakers, crosstalk, or light room noise. Adding -ar 44100 can also smooth out compatibility with services that are picky about ingest. If a model or platform asks for mono, add -ac 1. If speaker separation matters, keep stereo and test before standardizing it.
Batch conversion for a folder of OGG files
FFmpeg becomes far more useful once you stop treating it as a one-file tool.
For batch work, I usually wrap the command in a shell loop so each .ogg file gets its own .mp4 output name. The exact syntax depends on whether you are on macOS, Linux, or Windows, but the advantage is the same in every case. You get consistency across the whole batch, and you do not have to trust yourself to click the same options twenty times in a row.
That consistency matters for transcription jobs. Mixed bitrates, mixed sample rates, and inconsistent channel settings produce uneven results and make troubleshooting harder when one file comes back with poor recognition.
Pitfalls that waste the most time
Three problems show up often in real conversion work.
Duration mismatch
The black video source and the audio do not always line up cleanly. If the output ends too early or keeps playing as silent video after the audio is done, check the generated duration and keep -shortest in place.
Sample rate trouble
Some OGG files come in with odd sample rates or metadata that downstream tools handle badly. Adding -ar 44100 is often enough to produce a cleaner handoff.
Channel mismatch
Older or unusual files can trigger channel layout issues, including silent output or strange playback behavior. If that happens, forcing stereo with -ac 2 is a good repair step.
When to try audio copy
You can test -c:a copy if preserving the original audio stream matters more than broad MP4 compatibility. I only do that in tightly controlled workflows, because support varies and failed muxing is common enough to make it a poor default.
For general use, AAC is the safer choice. It is easier to share, easier to transcribe, and less likely to create ingestion problems when the file reaches an editing app, cloud storage previewer, or AI transcription pipeline.
User-Friendly Conversion with VLC and HandBrake
Not everyone wants to live in Terminal, and they shouldn’t have to.
For everyday work, VLC and HandBrake handle ogg to mp4 adequately. They’re local desktop tools, so you keep the privacy benefits of offline conversion, but you get visible controls instead of command syntax.

Using VLC when you need a quick desktop conversion
VLC hides its converter more than it should.
Open Media, then choose Convert / Save. Add your OGG file. Click Convert / Save again. For the profile, pick an MP4-friendly option such as Video - H.264 + MP3 (MP4) if that’s what your version offers, then review the profile settings before you run it.
A few practical notes matter here:
- Check the destination path: VLC doesn’t always make the save location obvious.
- Review the profile details: If you can edit the profile, aim for H.264 video and AAC audio rather than accepting the first preset blindly.
- Use a visible filename: Add
.mp4yourself if needed so the output lands where you expect.
VLC is fine for one-off conversions. It’s less comfortable when you need a polished batch process or tighter control over output consistency.
HandBrake is better when repeatability matters
HandBrake feels more intentional for production work.
It’s built around presets, queue management, and output review. That makes it easier to process multiple files with the same settings, which is exactly what you want when a folder of recordings needs to end up in a uniform MP4 format.
Use this setup as your baseline:
- Container: MP4
- Video codec: H.264
- Audio codec: AAC
- Audio setting: 192kbps / 44.1kHz
The verified guidance for modern GUI converters says tools like VideoProc or HandBrake can use GPU hardware acceleration for speeds up to 47x faster than CPU-only processing, and enabling hardware acceleration can improve speeds by 5 to 10x on compatible systems. It also recommends H.264 video and AAC at 192kbps / 44.1kHz to avoid degradation, as described in the verified converter guidance from Wondershare’s OGG to MP4 resource.
Where GUI tools usually go wrong
The failure points in desktop apps aren’t dramatic. They’re usually quiet settings mistakes.
Codec mismatch
Some presets are optimized for playback, not interoperability. If a preset chooses an odd audio codec, change it to AAC.
Hardware acceleration left off
If your system supports it, turn it on. The gain is mostly about throughput, not magic quality improvement, but it matters when you’re processing a stack of files.
A quick walkthrough can help if you want to see the basic flow before clicking through menus:
Output assumptions
HandBrake gives you more explicit controls than VLC, but that also means you can accidentally save a bad preset and repeat the same mistake across a queue. Check one finished file before launching the rest.
GUI tools are strongest when you create one reliable preset and stop tweaking it on every job.
Which one I’d pick
For a colleague who just needs to convert a few files, I’d hand them VLC first because it’s often already installed.
For ongoing media work, I’d move them to HandBrake. The queue, presets, and cleaner output controls make it easier to stay consistent.
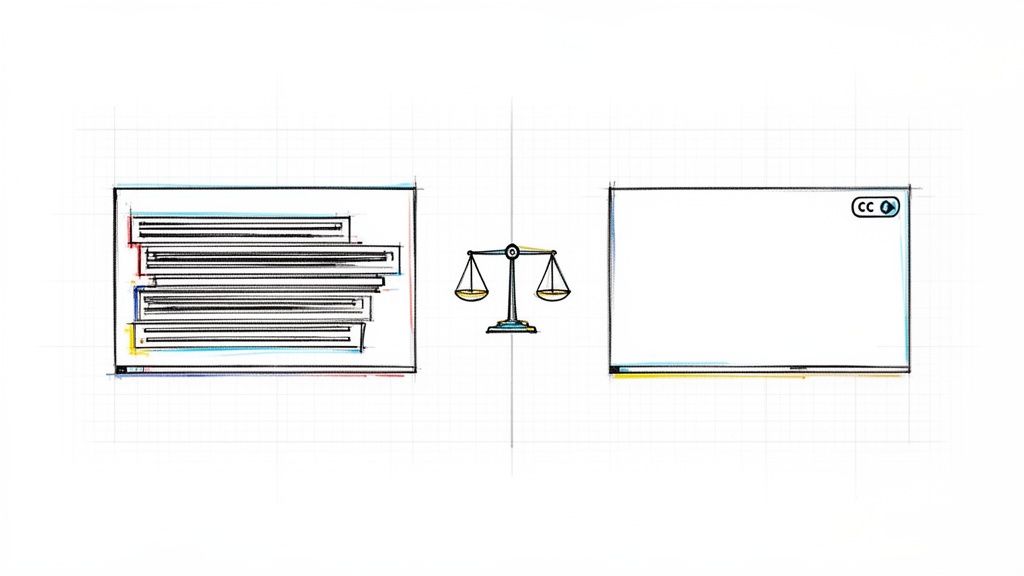
Using Online Converters The Trade-Offs
Online converters look tempting because they remove setup.
You drag in the OGG file, wait a moment, download an MP4, and move on. For a disposable file and a one-time task, that can be good enough. But for serious work, this is usually the weakest option.

Why people use them anyway
The convenience is real.
There’s no software to install. The interfaces are simple. Tools such as FreeConvert, Zamzar, Clideo, and similar services are built for speed of entry, not for deep media handling.
For a non-sensitive voice memo, that’s fine.
The problems start when the file matters
The main issue isn’t that online converters never work. It’s that they often hide the constraints that matter most.
Verified data shows that top-ranking online ogg to mp4 converters often advertise batch processing, but practical limits are typically 5 to 10 files with unstated size caps around 250MB, making them a poor fit for professional workflows. The same verified data also notes that server-side compression can degrade OGG Vorbis at 128kbps to MP4 AAC at 96kbps, which is a real quality drop for downstream use, according to the verified guidance from online-convert workflow analysis.
That means the “easy” route can break down in three ways:
- Privacy risk: Your recording leaves your machine and sits on someone else’s infrastructure.
- Workflow limits: Batch promises may not hold up once you have more than a small handful of files.
- Uncontrolled compression: The service may optimize for delivery speed rather than fidelity.
Browser converters are for convenience. They’re not where I’d put interview audio, HR discussions, or client material.
A reasonable way to use them
If you still choose an online converter, keep the use case narrow:
- Use non-sensitive files only
- Stick to one-off jobs
- Listen to the output before sending it anywhere else
- Avoid relying on it for a folder of recordings
That last point matters more than most tutorials admit. The web tool may look like it supports a production workflow when it really supports a casual upload flow.
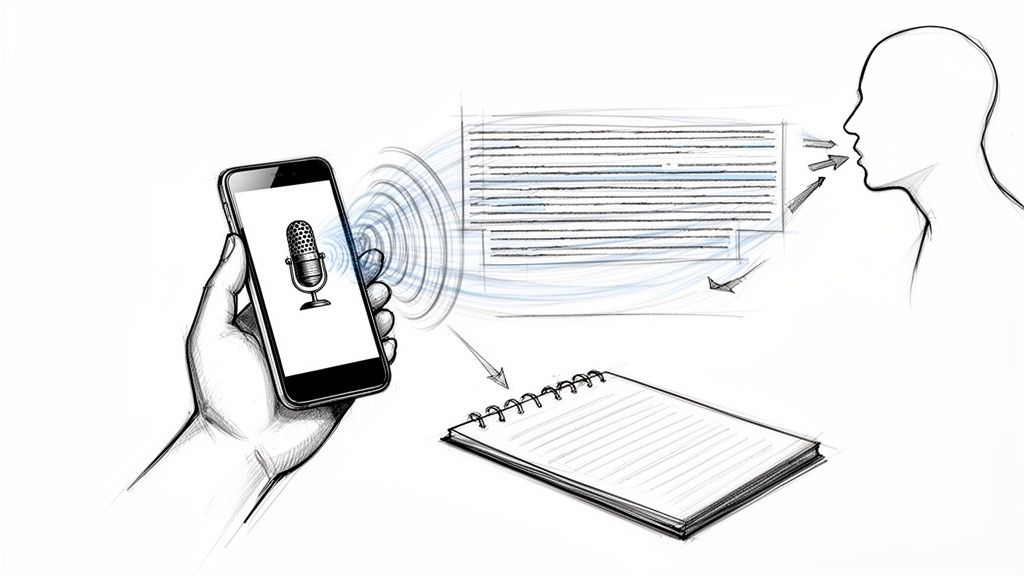
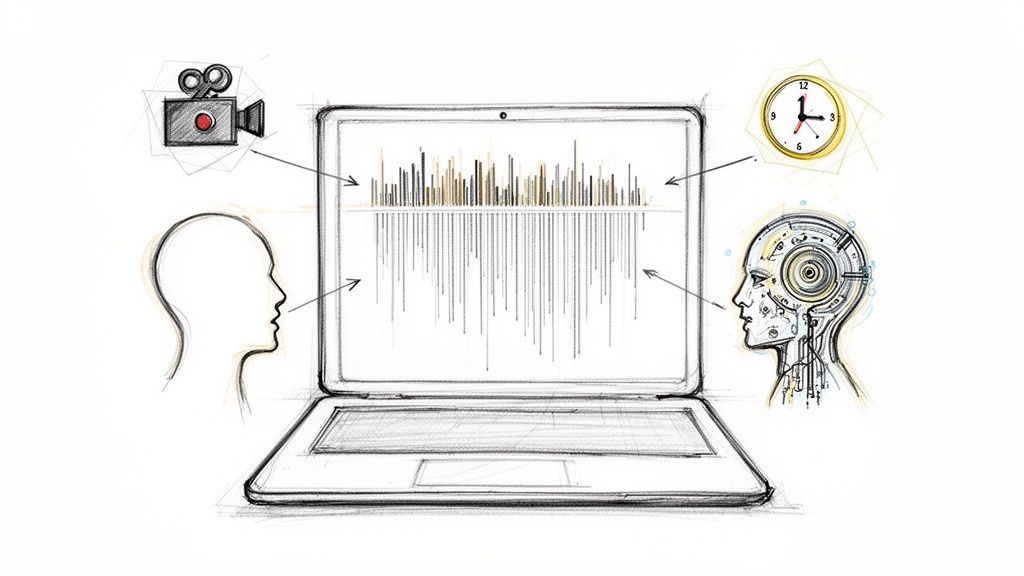
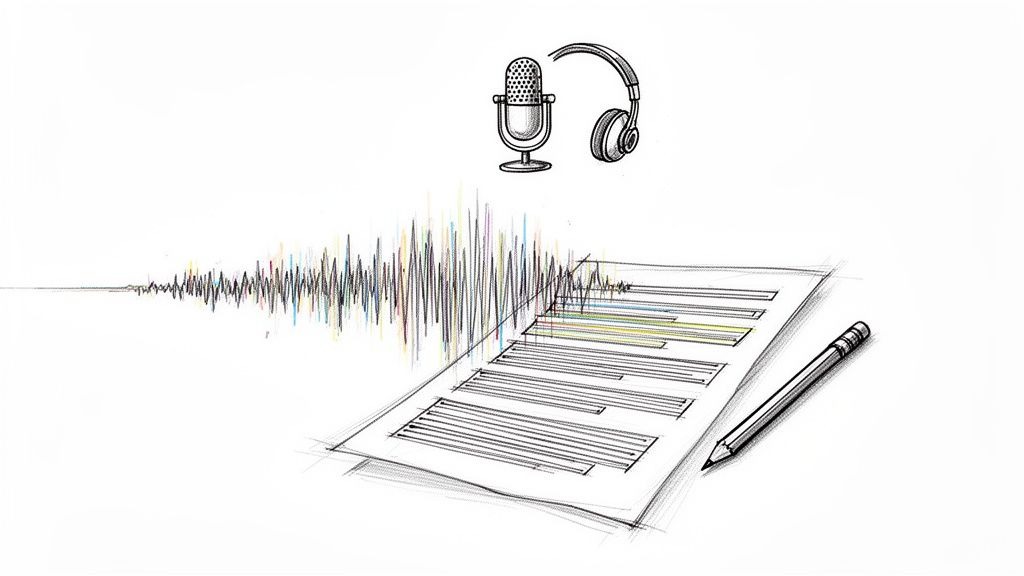
Optimizing MP4 Files for AI Transcription Workflows
Converting OGG to MP4 isn’t the end of the job if your real goal is transcription.
The file can be technically valid and still be a poor input. What helps AI transcription most is a clean, standardized MP4 with predictable audio settings, one stable track, and no unnecessary damage introduced during conversion.

What makes an MP4 transcription-ready
I treat transcription prep like ingest prep in post-production. The less ambiguity in the file, the fewer surprises later.
A good target looks like this:
- H.264 video wrapper: Simple and widely accepted.
- AAC audio: Standard, stable, and easy for downstream systems.
- 44.1kHz sample rate: A dependable middle ground for compatibility.
- Single clean output file: No weird channel layout, no clipped ending, no hidden mux issue.
If you’re handling sensitive recordings, local desktop tools remain the smarter choice. They let you prep the file without pushing private material through third-party conversion servers.
Settings that help rather than hurt
The biggest transcription mistakes usually happen before the transcript ever starts.
People accept a low-quality web conversion. They downsample aggressively. They let a preset create odd audio behavior. Then they blame the transcript.
What works is boring and consistent:
- Prefer desktop conversion for private material
- Use AAC audio at a sensible bitrate
- Normalize your sample rate to 44.1kHz when needed
- Check the final file once before upload
If you want a broader walkthrough on how to transcribe video automatically, that guide is a useful companion because it covers the transcription side after your file prep is done.
For related prep work, this guide on extract audio from video freeware is also handy when you need to move in the other direction and isolate audio cleanly from a video source.
Clean conversion is part of transcription quality control. A sloppy wrapper or compressed output can create problems long before speech recognition starts.
The practical standard I’d use
Generally, I’d keep the rule simple: convert locally, use H.264 plus AAC, keep the audio clean, and don’t overcomplicate the wrapper.
That gives you a file that uploads easily, plays everywhere, and behaves predictably in AI transcription systems. The best workflow is rarely the most exotic one. It’s the one that avoids avoidable damage.
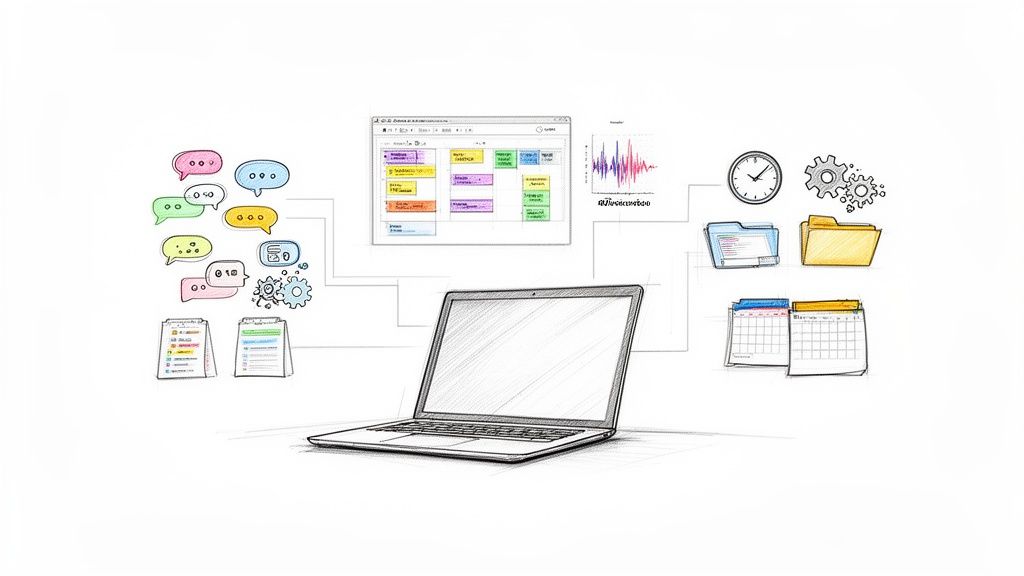
If you want to turn those converted MP4 files into searchable transcripts, summaries, action items, and meeting notes fast, HypeScribe is built for that workflow. Upload audio or video, paste a link, or record directly, then get accurate text output in seconds with export options that fit real team use.