How to Turn on Closed Captioning: Step-by-Step

You’re probably here because captions failed you at the exact wrong moment.
Maybe you were watching a training video in a noisy café and could barely hear the speaker. Maybe your professor recorded a lecture with a weak microphone. Maybe you joined a Zoom call where one teammate spoke too fast, another had an accent you were still getting used to, and the meeting moved on before you caught the key point.
That is usually when people search for how to turn on closed captioning.
The good news is that most devices already support captions. The frustrating part is that every app hides the setting in a slightly different place. Some call it CC, some use Subtitles, and others bury it under Accessibility.
Once you know where to look, the process gets much easier. And if you work in education, remote teams, interviews, webinars, or video production, turning captions on is only the starting point. You also need to know what to do when built-in captions lag, disappear, or are not accurate enough for professional use.
Why Captions Are More Than Just Words on a Screen
You notice the value of captions fastest when the stakes are small but the cost of missing a word is high. A training video is playing in a noisy café. A recorded lecture has muddy audio. A teammate says the deadline once in a fast meeting, and that one detail matters.
Captions help in those moments because they do two jobs at once. They make speech visible, and they slow spoken information down just enough for your brain to grab it. Audio passes by like a train. Captions leave the doors open a little longer.
That matters for accessibility first. For Deaf and hard-of-hearing viewers, captions are part of what makes a video, class, or meeting usable. They also support people who process information better through both reading and listening, people learning English, and anyone trying to follow technical terms, names, or numbers that are easy to miss the first time.
Captions also solve a professional problem that basic how-to guides often skip. In remote work, one missed sentence can mean a wrong task, a delayed project, or notes that do not match what was said. For content creators, weak captions can confuse viewers, hurt watch time, and create extra cleanup work later. Turning captions on is the first layer. Checking whether they are accurate is the next one.
If you are still fuzzy on the basics, this guide to what closed captioning means is a useful starting point.
Key takeaway: Captions do more than display dialogue. They support access, improve comprehension, and help teams and creators capture information accurately enough to use later.
Learning how to enable captions matters because it gives you a more reliable way to follow videos, meetings, and lessons from the beginning, instead of replaying them after you miss something.
Enabling Captions on Streaming and Social Media Apps
You open a training video on your laptop during a noisy workday, then switch to your phone on the train, then cast the same video to a TV at home. The content is the same, but the caption switch keeps moving. That is what trips people up. Captions usually live inside the app’s player, but every platform hides the control in a slightly different place.
One label can also cause confusion fast. Some apps say captions. Others say subtitles. If the track includes spoken dialogue plus cues like music, laughter, or sound effects, you are usually looking for closed captions. If you want the distinction explained clearly, this guide to open vs closed captions gives a helpful side-by-side comparison.
Turning on captions on YouTube
YouTube keeps the control in plain sight on many videos, which makes it a good starting point.
On desktop
- Open the video.
- Look in the bottom-right corner of the player.
- Click CC.
- For language or formatting options, click the gear icon, then Subtitles/CC.
On mobile
- Open the YouTube app.
- Start the video.
- Tap the screen to reveal playback controls.
- Tap the settings icon.
- Choose Captions.
Some YouTube videos use captions uploaded by the creator. Others use automatic captions generated by YouTube. For a casual viewer, that means you may see a caption button even if the channel owner never added a caption file. For a remote team or content creator, it means one more thing. Auto-captions are useful for access and quick review, but they can still miss names, product terms, or technical vocabulary. If accuracy matters for training, client communication, or repurposing clips later, check the caption quality instead of assuming the default track is good enough.
If the CC button is missing, the cause is usually one of these:
- The creator did not provide a caption track.
- The available track does not support your language.
- You are viewing a version of the player with fewer controls, such as a short embed.
Activating subtitles on Netflix
Netflix places caption controls inside the video player too, but the menu name is usually Audio & Subtitles.
On a TV or streaming device
- Start the show or movie.
- Open the playback menu with your remote.
- Select Audio & Subtitles.
- Choose the subtitle or caption track you want.
On a browser
- Move your cursor over the video.
- Click the speech bubble or subtitle icon.
- Pick your preferred option.
On a phone or tablet
- Tap the screen while the video plays.
- Tap Audio & Subtitles.
- Select the caption track.
If the text looks tiny, clipped, or hard to read, check two places. Netflix may offer its own caption options, and your device may also apply system accessibility settings on top. Those two layers work like stacked filters. If one is set to small white text and the other adds a bright background or different font, the final result can look different from what you expected.
Using captions on smart TVs and cable boxes
TVs add another layer of confusion because the screen you watch and the device sending the video may each have their own caption setting.
A smart TV app, a Roku, an Apple TV, a Fire TV stick, and a cable box can all handle captions differently. If you turn captions on through the TV menu but the cable box keeps them off, the video may still appear without text. That is why this setup feels inconsistent. You are often dealing with two switches, not one.
If you use a cable box, check the box menu directly:
- Press Menu
- Open Settings or Settings & Support
- Look for Accessibility
- Turn on Closed Captioning
If captions still do not appear, test both layers separately:
- Turn captions on in the TV settings.
- Turn them on again in the streaming device or cable box menu.
This matters for more than entertainment. Teams that stream webinars or review recorded presentations on office TVs often lose captions because the playback device and the display are not using the same setting.
Captions on Instagram, TikTok, and similar social apps
Social platforms rearrange menus often, but the logic stays fairly stable. Start by checking the video player itself, then the post menu, then account-level accessibility settings.
Look in these places:
- The three-dot menu on the post, reel, or video
- A CC button on the player
- Accessibility, Captions, or Media settings in your profile
- Creator tools if you are posting your own video
These apps are especially important for content creators because caption availability often depends on what the person who posted the video did during upload. If the creator added captions, viewers can usually turn them on or read them automatically. If no caption track exists, there may be nothing to switch on. In that case, you may need to rely on your device’s live caption feature or create your own captioned version before publishing. That extra step saves your audience from guessing at product names, fast speech, and industry jargon.
A quick way to find the right setting
Use this rule when the menu feels hidden: start with the video player, then check the device playing the video.
| Device or app | Where captions usually live |
|---|---|
| Streaming app like Netflix or YouTube | In the video player |
| Smart TV | Accessibility or playback settings |
| Cable box | Device menu, not just TV menu |
| Social media app | Player controls or account settings |
If you still cannot find captions after checking those spots, ask one practical question: is the app missing captions, or is the device blocking them? That question usually points you to the right fix faster than tapping through every menu at random.
Activate System-Wide Captions on Your Computer and Phone
You are on a work call, someone shares a video, then a teammate starts speaking over it. The app has no visible CC button. Your phone is easy to hear at home, but not on a train, in a shared office, or while a baby is sleeping in the next room. That is the moment system-wide captions help.
System-wide captions sit at the device level instead of inside one app. In plain terms, your phone or computer becomes the backup plan. If a website, podcast player, internal training portal, or social app does not offer its own caption track, your device can still try to turn speech into readable text on screen.
That is useful for everyday viewing. It is also useful for remote teams and creators who jump between meetings, review clips, and voice notes all day. One setting can cover several jobs.
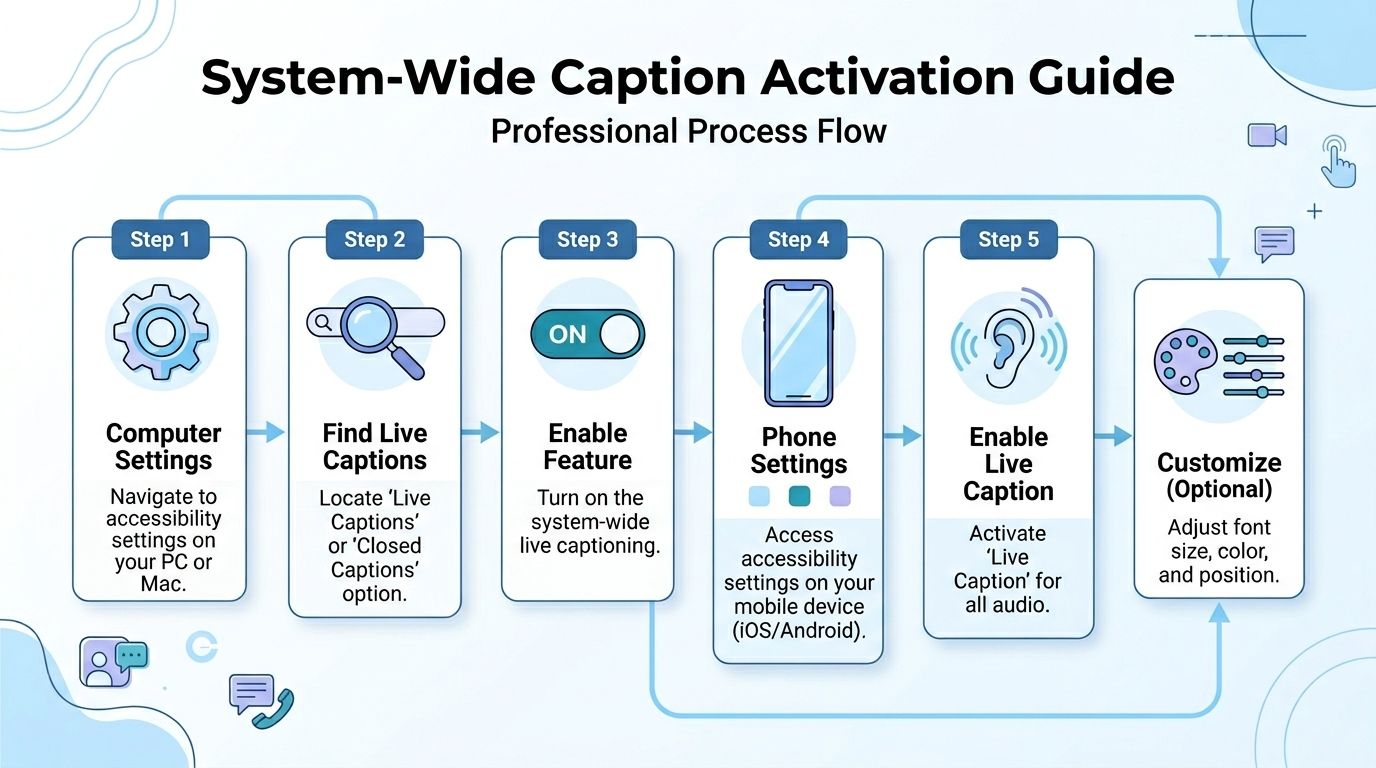
Google, Apple, and Microsoft all offer caption features at the operating system level, although the names and menus differ. The labels can be confusing at first, so focus on the idea instead of the branding. You are looking for a device setting that captions audio across apps, not just inside a single video player.
Windows 11 live captions
Windows 11 includes a built-in live caption feature that can catch speech from many kinds of audio on your computer.
Try this path:
- Open Settings
- Select Accessibility
- Choose Captions
- Turn on Live Captions
Some PCs also show this in Quick Settings, which saves time if you turn captions on and off often.
Once it is enabled, Windows places a caption layer over supported audio. A webinar replay in your browser, a recorded lesson, and parts of a voice call may all show text in the same caption window. That consistency helps when you work across several apps and do not want to hunt for a new setting every time.
You can usually adjust:
- Text size
- Caption position
- Color and background
- How visible the caption window stays
If the captions appear but block buttons or slides, move the caption window before the meeting starts. It is a small setup step, but it saves a lot of mid-call frustration.
Android live caption
Android often hides this feature in two different places, which is why many people miss it.
Check either of these:
- Settings > Accessibility > Live Caption
- Press a volume button, then tap the caption icon if your phone shows it
Android’s version is helpful when the source app has no caption support at all. Voice notes, short clips, podcasts, and even audio messages can become easier to follow without needing the app developer to add a CC menu.
For privacy-conscious users, Android may process some captioning on the device itself depending on the feature and setup. If you handle client calls, internal demos, or rough content drafts, that local processing can feel more comfortable than sending every spoken word somewhere else.
iPhone and iPad caption settings
Apple uses different wording from many other devices. Instead of hunting only for “closed captions,” look for Subtitles & Captioning.
On iPhone or iPad, try:
- Open Settings
- Tap Accessibility
- Tap Subtitles & Captioning
- Turn on Closed Captions + SDH
You may also see style controls for:
- Font
- Text size
- Background
- Opacity
Readable captions matter. If the text is tiny, low-contrast, or covered by a bright background, the feature is on in theory but not helping in practice.
If you create content on an iPhone or iPad, spend a minute adjusting style settings before reviewing your own clips. It is much easier to catch name errors, missed jargon, or awkward auto-captions when the text is comfortable to read.
What about Mac
Mac settings can vary by macOS version and by the app you are using, so the path is not always identical.
Start with:
- System Settings
- Accessibility
- Captions or Hearing
Then check the app itself. On desktop devices, captions often work in layers. The system can control appearance and accessibility preferences, while Safari, Chrome, Zoom, a video editor, or a media player may still have its own caption switch. If one layer is on and the other is off, it can look like captions are broken when they are really just split across two menus.
When system-wide captions are the better choice
Use system-wide captions when:
- A website has no visible CC button
- You are listening to audio-only content
- You switch between many apps during the day
- You want one setting that covers more of your workflow
- You need backup captions during live work, such as meetings, training sessions, or review calls
Tip: Turn on system-wide captions before you need them. Setting it up during a fast-moving class, client meeting, or team call is much harder once people are already talking.
For many readers, this is the simplest way to turn on closed captioning across devices. You stop chasing hidden controls inside each app, and you give your computer or phone permission to help wherever audio appears.
Using Live Captions in Zoom, Google Meet, and Teams
You join a Monday morning call. One teammate is in a quiet home office. Another is in an airport. Someone shares quarterly numbers while a new hire asks a question in the chat, and the project name gets pronounced three different ways in five minutes. In that kind of meeting, captions are not just a convenience. They are a second set of ears.
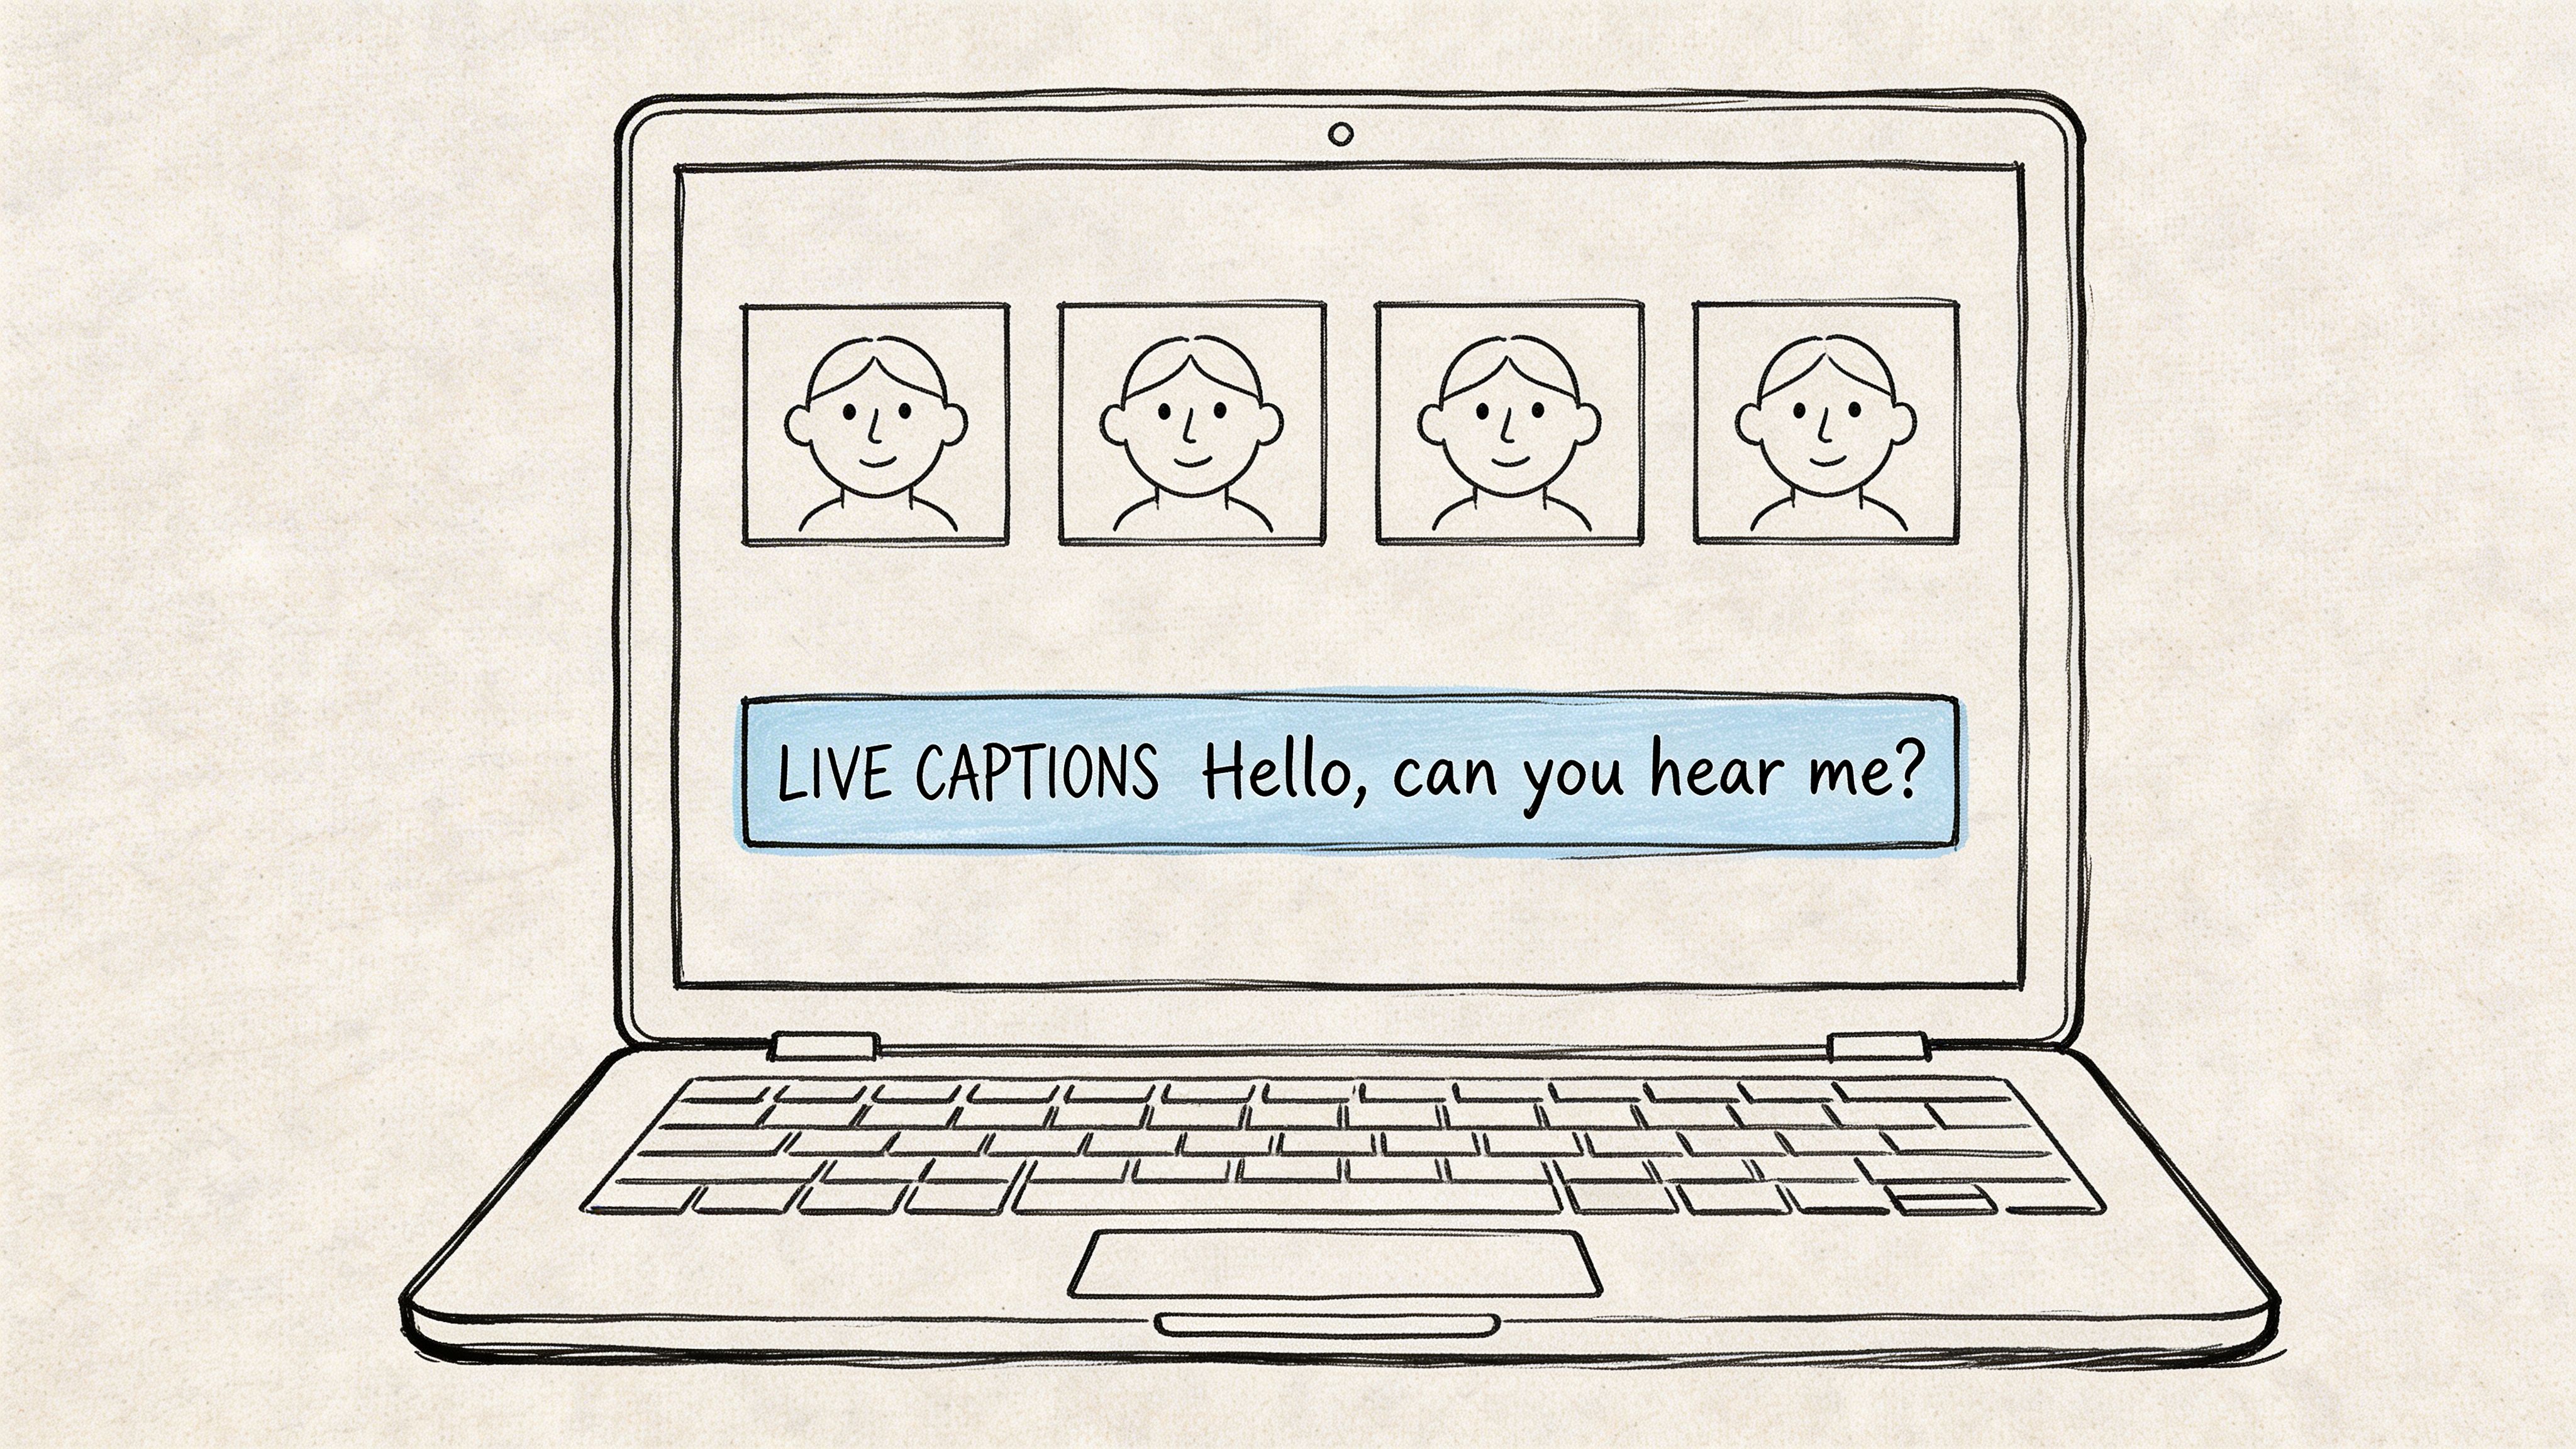
Live meeting captions work differently from captions on a finished video. A streaming app reads from a prepared file. Zoom, Meet, and Teams have to listen, interpret, and display words in real time while people interrupt each other, switch microphones, and deal with uneven internet. That is why live captions can feel less polished, even when the feature is turned on correctly.
For remote teams, that difference matters. If someone misses a client name, a deadline, or a decision because the audio dropped for two seconds, the cost is not just annoyance. It can change what happens after the meeting. For content creators, live captions also pull double duty. They help guests follow the conversation now, and they create a rough text record you can later clean up for clips, transcripts, and repurposed content.
Zoom live captions
Zoom captions can be controlled in more than one place, which is why people often get stuck.
As a participant, start by checking the meeting toolbar for Show captions or Live Transcript. If the toolbar is condensed, open More. If you still do not see anything, the host may need to start captions first or enable them in the meeting settings.
As a host, check your Zoom account settings before the call begins. Captions may be disabled at the account level, at the group level, or only for that specific meeting. It helps to think of this like a building with several light switches. If the main breaker is off, flipping the small switch in the room will not help.
Two common problems cause confusion:
- Captions are available, but no one has started them yet.
- The host or admin turned the feature off higher up in Zoom settings.
If accuracy matters for training, webinars, or recorded interviews, ask speakers to use headsets and mute when they are not talking. Better audio in almost always means better captions out.
Google Meet captions
Google Meet is usually the quickest of the three for participants. In many meetings, you can turn captions on yourself from the lower toolbar by selecting Captions.
If the button is not visible, open the extra options menu and look again. Meet can also behave differently depending on the browser, your Google Workspace settings, and the language being spoken. Chrome and Edge usually give the smoothest experience.
Meet handles clear, one-at-a-time speech well. It struggles more with overlap, fast back-and-forth discussion, and specialized terms. If your team uses product names, client acronyms, or technical vocabulary, say them clearly the first time. That small habit gives everyone, including the caption system, a better chance to keep up.
Microsoft Teams captions
In Teams, open the meeting controls and look for Turn on live captions. You may find it directly on the toolbar or under More options, depending on your version of Teams and your organization’s settings.
Teams can also separate features that sound similar but do different jobs:
- Live captions show text during the meeting
- Transcription creates a fuller written record
- Recording saves audio and video for later review
That separation trips people up. Turning on captions does not always mean a transcript will be saved. Starting a recording does not always mean captions appear live on screen. For managers running client calls or internal training, it is worth checking all three before the meeting starts so you are not troubleshooting in front of a full room.
Why live captions miss words
Live captions fail for predictable reasons, and knowing them helps you fix the right thing faster.
The software is trying to do three jobs at once. It has to hear speech, decide what was said, and place the text on screen with almost no delay. Any weak point in that chain can create bad results.
Common causes include:
- Audio lag: the internet delays speech before it reaches the caption tool
- Background noise: fans, keyboard clicks, and speakerphone echo confuse recognition
- Overlapping voices: two people talking at once gives the system no clean sentence to follow
- Names and jargon: unusual terms are harder for automatic captions to guess correctly
A short demo can help you compare the interface and behavior before your next call:
A practical setup for meetings, webinars, and recordings
If the meeting matters, do a quick caption check before anyone important joins.
Use this setup:
- Confirm host permissions early: make sure the platform allows captions before the room opens
- Test one sentence out loud: check whether names and speech are appearing at all
- Use a headset or good external mic: clean audio improves caption quality more than almost any setting
- Ask speakers to pause between turns: even a brief gap helps captions separate one voice from the next
- Keep a backup ready: system-wide captions on your computer can help if the meeting platform struggles
For remote teams, that backup can prevent missed action items. For creators, it can save cleanup time later because your rough transcript starts closer to the words people said.
If you regularly host interviews, classes, or team briefings, treat captions as part of meeting setup, not an extra feature. They work like seatbelts in a car. You hope the call goes smoothly, but you turn them on before you need them.
Troubleshooting Common Closed Captioning Issues
People often assume captions either exist or do not.
In practice, most caption problems sit in the middle. The feature is there, but something is off. The text lags, the button is missing, the words are wrong, or the style makes them hard to read.
Captions are on, but nothing appears
This usually means the player and the device are not agreeing.
Try this checklist:
- Refresh the app or page: Temporary loading issues can block the caption track.
- Pause and replay: Some players fail to load captions until playback restarts.
- Check language selection: You may have selected a language track that is unavailable for that video.
- Test another video: This tells you whether the problem is the platform or the specific file.
On TVs and streaming devices, also check whether the device-level accessibility setting is overriding the app.
Captions are out of sync
This is one of the most distracting problems because the text becomes harder to follow than no captions at all.
Start with the easiest fixes:
- Close and reopen the video.
- If you are in a browser, reload the page.
- If available, switch to another quality setting and back.
- Try a different browser or app version.
If you created the captions yourself, the timing file may need editing. That is especially common with long lectures, interviews, or videos that were trimmed after captions were first generated.
Tip: If captions start correctly and drift later, the issue is often with the source file timing, not your eyes or your internet.
The captions are wrong
Auto-captions help, but they are not magic.
Errors usually spike when the audio includes:
- Technical vocabulary
- Multiple speakers talking over one another
- Poor microphone quality
- Strong background noise
- Names and brand terms
When accuracy matters, do not rely on the first draft. Review key sections manually, especially introductions, action items, legal language, and any quoted material.
The text is too small or hard to read
Many users stop at turning captions on and never adjust appearance. That is a mistake.
Look for style controls in:
- The app’s subtitle menu
- Your phone’s accessibility settings
- Your computer’s caption settings
- Your smart TV accessibility options
Changing font size, background opacity, or caption position often makes a bigger difference than people expect.
The CC button is missing
A missing button does not always mean your device is broken.
Possible causes include:
- The video has no caption track
- The app hides controls until playback starts
- The platform labels the feature as Subtitles instead of CC
- The host has not enabled captions in a live meeting
- A child, restricted, or simplified profile has fewer visible controls
When the built-in option is unavailable, your best fallback is system-wide captioning on the device itself.
A practical way to debug faster
Use this order:
- Check the video
- Check the app
- Check the device
- Check your connection
- Check whether the content has captions
That order saves time because it starts with the most common failure points. People often jump straight into advanced settings when the issue is that the video never had a caption file to begin with.
Create Your Own Perfect Captions with AI Tools
A remote team records a client call, everyone leaves with different notes, and the auto-captions miss the product name three times. Later, a content creator trims that same recording into short clips, only to find that the built-in captions are awkward, badly timed, and too messy to publish.
That is the point where turning captions on is no longer enough. You need captions you can trust, edit, and reuse.

For creators, editors, educators, and remote teams, captioning becomes part of the production workflow, not just a playback setting. A meeting recap, training video, webinar, podcast clip, or course lesson often needs cleaner wording, better timing, speaker labels, and a file you can upload anywhere.
When built-in captions stop being enough
Built-in captions work well for casual watching. Professional work asks for more control.
That change shows up fast in projects like:
- Course videos
- Client deliverables
- Recorded interviews
- Journalism
- Compliance training
- Social content with brand terminology
- Edited videos in Premiere Pro or similar software
A viewer can tolerate a rough draft if they just need the general meaning. A creator or team lead cannot. If a caption gets a person’s name, legal phrase, product term, or action item wrong, the mistake follows the video wherever it gets shared.
What a good caption workflow looks like
The easiest way to understand the process is to picture captions as a transcript with timing attached. First you get the words down. Then you clean them up. Then you make sure they appear at the right moment on screen.
A practical workflow usually looks like this:
- Upload the audio or video
- Generate a transcript
- Review names, jargon, and punctuation
- Adjust timing if needed
- Export a caption format such as SRT or VTT
- Upload that file to YouTube, Vimeo, a course platform, or your editor
If you work in Premiere Pro, it often helps to do the first cleanup outside the editor. Video editors are great for final polish, but transcript review is usually faster in a tool built for text.
Why AI tools save so much time
AI caption tools give you a starting draft, which is usually the slowest part to create by hand. That matters for long meetings, lecture recordings, interviews, and weekly content pipelines where no one has time to type every sentence from scratch.
The best use of AI is simple. Let it handle the first pass, then have a person review the parts where mistakes are expensive.
For remote teams, that means checking decisions, deadlines, customer names, and technical terms before sharing notes internally or publishing clips publicly. For content creators, it means correcting brand language, trimming filler speech, and making captions readable on small mobile screens.
Some people also pair this workflow with broader creative tools. If you are experimenting with script ideas, visuals, or content planning before the caption stage, you can explore the lunabloomai app as part of a wider production process.
What to look for in a caption tool
Caption tools can look similar at first, so it helps to judge them by the tasks you do every week.
Focus on these features:
- Editable transcripts: You need to correct names, acronyms, and specialized terms without fighting the interface.
- Accurate timing controls: Good captions should appear at a readable pace and stay synced after edits.
- Export formats: SRT and VTT are the formats you will use most often across video platforms and course tools.
- Speaker labeling: This helps in interviews, panels, team meetings, and training recordings.
- Search and review tools: Long recordings are easier to clean up when you can jump straight to a phrase.
- Language support: Helpful for multilingual teams, international audiences, and translated versions.
If you are comparing options, this guide to closed captioning software can help you evaluate which features matter for your workflow.
A simple rule for better results
Treat auto-captions as version one, not the final file.
That one habit prevents a lot of avoidable problems. It also explains why some captions feel polished while others feel distracting. The difference is usually not whether AI was used. The difference is whether someone reviewed the output before publishing.
Frequently Asked Questions About Closed Captioning
Some caption questions do not fit neatly into a settings menu. These are the ones people usually ask after they have already clicked around a bit.
What is the difference between closed captions and subtitles
They overlap, but they are not always identical.
Closed captions are designed for accessibility. They often include not just spoken dialogue, but also useful sound cues like music, laughter, or a door slamming.
Subtitles often focus mainly on spoken words. In many apps, though, the labels get mixed together. That is why you may need to click a menu called “Subtitles” even when you are looking for a caption-style track.
Are YouTube auto-captions reliable
They are useful, but you should treat them as a starting point.
For casual viewing, they can be good enough. For lectures, interviews, public-facing course material, or anything with specialized terms, they often need review. Names, acronyms, and technical language are the first parts to go wrong.
A good rule is simple. If the wording matters later, check it manually.
Can I change how captions look
Usually, yes.
Many platforms let you change:
- Font size
- Text color
- Background color
- Opacity
- Position on screen
On phones and computers, the accessibility settings often control appearance across multiple apps. On streaming platforms, the player may have its own style menu too.
Why do captions work on one device but not another
Because captions can depend on several layers at once.
The video platform, app version, operating system, account settings, and even profile type can all affect whether the feature appears. A video might show captions on your laptop but not on your TV because the TV app is older, the profile is restricted, or the device accessibility setting is off.
When this happens, compare the same video across devices. That helps you isolate whether the issue is the content or the setup.
Do live captions and regular closed captions mean the same thing
Not quite.
Regular closed captions usually attach to recorded content. They are prepared in advance and often more stable.
Live captions are created in real time while someone speaks. They are useful, but they are also more likely to lag, mishear words, or break when the connection is poor.
Can I add captions to my own videos after recording
Yes. In fact, that is often the best option if you want control.
You can generate a transcript, edit it, export a caption file, and upload it with the video. If you also want your on-screen text to look more polished, this guide on adding text to video is a useful companion because captioning and visual text design often overlap in real projects.
Is closed captioning only for people with hearing loss
No.
That is the core accessibility use case, but captions also help people in loud places, quiet environments, multilingual settings, fast-paced lectures, and technical meetings. They support understanding, not just audibility.
What is the fastest way to turn captions on when I am in a hurry
Use this order:
- Look for CC or Subtitles in the player
- If that fails, open Accessibility settings on the device
- If that still fails, use system-wide live captions if your phone or computer supports them
That three-step approach solves most caption problems quickly.
If you need more than a simple caption toggle, HypeScribe helps turn meetings, interviews, lectures, and uploaded media into precise, searchable text with summaries and action items. It is a practical next step when built-in captions are not accurate enough, not editable enough, or not available at all.


