Learn How to Record Instagram Videos in 2026: A Full Guide
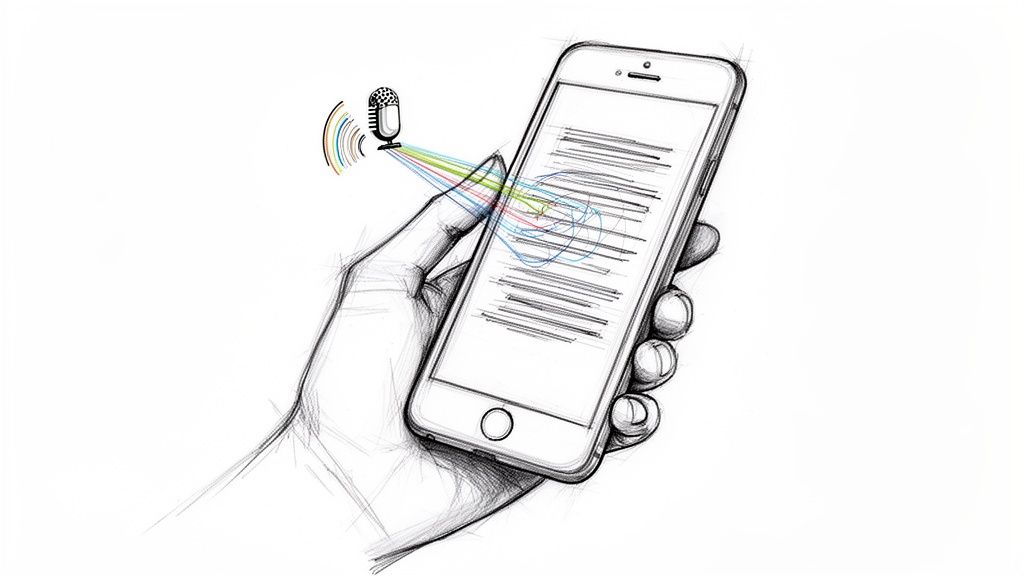
You open Instagram to film something simple. A quick Reel, maybe a Story update, maybe a talking-head clip for your business. Then the friction starts. Which format should you choose? Do you record in the app or with your phone camera first? Why does one clip look sharp and the next look flat? Why did your last take vanish because it was too short?
That confusion is normal. Instagram gives you multiple ways to publish video, but the platform rewards people who treat recording as a workflow, not a button press. Good results usually come from making a few smart decisions before you hit record, then keeping the technical side simple enough that you can repeat it every week.
If you're trying to figure out how to record instagram videos without wasting time, the useful approach is straightforward. Pick the right format. Record with intent. Save clean source footage. Fix the rough edges before publishing. That process matters more than fancy gear.
Why Mastering Instagram Video Matters in 2026
You can feel the difference fast. A still image might get a quick like. A good video gets watched, rewatched, shared in DMs, replied to in Stories, and saved for later. If Instagram is part of your marketing or audience growth, recording video well affects reach, trust, and how often people remember you.
I see the same pattern across client accounts and brand channels. Teams that treat video as a repeatable production process publish more consistently and waste fewer good ideas. Teams that treat recording like a one-off task usually end up with shaky footage, weak hooks, missing captions, and posts they cannot repurpose anywhere else.
That last point matters more now than it did a few years ago.
Instagram video is no longer just about capturing a clip inside the app and posting it immediately. The stronger workflow starts earlier and ends later. You choose the format based on the job the content needs to do, decide whether to record natively or externally, capture clean source footage, then prep the final version with exports, transcripts, and captions so it works with sound on or off.
Different formats do different jobs
Each format changes how people watch and what they expect from you.
- Reels are usually the best choice for reach, discovery, and content with a strong first-second hook.
- Stories are better for quick updates, lower-pressure posting, and keeping regular contact with people who already follow you.
- Live is useful for launches, Q and As, interviews, and any moment where real-time interaction matters more than polish.
The recording method should match the format. A casual Story can work with fast in-app capture and minimal editing. A Reel built to get shares often performs better when you script the opening, record cleaner footage, and add captions after the fact. A Live session needs a different kind of preparation altogether, especially for audio, connection stability, and comment management.
Recording choices affect editing and accessibility later
This is the part beginners often miss. The moment you hit record, you are also deciding how easy that video will be to edit, caption, trim, archive, and reuse.
For example, filming a talking-head clip in the Instagram camera is quick, but you give up some control over file handling and post-production. Recording externally takes longer, but it usually gives you cleaner audio, better lens options, easier retakes, and a master file you can cut into multiple assets later. I use both approaches. The right one depends on speed, stakes, and whether the footage needs a second life beyond one post.
Strong Instagram video work in 2026 is part creative judgment and part production discipline. The creators and brands getting steady results are not just pressing record. They are choosing the right format, capturing usable footage, and finishing the job with edits and accessibility steps that make the content easier to watch and easier to reuse.
Your First Recording Inside the Instagram App
If you've never recorded natively in Instagram, keep your first session simple. The in-app camera is built for speed, not perfection, and that's why it's useful. You can open it fast, stack clips, add timing, and publish without leaving the platform.
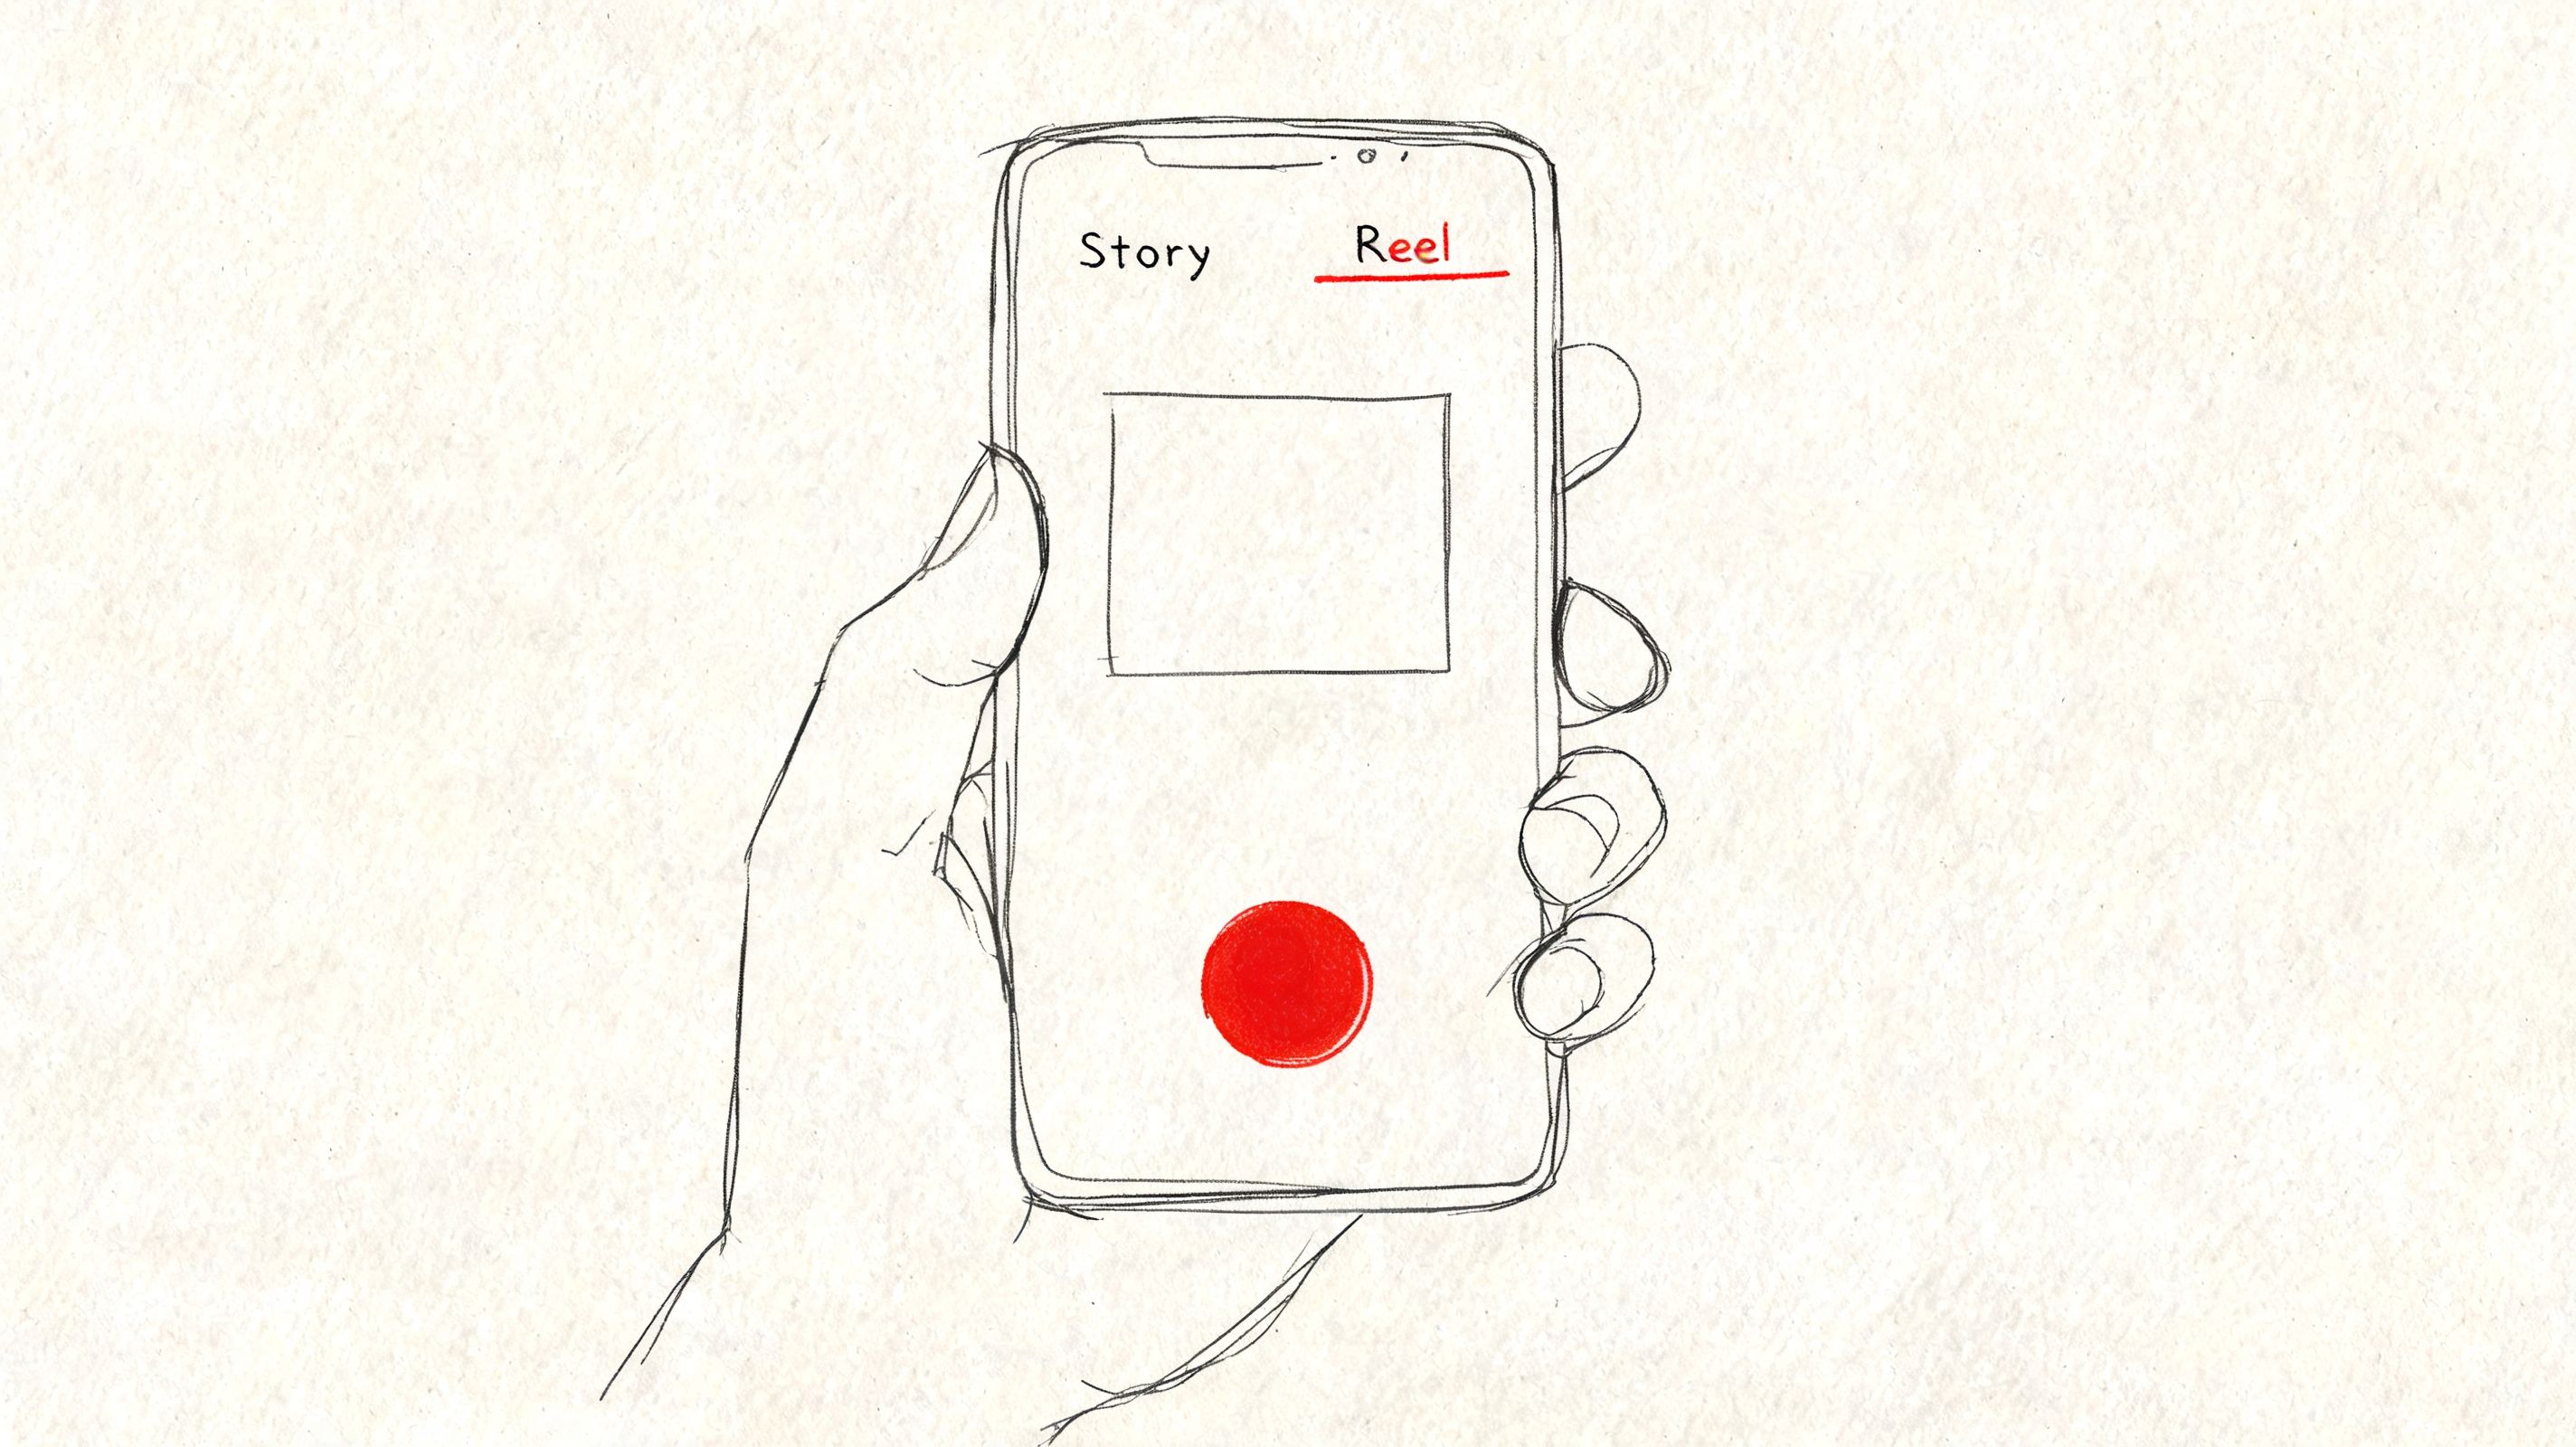
How to open the camera and choose a mode
For a Reel, tap your profile picture, choose Reel, and start recording. Instagram allows up to 90 seconds of footage in that mode, as described in Instagram's help documentation.
Inside the camera view, focus on a few controls first:
- Record button for starting and stopping clips.
- Mode selector for switching between Reel, Story, or other camera options.
- Camera flip if you need to switch between front and rear lenses.
- Timer when you're filming alone and need a hands-free start.
Ignore the extra effects at first. Filters, music, and overlays are easy to add later. Clean footage matters more.
How multi-clip recording actually works
Instagram's native multi-clip recording is one of the most useful features for beginners because you don't need one perfect take. You record a segment, pause, adjust your framing, then record the next one. According to Dummies' walkthrough of Instagram recording, native multi-clip recording can reduce editing time by 50% for creators.
That tracks with real-world use. If you're filming a tutorial, outfit transition, or step-by-step demo, multi-clip recording lets you fix only the bad segment instead of starting the whole video over.
Use it like this:
- Clip one: Open with the strongest visual or the clearest promise.
- Pause: Reposition yourself, the product, or the camera.
- Clip two and beyond: Add the explanation, demonstration, or before-and-after sequence.
- Final clip: End with a simple CTA or closing shot.
Short segments are easier to control. You get better pacing, cleaner transitions, and fewer rambling takes.
Use the timer when you're filming alone
Hands-free recording is one of those features people skip, then wonder why their footage looks rushed. Instagram's timer gives you 3, 5, or 10 seconds before recording starts. The same Dummies guide notes that using the timer for solo recording eliminates camera shake in 70% of amateur takes when people stop lunging for the phone at the beginning.
That makes a visible difference for:
- Talking-head videos where you need a clean start
- Fitness or cooking clips where your hands are busy
- Demonstrations where you need to step back into frame
A quick visual walkthrough helps if you learn better by watching than reading.
The mistake that keeps ruining first takes
Instagram is surprisingly unforgiving with ultra-short clips. The same recording guide points out that clips under 3 seconds can trigger a blinking bar and may not save properly, contributing to a 30% failure rate for rushed recordings in that workflow source.
That means your hook still needs breathing room. Don't tap out too early. Even if you're aiming for a punchy opening, give the first clip enough duration to save and edit cleanly.
A simple test helps. Record one throwaway practice clip before your real take. Check framing, sound, and timing. Then start the actual sequence.
Recording for Reels Stories and Live Broadcasts
A format decision changes the whole recording workflow before you hit record. Pick the wrong one, and the video fights you all the way through editing, posting, and follow-up.
Reels are built for discovery. Stories keep warm audiences engaged. Live creates interaction you cannot fake in post.
Earlier, I mentioned how much attention Reels get on Instagram. The practical takeaway is simple. If reach is the goal, start by testing Reels first, then decide whether the same idea also deserves a Story follow-up or a Live session.
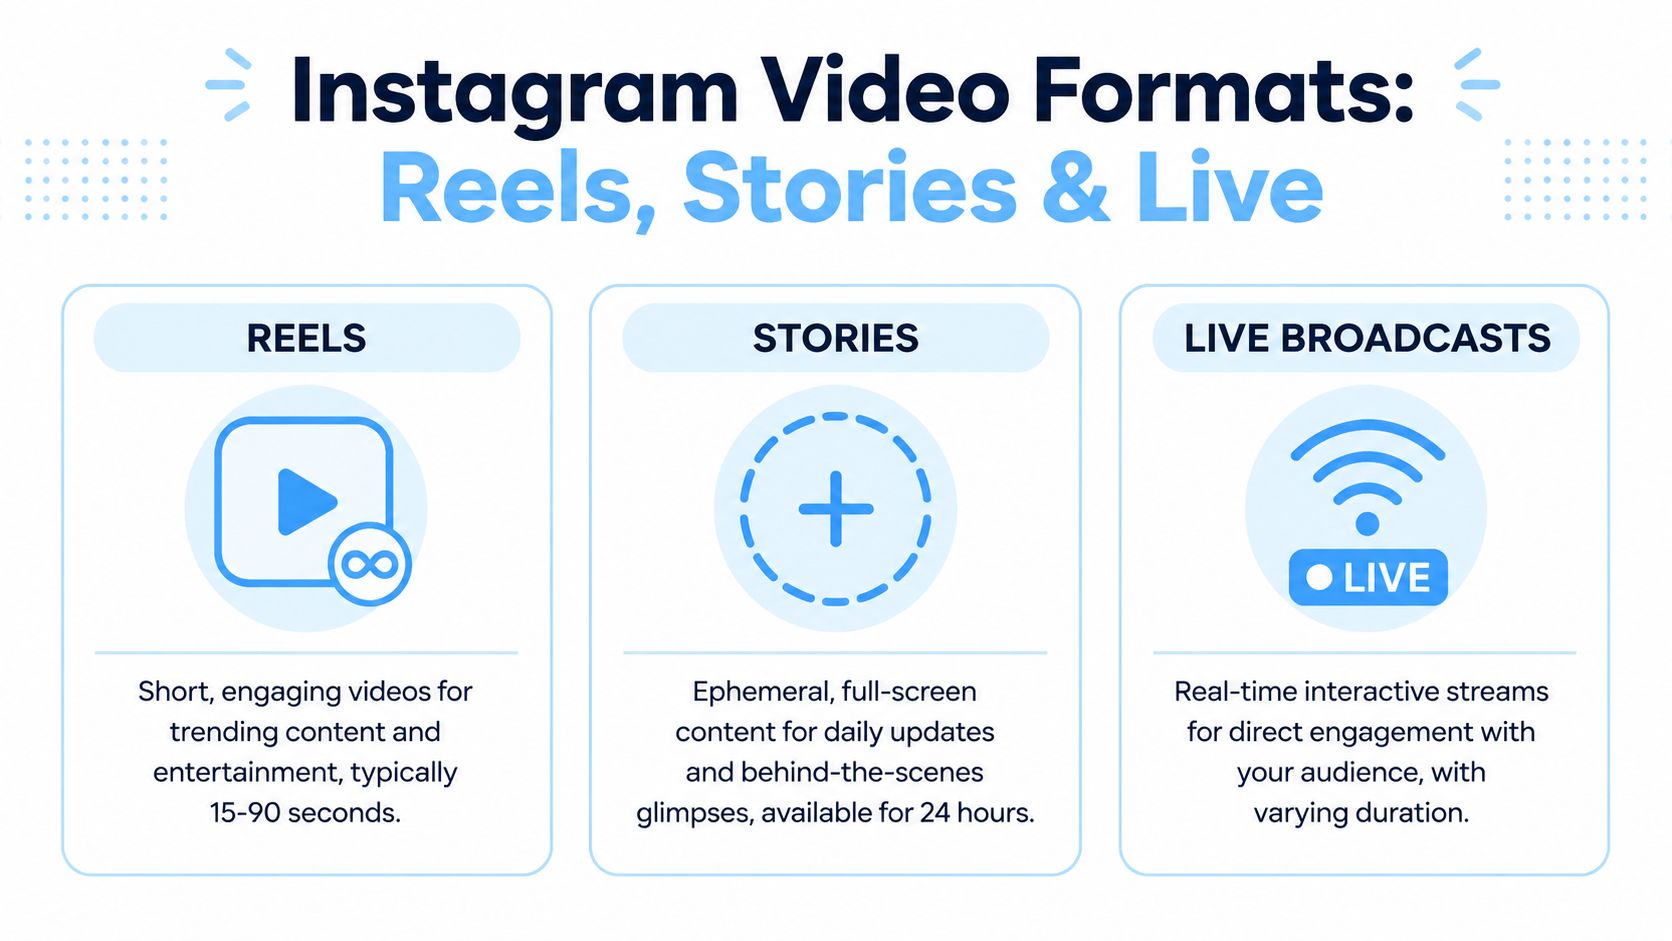
Instagram video format comparison 2026
| Format | Best For | Max Length | Aspect Ratio | Lifespan |
|---|---|---|---|---|
| Reels | Reach, discovery, tutorials, trends | 90 seconds | 9:16 | Ongoing unless deleted |
| Stories | Quick updates, behind-the-scenes, daily touchpoints | Short full-screen story segments | 9:16 | 24 hours |
| Live | Q&As, launches, interviews, community engagement | Varies by broadcast | Vertical works best | Real-time, then optional replay |
Reels: record for retention, not just reach
Reels give you the best shot at getting in front of people who do not already follow you. They also punish weak openings fast. If the first second looks hesitant, people scroll.
For native Reel recording, open the camera, switch to Reel, and record up to 90 seconds. I treat that limit as room to build one clear idea, not permission to cram in six. Shorter usually performs better when the pacing is tight and the payoff arrives early.
A Reel that records cleanly usually has three parts:
- A visual hook in the first second. Show the result, the problem, or the before state immediately.
- One focused point. A single lesson, reaction, demo, or story beat is easier to follow and edit.
- A firm ending. Stop on the takeaway or CTA, then cut. Dead air at the end hurts completion rate.
If you plan to repurpose the clip later, record a version with clean speech and no on-screen stickers first. Add platform-native text after. That gives you a stronger master file for editing, transcription, and captions later in the workflow.
Stories: record quickly, but with a sequence in mind
Stories work best when they feel current. That does not mean sloppy. Good Story recording still needs an order.
Instead of posting one isolated clip, record a simple three-part sequence:
- Context
- Main point
- Prompt
For example, a bakery owner might record a quick kitchen update, show the new item, then add a poll asking which flavor should stay on the menu. That structure keeps viewers tapping forward with a reason, instead of dropping into a random clip with no setup.
Stories are a good fit for:
- Casual face-to-camera updates
- Behind-the-scenes moments
- Polls, question boxes, and link stickers
- Quick product proof
- Event coverage throughout the day
If the content loses its value after 24 hours, Stories are usually the right place for it.
Live: lower polish, higher pressure
Live recording has a different trade-off. You lose edit control, but you gain immediacy, comment-driven direction, and longer watch sessions from people who care about the topic.
Use Live for:
- launches
- office hours
- interviews
- audience Q&As
- event coverage
The technical setup is simple. The preparation is not. Before going live, set the topic, outline the first three minutes, test your connection, and decide how you will handle pauses. Silence feels longer on Live than it does in a prerecorded clip.
One practical rule helps a lot. Never start a Live by waiting for people to join. Start with substance right away, then repeat your premise once more as more viewers arrive.
Choose the format by what happens after recording
This is the part creators often skip. Recording is only one step in the content process.
If the video needs editing headroom, captions, transcript cleanup, or cross-posting, Reels usually give you the strongest base asset. If the goal is same-day interaction, Stories are faster. If the value comes from audience questions in real time, go Live.
And if part of your workflow includes documenting or reviewing content on-screen, use a screen capture workflow for video reference and review so your team can log clips, pull quotes, and prep captions without relying on memory.
Using External Cameras and Screen Recorders
Recording inside Instagram is convenient, but it isn't always the best move. If you care about image control, cleaner takes, and easier editing, recording outside the app is often the smarter workflow. That's especially true for tutorials, client work, polished brand content, or anything you may want to reuse later.
The simplest upgrade is using your phone's native camera app first, then uploading the clip into Instagram after editing. If you have a DSLR or mirrorless setup, external recording gives you even more control over lens choice, exposure, and depth. The trade-off is speed. Native Instagram recording is faster. External recording is usually cleaner.

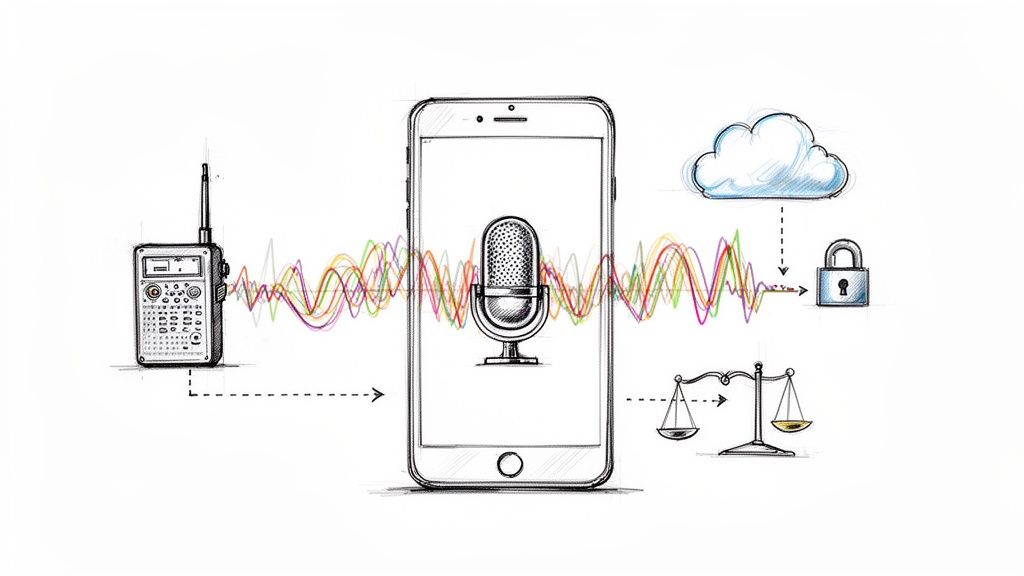
When screen recording is the right move
Screen recording solves a different problem. Sometimes you need to save Instagram content for review, transcription, training, internal approvals, or repurposing. In that workflow, screen capture is common. A verified data point in the brief states that 82% of users prefer screen recording to avoid download restrictions, and that mobile capture is largely handled by iPhone's built-in recorder and Android's Quick Settings feature, which is available on 90% of devices post-2020, with the shift linked to Instagram's 2021 download restrictions in the referenced source at this YouTube explainer on Instagram screen recording.
That lines up with how many social teams work. They use screen recording to save reference clips, document competitor content, or preserve temporary Story content for analysis.
How to screen record on iPhone and Android
On iPhone
- Open Control Center
- Tap the Screen Recording button
- Start the recording, then open Instagram
- Play the Reel, Story, or video you need
- Stop recording and trim the clip in Photos
On Android
- Swipe down to open Quick Settings
- Tap Screen Record
- Choose audio settings if your device supports them
- Open Instagram and capture the content
- Stop the recording and trim it in your gallery app
Two practical notes matter here. First, record in a quiet environment if you're also capturing mic audio. Second, watch for notification banners before you start.
If you're building a broader capture workflow, this guide on screen recording video for repurposing and review is useful because the same habits apply across platforms.
Screen recording is not the prettiest method. It is often the most practical one.
Best Practices for Framing Audio and Lighting
Most weak Instagram videos don't fail because the idea is bad. They fail because the recording choices make the idea harder to watch. Framing is off. Audio is muddy. The subject is backlit. The clip starts too soon or ends too abruptly.
You can fix most of that before recording.
Use the rear camera and give each clip enough length
If you only change one thing, change this. Use your phone's rear-facing camera. Verified data in the brief states that it can offer up to 4x higher resolution than the front camera, and that this shift can lead to 2.5x more average views, based on the referenced analysis in this guide to recording better Instagram videos.
The second non-negotiable is clip length. Instagram makes clips under 3 seconds unsavable in that same source context, which is why rushed openings often disappear before you can edit them.
A practical pre-record checklist:
- Rear lens first: If you need quality, don't default to the selfie camera.
- Vertical framing: Fill the 9:16 frame on purpose instead of leaving empty headroom.
- Safe spacing: Keep text and your face away from the extreme top and bottom where interface elements often sit.
- Three-second minimum: Give every segment enough room to save properly.
Clean audio beats fancy visuals
People will tolerate imperfect visuals longer than they tolerate bad sound. You don't need a studio setup, but you do need control.
What usually works:
- Record in a quieter room with soft surfaces instead of a reflective kitchen or hallway.
- Move closer to the phone rather than shouting from across the room.
- Turn off fans and alerts before you start.
- Check levels on playback after a test sentence, not after the full take.
If your voice level is inconsistent from clip to clip, a sound-leveling workflow helps. This resource on automatic audio leveling for spoken recordings is useful for cleaning up uneven speech before publishing.
Lighting should make your face easy to read
Natural window light still beats a lot of complicated setups. Stand facing the light, not with the window behind you. If you shoot outside, avoid harsh direct overhead light when possible. If you're indoors at night, use one consistent light source in front of you rather than letting mixed room lighting create shadows.
Good lighting doesn't need to look dramatic. It needs to make your subject clear.
If you're building a more repeatable production process, SuperX has a thoughtful breakdown of how to build high-performing digital content that aligns well with this idea. Strong content systems usually come from repeatable setup choices, not last-minute fixes.
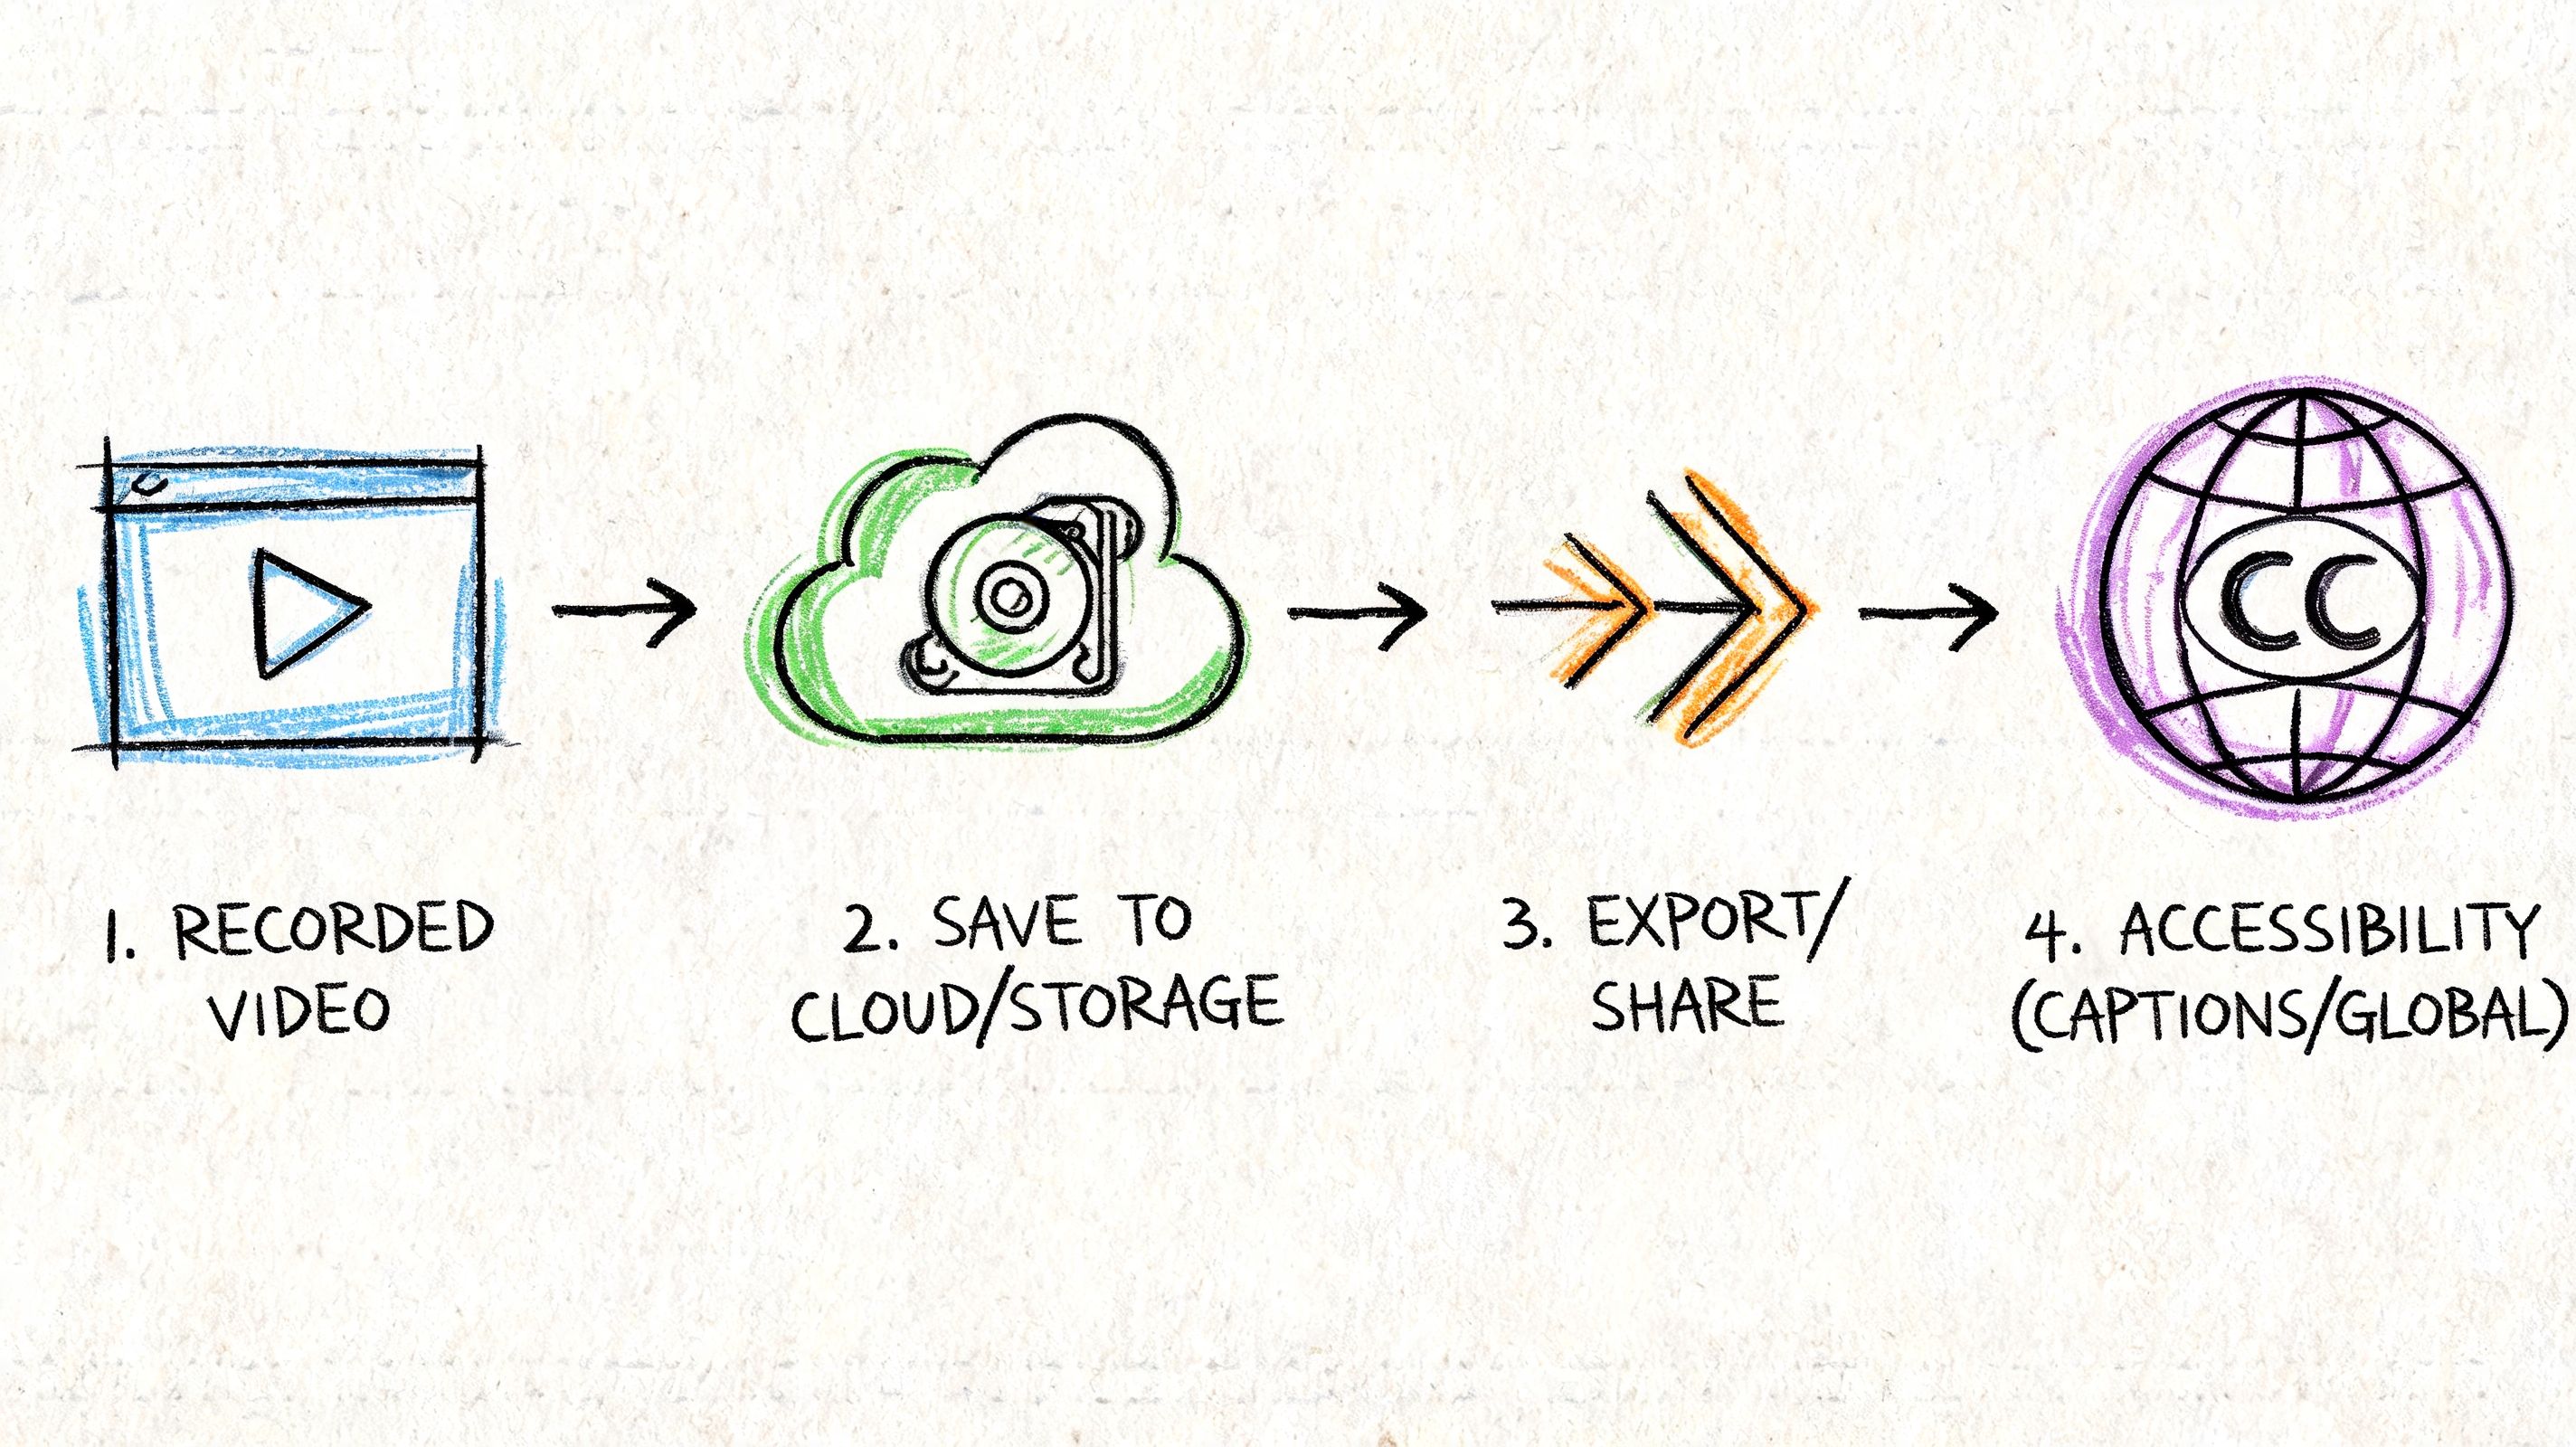
Saving Exporting and Making Your Video Accessible
A lot of Instagram videos fail at the last 10 percent of the workflow. The recording is solid, the edit is close, then the final file gets posted with burned-in stickers, uneven audio, or captions nobody bothered to review. That is how usable footage turns into a one-time post instead of a repeatable content asset.
Save drafts while you are still testing hooks, pacing, and clip order. Once the edit is approved, export a clean version too. Keep one master file without platform text, stickers, or music overlays if there is any chance you will reuse it for Shorts, TikTok, landing pages, or internal training. I have had to repurpose the same Reel into three formats in one week, and the clean master is what makes that possible without starting over.
Fix timing and captions before publishing
Multi-clip edits often break in small ways. A voice line starts a fraction early. A cut feels abrupt. Background music masks a key sentence. These problems are easy to miss in preview and obvious once the video is live.
A transcript helps catch them faster because you can review the spoken content line by line instead of scrubbing the timeline over and over. That is also the practical starting point for captions, repurposing, and searchability.
A finishing workflow that holds up looks like this:
- Save the raw or lightly edited file before adding Instagram-specific elements.
- Watch the export once with headphones to catch timing issues, harsh cuts, and level jumps.
- Create captions or a transcript so the spoken content is readable and easier to edit.
- Export a clean master copy for reuse across channels and future edits.
Accessibility is part of the publishing process
Captions improve watch time because a lot of Instagram viewing happens on mute. They also help viewers who are hard of hearing, people watching in noisy places, and anyone skimming for the main point before deciding to stay.
There is also a production benefit. Once the video is transcribed, the content becomes much easier to reuse in blog posts, carousels, newsletters, client notes, and internal documentation. If you need a practical workflow for that step, use this guide to transcribe Instagram video for reuse and accessibility.
Distribution deserves the same level of attention. If Instagram is driving traffic to a longer video, course, demo, or hosted asset, your link-in-bio setup needs to be clear and easy to act on. For that piece, discover lnk.boo's video linking tips, especially if you publish short clips on Instagram and send viewers elsewhere for the full version.
Strong recording workflows produce more than a post. They give you a publish-ready video, a reusable master file, and accessible text that extends the value of every recording.
If you want a faster way to turn Instagram videos into searchable transcripts, captions, summaries, and reusable content, try HypeScribe. It's a practical fit for creators, marketers, and teams who record often and don't want spoken content to disappear inside finished videos.