Recording on YouTube: A 2026 Starter Guide
You’ve probably done some version of this already. You have an idea for a YouTube video, you open your laptop, stare at the webcam, test your mic once, hate how you look and sound, then close everything and tell yourself you’ll “figure out the setup later.”
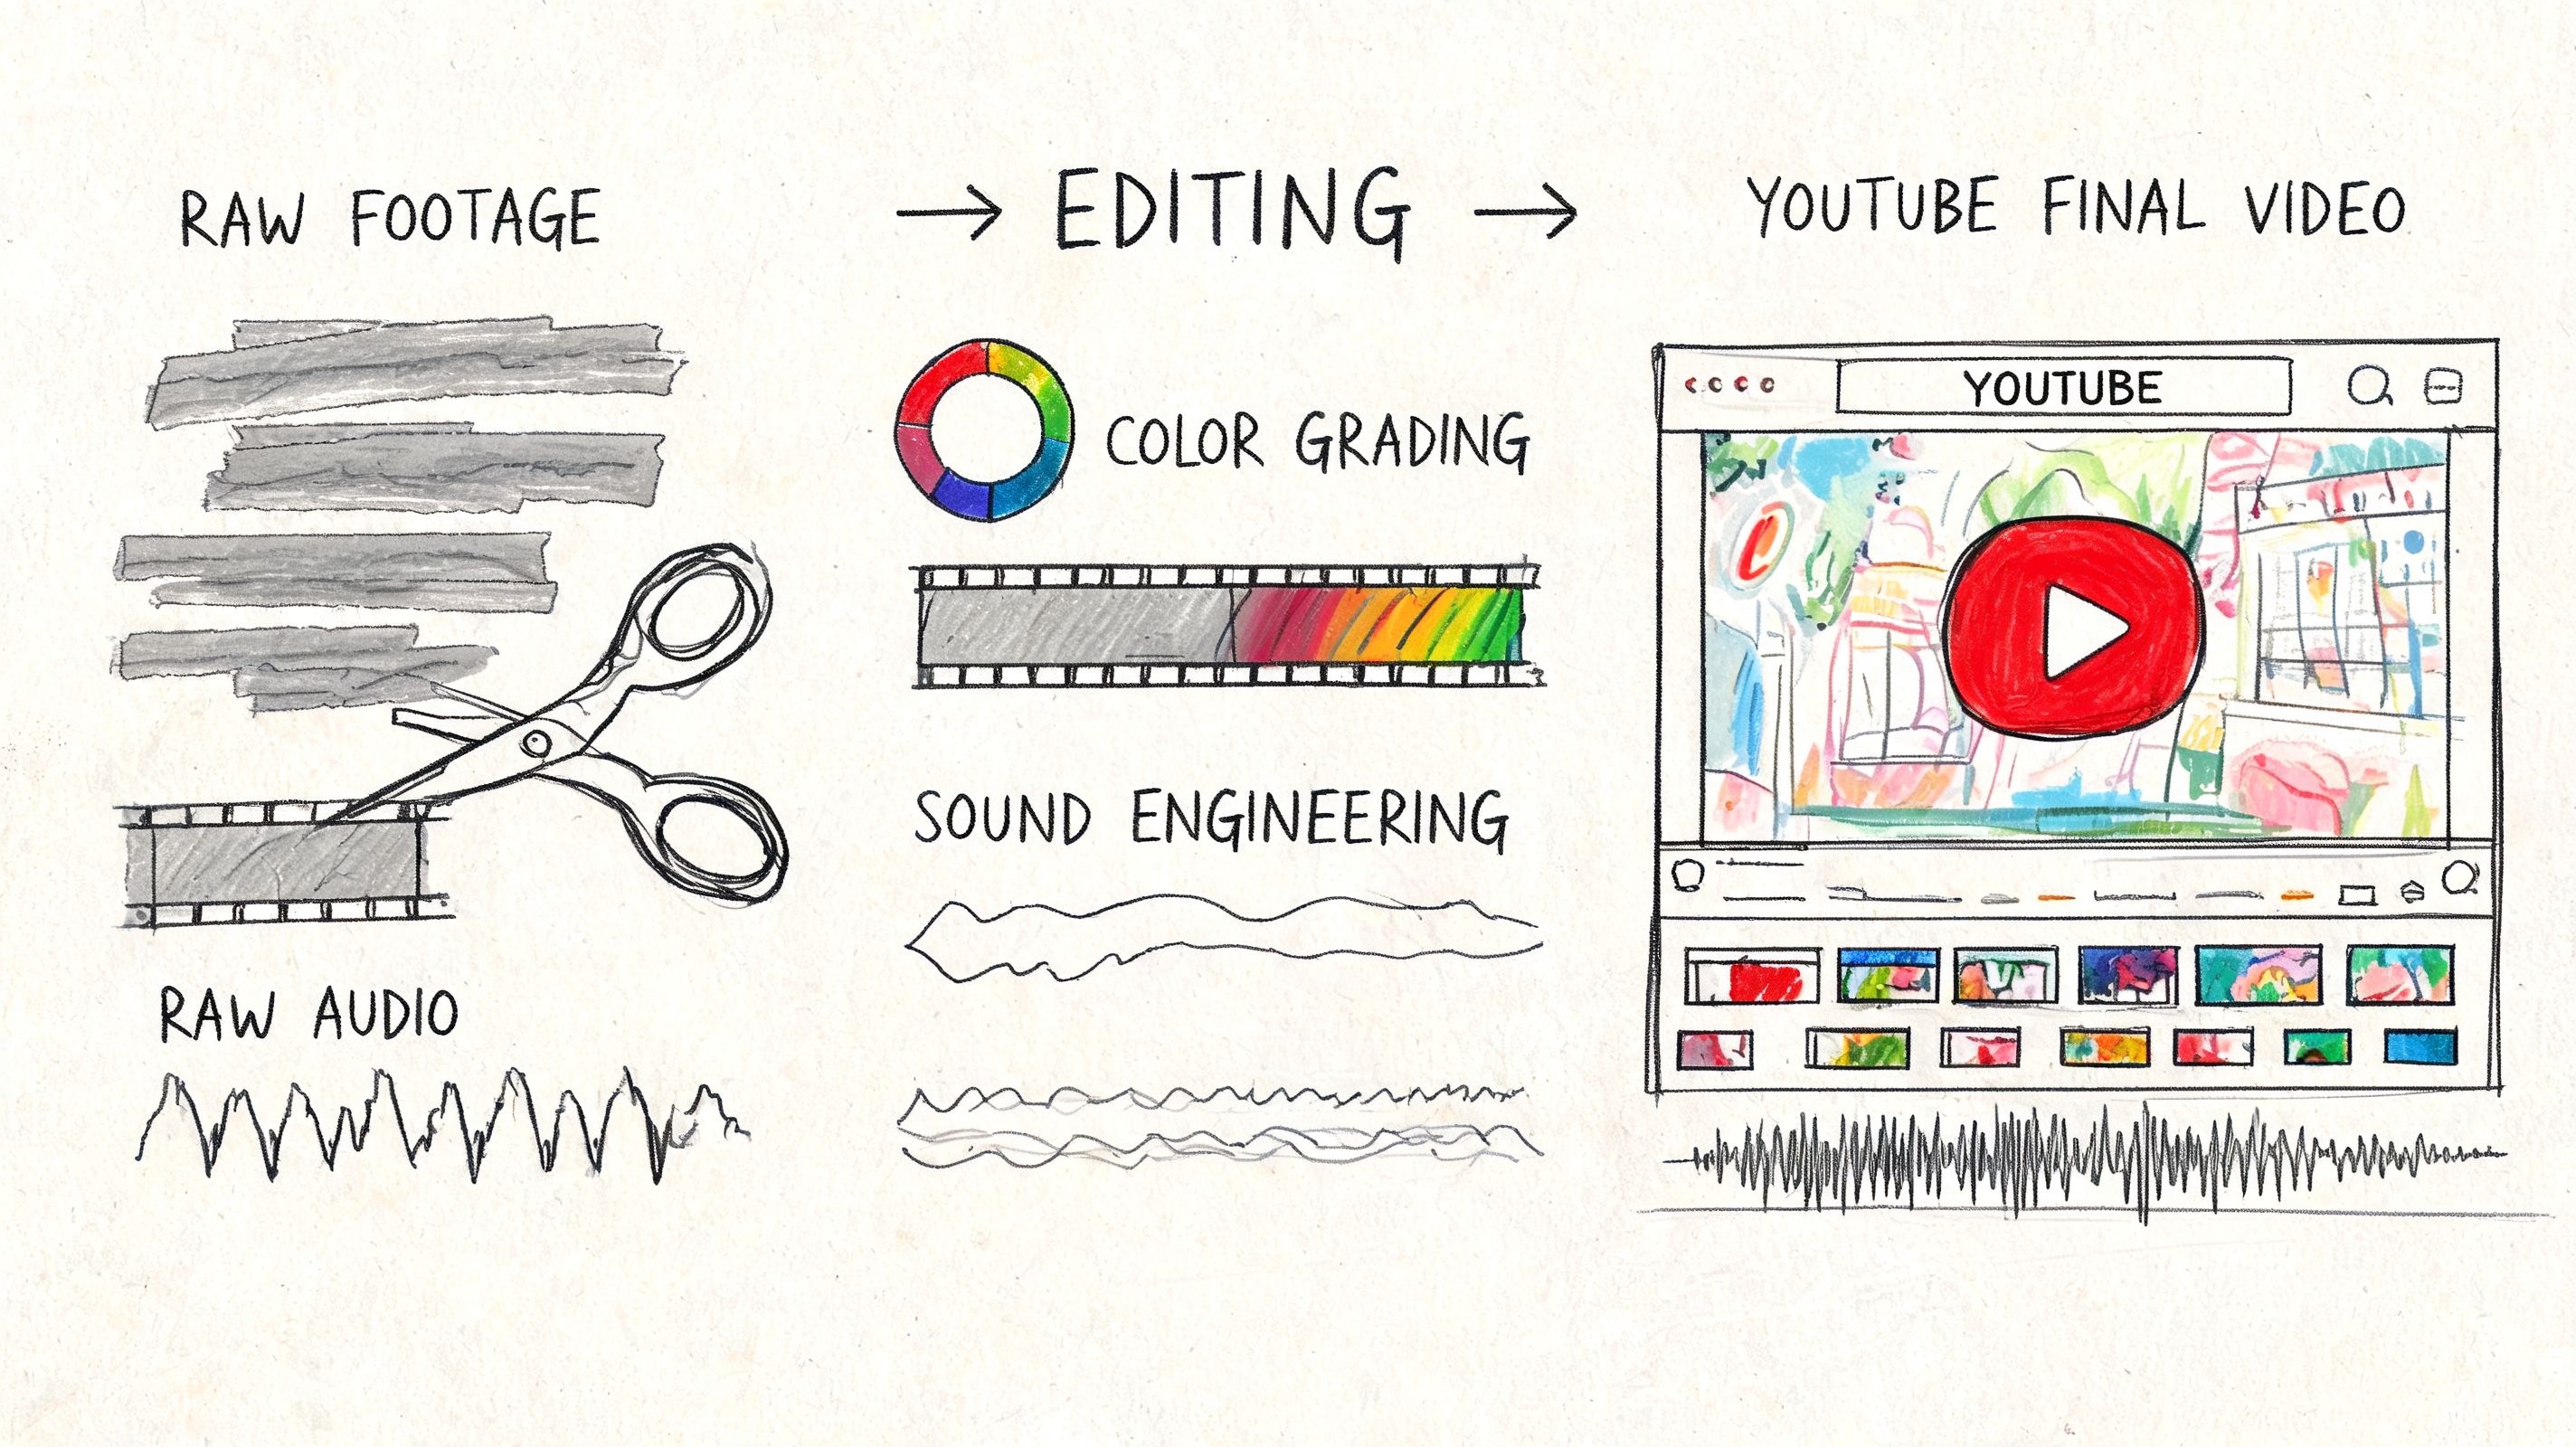
That hesitation is normal. Recording on YouTube feels technical until you’ve done it a few times. Then it becomes a repeatable workflow: pick a format, set your shot, capture clean audio, trim the dead space, publish, and learn from what the audience watched.
YouTube is worth learning. As of 2025, YouTube has 2.53 billion monthly active users, and more than 500 hours of video are uploaded every minute, which is why it remains the central hub for video recording and distribution, according to these YouTube platform statistics. Big numbers can feel intimidating, but they should also be encouraging. People are already on the platform looking for explanations, entertainment, opinions, walkthroughs, and niche expertise.
A lot of new creators think they need a perfect studio before they can start. They don’t. They need a workable process. If you’re not comfortable being on camera, Shortimize's faceless channel guide is a useful reality check because it shows that good YouTube content isn’t limited to traditional talking-head videos.
The smarter way to start is to build a simple system you can repeat every week. That means choosing gear you’ll use, recording in a format that matches your content, and planning for editing, captions, searchability, and reuse before you ever hit record. If you want a broader stack for that workflow, this roundup of tools for content creators gives you a good sense of what belongs in a practical setup.
Your YouTube Journey Starts Here
A new creator usually gets stuck on the wrong question. They ask, “What camera should I buy?” when the better question is, “What kind of video am I trying to make consistently?”
That shift matters because the best recording setup for a desk tutorial isn’t the best setup for a walking vlog, a software walkthrough, or a remote interview. Once you pick the format, most technical decisions get easier. Camera placement, audio, lighting, software, and editing all follow from that one choice.
Practical rule: Your first setup should reduce friction, not maximize features.
The channel that grows is usually the one that keeps publishing. A complicated rig with five moving parts often loses to a simple one you can set up in minutes. That’s especially true when you’re still learning how to speak naturally, watch your framing, and stay on topic without sounding stiff.
A strong beginner workflow looks like this:
- Choose one repeatable format. Talking head, screen tutorial, interview, or vlog.
- Record in one space. The fewer variables, the easier it is to improve.
- Use one checklist. Lights, mic, framing, notifications off, water nearby.
- Edit for clarity first. Don’t chase flashy edits before your pacing is solid.
- Review performance after publishing. Use what viewers responded to, not what you assumed they wanted.
You don’t need to master all of YouTube at once. You need one clean upload, then another, then another. That’s how recording stops feeling like a technical obstacle and starts feeling like part of your creative routine.
Essential Gear and Software for Recording
Most gear advice is either too vague or too expensive. New creators need something simpler: what you can use right now, what’s worth upgrading next, and what actually changes video quality.
Start with the three things viewers notice fastest. Camera, microphone, and lighting. If one of those is weak, the whole video feels weaker.
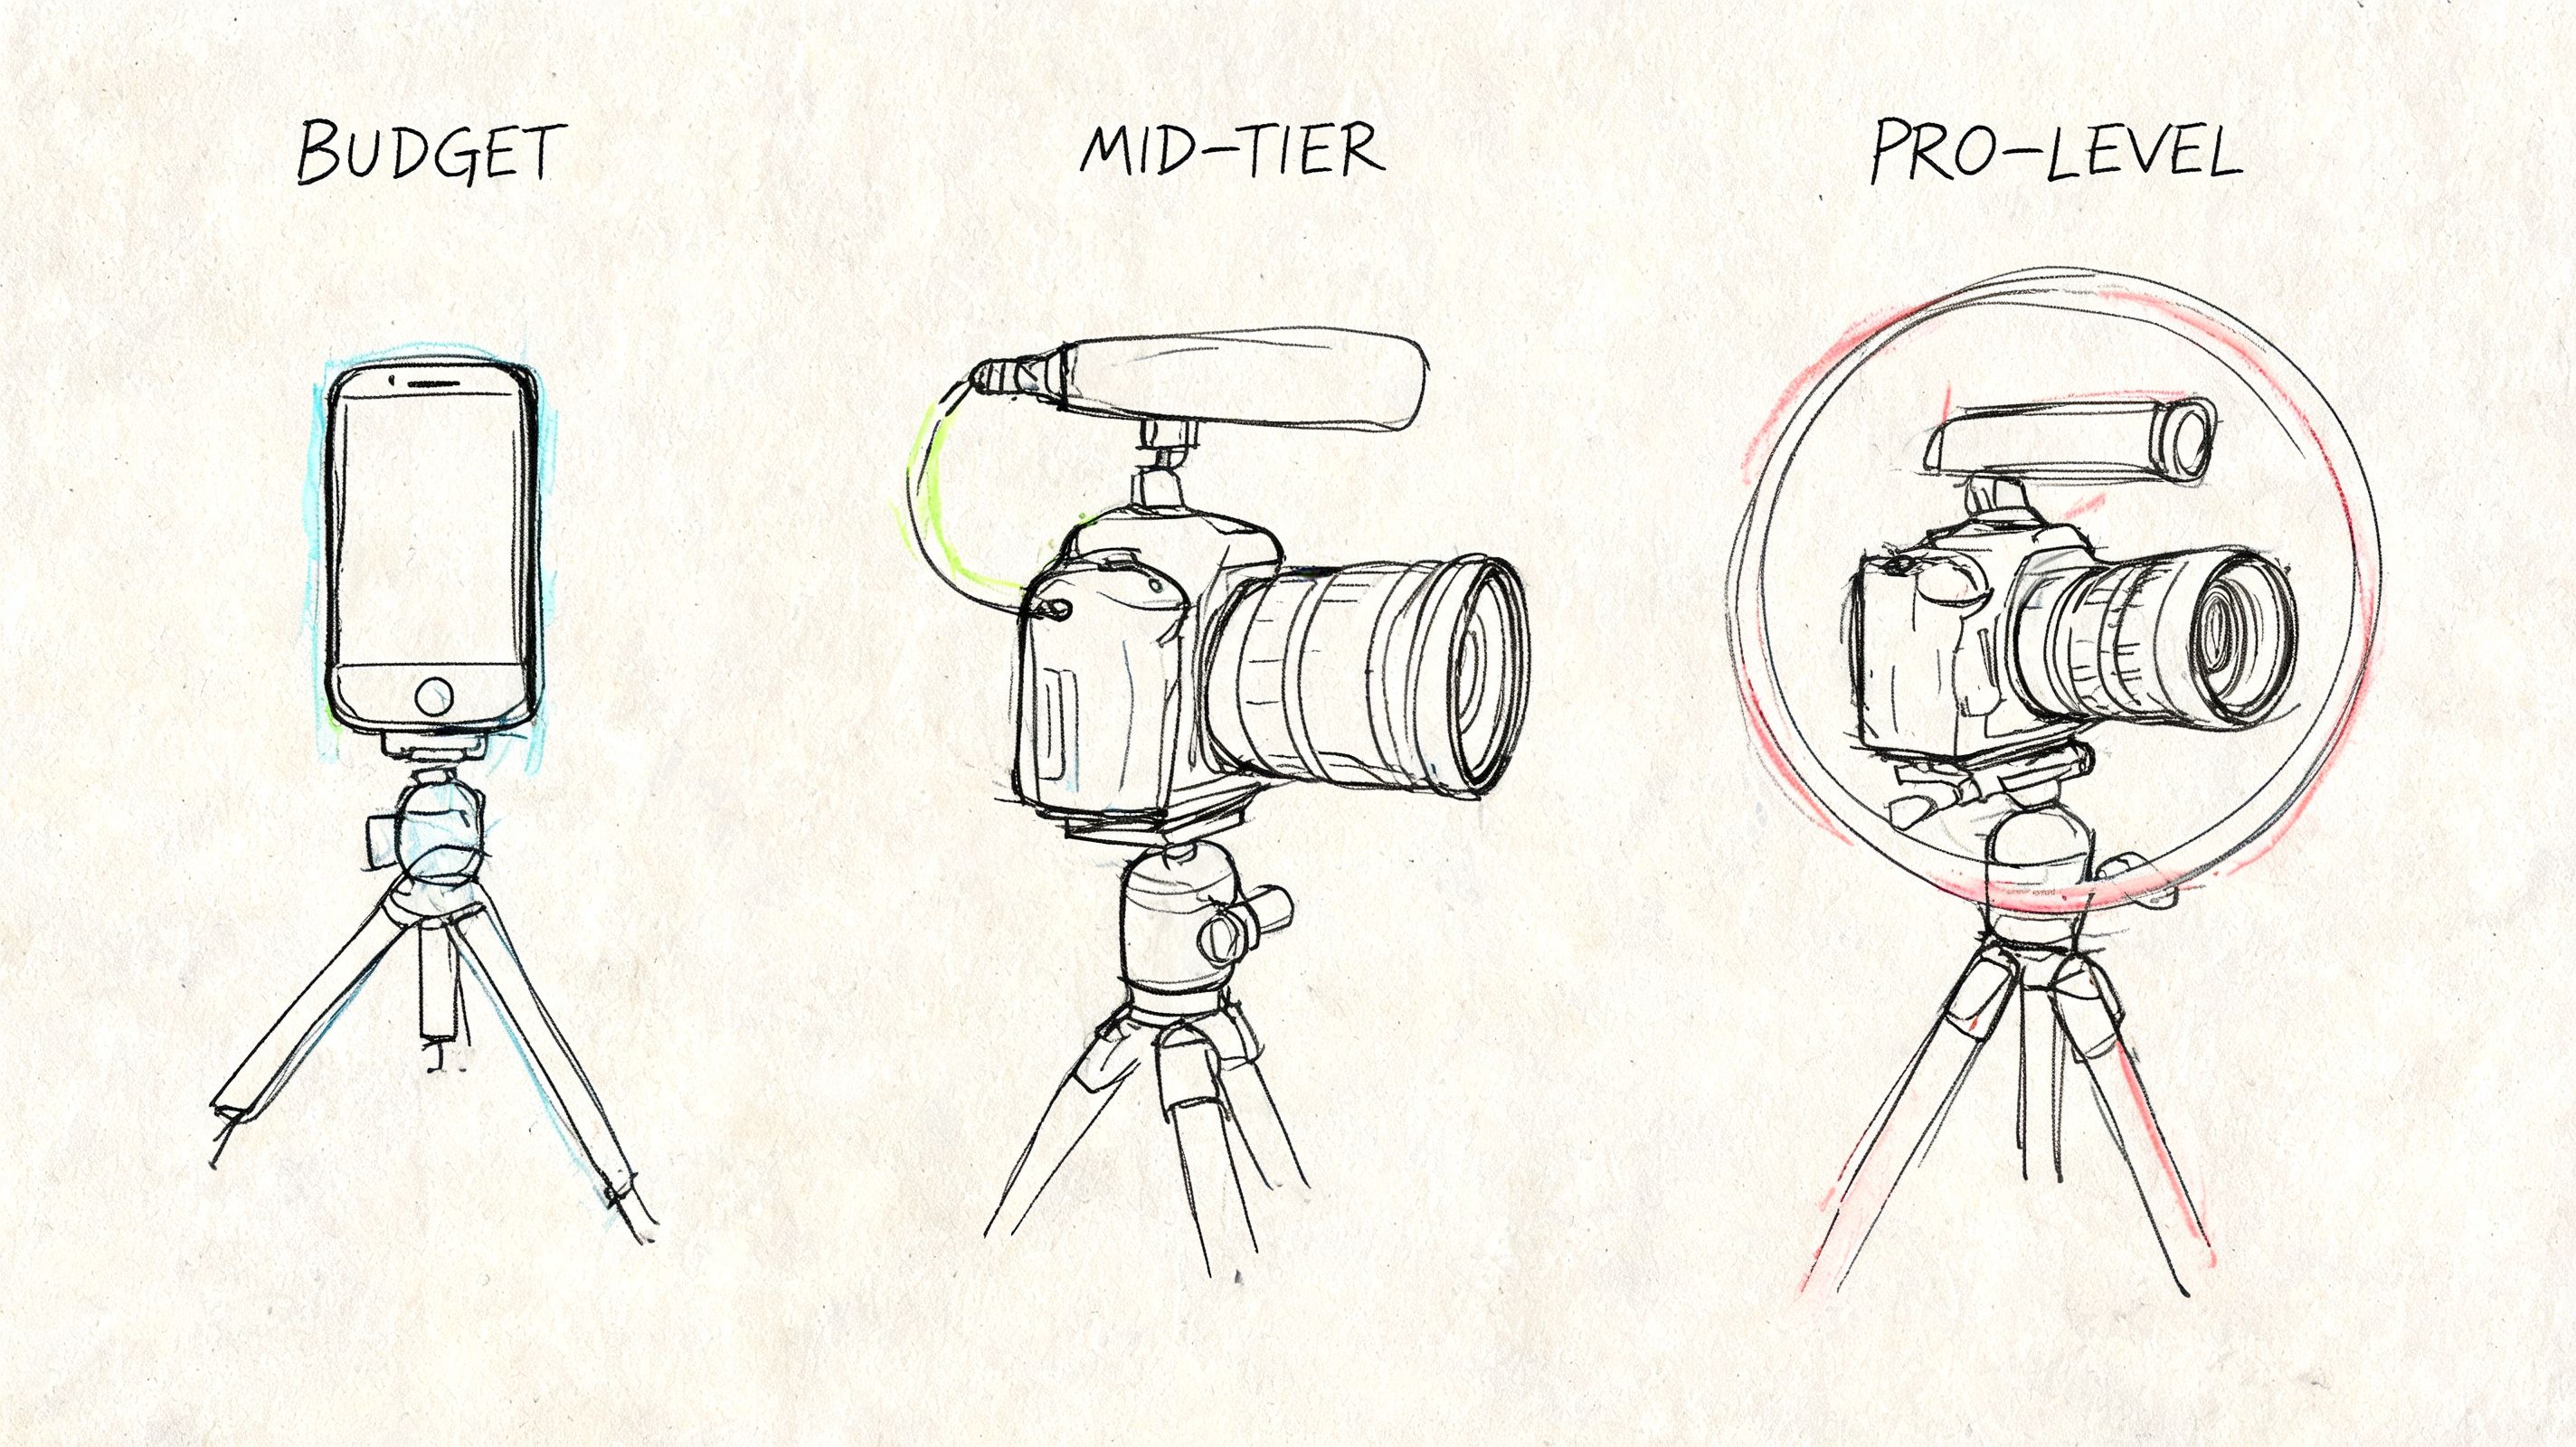
Cameras that make sense at each stage
A camera doesn’t need to be fancy. It needs to be stable, in focus, and used in decent light.
| Level | Best option | Why it works | Where it falls short |
|---|---|---|---|
| Good | Smartphone or built-in webcam | Fastest way to start, no extra learning curve | Weak in poor light, limited lens control |
| Better | External webcam or phone with tripod setup | Cleaner framing, easier desk setup, more consistent look | Still less flexible than dedicated cameras |
| Best | Mirrorless camera, DSLR, or creator camera | Better depth, cleaner image, stronger low-light performance | Costs more and adds setup complexity |
For most beginners, a phone on a tripod beats a cheap dedicated camera. Modern phones are good enough that improvement often comes from better sound and better light, not a more expensive sensor.
Audio is the first upgrade to make
Viewers will tolerate average video before they tolerate bad audio. If your room echoes, your voice is distant, or a fan hum sits under every sentence, people click away fast.
A simple progression works well:
- Good. Wired earbuds or a basic headset mic if that’s what you already own
- Better. USB microphone on a desk arm, placed close to your mouth
- Best. XLR dynamic microphone or shotgun mic with a proper interface or recorder
What works in practice is mic placement. A decent mic close to you usually beats a better mic placed too far away. Keep it just out of frame when possible, and point it toward your mouth, not your chest.
Record a short test and listen with headphones before every session. Your ears will catch problems your eyes won’t.
Lighting fixes more than people expect
Bad light makes even expensive cameras look mediocre. Good light makes basic cameras look far better.
Try this order:
- Window light first. Sit facing a window, not with the window behind you.
- Then add one soft key light. A ring light or LED panel is enough for many creators.
- Then improve the background. A lamp in the background adds separation and depth.
Avoid overhead-only room lighting if you can. It creates shadows under the eyes and makes skin look flat. A single soft light slightly off to one side usually gives a much more natural result.
Recording software that doesn’t get in your way
For software, match the tool to the recording type.
- OBS Studio works well for screen recording, webcam capture, and livestream-style setups.
- QuickTime or built-in device tools are fine for basic local recording.
- ScreenFlow, Camtasia, or similar apps can be easier if you want recording and editing in one place.
If you’re recording your screen or teaching from software, watch a practical walkthrough first so your settings don’t fight you later.
The biggest mistake with gear is upgrading too early. Use what you have until you can name the exact problem the next purchase will solve. That keeps your setup lean, your budget intact, and your attention where it belongs: making videos.
Choosing Your YouTube Recording Method
Different ideas want different recording methods. Trying to force every video into the same setup usually creates extra work in editing and weaker delivery on camera.
The easiest way to choose is to match the method to the viewer’s expectation. If they came to learn software, they want a clean screen recording. If they came for personality, they want to see your face. If they came for conversation, the structure should support multiple voices.
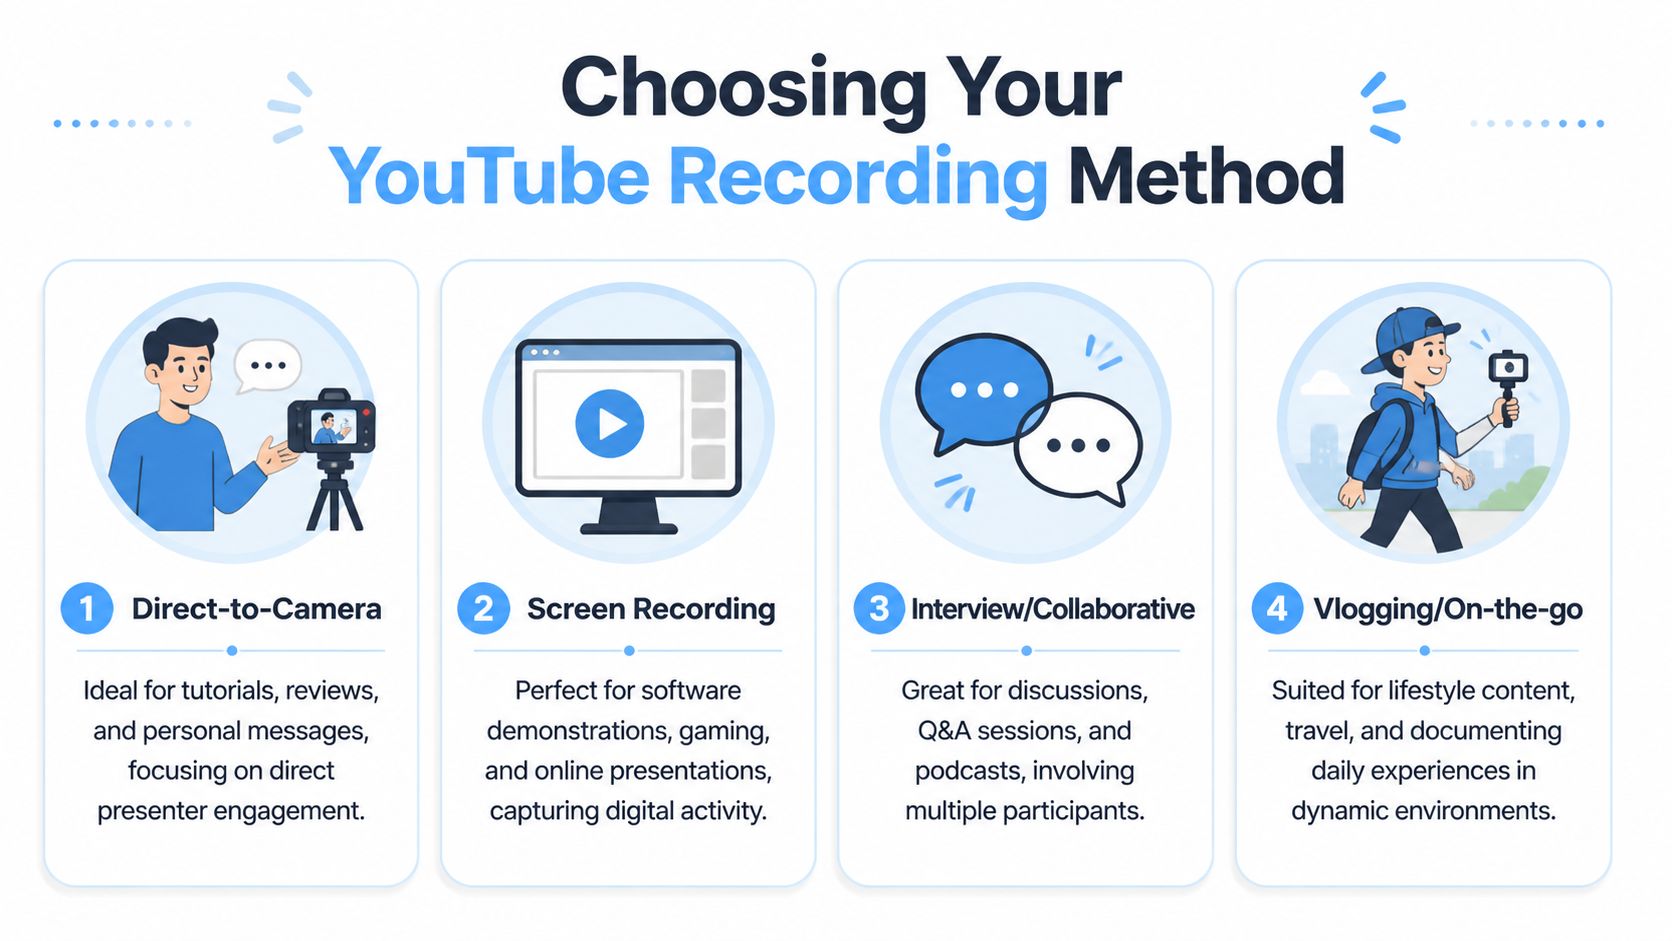
Direct-to-camera for trust and clarity
This is the classic YouTube format. One person speaks to the camera from a desk, studio corner, or simple room setup.
It works best for reviews, commentary, education, personal updates, and anything built around your point of view. The strength of this format is connection. People can read your expression, energy, and confidence.
Use it when:
- Your face helps the message. Opinion, storytelling, reactions, coaching
- You need direct authority. Reviews, buying advice, lessons
- You want a repeatable studio setup. Same angle, same background, lower editing overhead
Keep the camera at eye level or slightly above. Don’t set it too low unless you want an unflattering angle. Leave a little headroom, but not so much that you look lost in the frame.
Screen recording for tutorials and demonstrations
If the viewer needs to follow clicks, menus, code, slides, or gameplay, screen recording is the right method. It removes unnecessary visual clutter and puts the useful information front and center.
This format works especially well for software tutorials, presentations, walkthroughs, and gaming commentary. In many cases, adding a small webcam box is enough to keep the presentation personal without distracting from the screen itself.
For a deeper setup guide, this walkthrough on screen capture for YouTube videos is useful when you’re deciding what to record full screen and what to keep on camera.
If the audience came to learn a process, show the process before you show yourself.
Interview and collaborative formats for depth
Interviews, podcasts, and remote discussions work well when the topic benefits from contrast, expertise, or back-and-forth energy. One person carrying a full explanation can work, but a second voice often creates better pacing and sharper insight.
The trade-off is technical coordination. You have to manage two mics, internet reliability if it’s remote, and visual consistency between speakers. Ask guests to use headphones, sit near a light source, and record in the quietest room they have.
Vlogging and mobile recording for movement
Some content loses energy if you overproduce it. Travel, behind-the-scenes footage, shopping trips, event coverage, and daily-life content often feel better when they’re recorded on a phone or compact camera while moving through real environments.
This method is less controlled but more immediate. The challenge is stabilization, changing light, and environmental noise. Hold the camera close enough that your voice stays clear, and don’t try to salvage audio from windy outdoor clips unless the moment is worth it.
A quick comparison helps:
| Method | Best for | Main advantage | Main risk |
|---|---|---|---|
| Direct-to-camera | Commentary, reviews, education | Strong personal connection | Can feel static |
| Screen recording | Tutorials, software, gaming | Clear demonstration | Easy to become visually dry |
| Interview | Q&A, podcasts, expert insight | Natural conversation | More technical variables |
| Vlog/mobile | Lifestyle, travel, BTS | Feels immediate and real | Unpredictable sound and light |
Choosing the right method early saves hours later. It also helps you record with intention instead of trying to “fix the format” in the edit.
Mastering Your Angles and Audio
A lot of beginner videos look flat for one reason. The creator puts a camera in front of themselves, sits dead center, leaves it running, and hopes energy alone will carry the whole piece.
Sometimes it does. Usually it doesn’t.
While tutorials emphasize varying camera angles, there is a significant lack of practical guidance on how solo creators can manage multiple angles during a single recording session, especially for newer formats like YouTube Shorts or livestreams, as noted in this discussion of creator angle workflows. That’s why most creators don’t need a complicated multi-camera setup. They need a small set of angle and audio habits that make one-camera videos feel intentional.
Use composition before you use complexity
Start with one good frame. Put the camera at eye level, place your eyes roughly in the upper third of the image, and clean up the background so it looks chosen instead of accidental.
Then add variation without creating chaos:
- Change shot size. Record a wider version and a tighter version if you can.
- Use B-roll. Cut to your screen, product close-ups, hand movements, or room details.
- Shift position slightly. A small angle change can make edits feel smoother.
If you do work with two angles, keep the perspective meaningfully different. Creators often hear about the 30-degree rule because it helps cuts feel deliberate rather than jumpy. If the second angle is too close to the first, the cut looks like a mistake.
A solo creator workflow that actually works
Most one-person setups should stay simple. Instead of trying to operate multiple cameras in real time, record your main angle first and collect support shots after.
A practical solo workflow:
- Record the full main take with your best audio setup.
- Mark sections that need visual relief while you speak.
- Capture inserts after the main take. Screen grabs, close-ups, cutaway shots, over-the-shoulder clips.
- Use those inserts to cover cuts where you removed mistakes, pauses, or repeated lines.
That gives you the look of a more produced video without the headache of syncing several live sources.
A second angle is useful only if it solves a viewer problem. If it exists just to feel cinematic, it usually adds work without adding value.
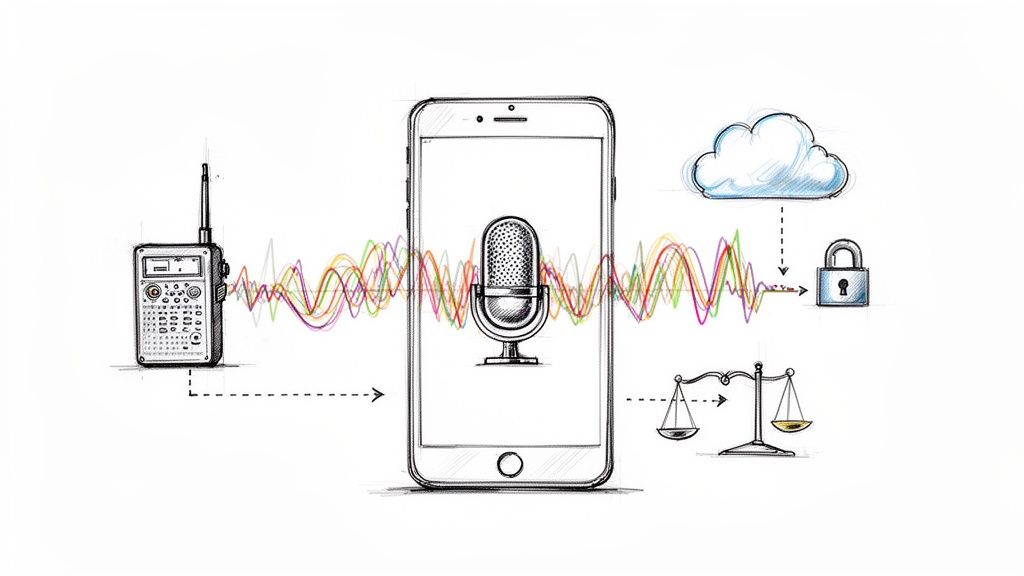
Audio is more important than sharper video
Good audio makes viewers relax. Bad audio makes them work.
The most common problems are echo, distance, room noise, and inconsistent levels. You don’t need advanced acoustic treatment to improve them. You do need to control your environment.
Try this checklist before recording:
- Reduce hard reflections. Curtains, rugs, couches, and bookshelves help
- Turn off noise sources. Fans, AC hum, laptop noise, nearby appliances
- Move the mic closer. Close placement usually improves clarity immediately
- Monitor with headphones. You’ll hear buzz, clipping, and mouth noise faster
If your room sounds harsh, don’t record in the emptiest room in the house. Smaller, softer rooms often sound better than wide open spaces.
What works and what doesn’t
A few trade-offs become obvious once you’ve edited your own footage for a while.
| Works | Usually doesn’t |
|---|---|
| One strong key light | Random overhead room light |
| Mic close to mouth | Mic across the desk |
| Planned cutaways | Endless single static shot |
| Clean background with depth | Busy shelves with visual clutter |
| Short retakes of weak lines | Forcing one “perfect” full take |
Creators often obsess over lenses and ignore room echo. That’s backward. If you fix your sound and make your frame intentional, your videos will feel more professional immediately.
Editing and Optimizing Your Recorded Video
Editing is where the video becomes watchable. Recording captures raw material. Editing decides pace, clarity, and whether the viewer keeps going or leaves.
Most beginners overedit the wrong things. They spend too long on transitions, animated titles, and visual effects, while leaving in weak openings, repeated points, and slow sections. Viewers notice pacing first.
Cut for momentum
Start by removing anything that doesn’t help the viewer.
That usually means:
- Long starts. Get to the point faster
- Repeated explanations. Say it once clearly
- Dead air. Pause less, trim more
- Verbal clutter. Too many filler words can drag the rhythm down
A useful standard is simple: every clip should either move the idea forward, clarify the idea, or keep attention while the idea lands. If it does none of those, cut it.
YouTube performance research indicates that videos between 5 and 15 minutes in length tend to perform best, according to YouTube performance data summarized here. That doesn’t mean every video should be forced into that range, but it is a good editing discipline. Keep only what earns its place.
Polish the basics before anything fancy
You don’t need cinema-grade post-production. You need consistency.
Focus on these in order:
- Audio cleanup. Balance levels, reduce obvious noise, keep speech clear
- Color consistency. Make clips from the same session match each other
- Text and overlays. Use them to reinforce a point, not decorate empty space
- B-roll placement. Cover cuts and add context where the viewer needs a visual reset
A lot of new creators add background music too early and too loudly. Music should support the video, not compete with the voice. If you want a tool for experimenting with custom sound beds without digging through stock libraries, resources around generate AI music for YouTube can help you test a cleaner audio layer for intros, transitions, or low-key background use.
Leave a beat only when the beat adds meaning. Most pauses in beginner videos are just hesitation that should be cut.
Export settings and final checks
The final export doesn’t need to be mysterious. Keep it consistent with your original footage when possible, and don’t introduce unnecessary conversions.
Before uploading, run through this short checklist:
- Resolution match. Export at the resolution you recorded and edited in
- Frame rate match. Don’t change it unless you have a clear reason
- Audio check. Listen to the exported file, not just the timeline preview
- Thumbnail moment. Make sure the video still aligns with the title and thumbnail promise
- Opening strength. Rewatch the first moments and ask if you’d keep watching
What works is a clean, restrained edit that respects the viewer’s time. What fails is a polished-looking video with weak structure. Strong editing is mostly subtraction.
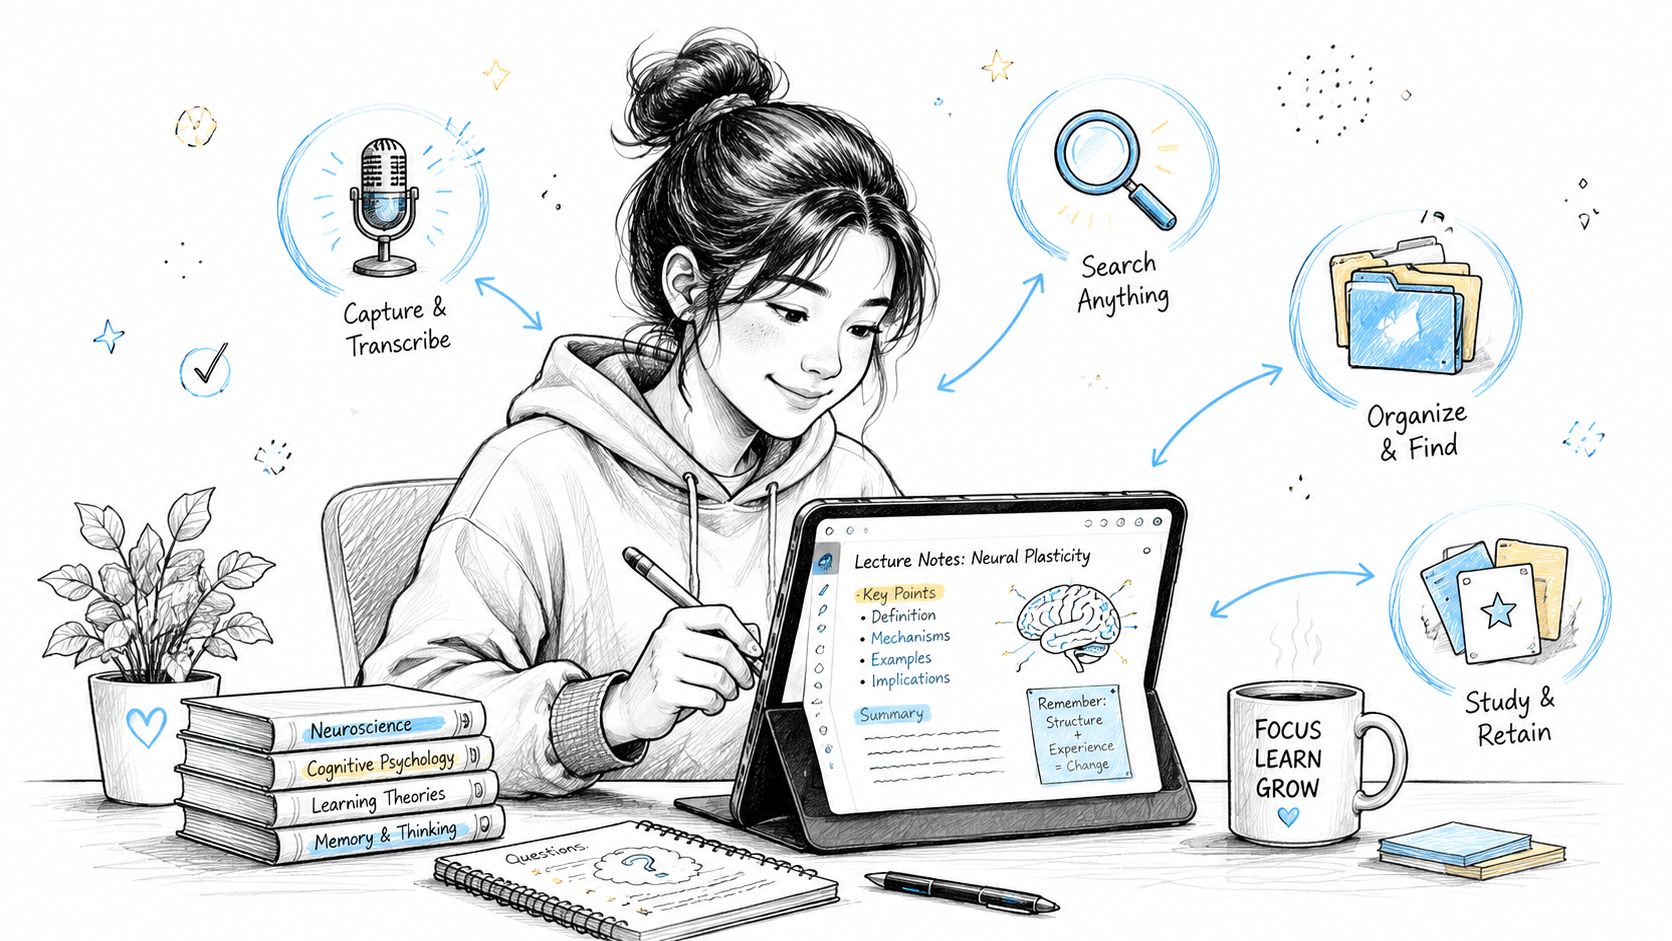
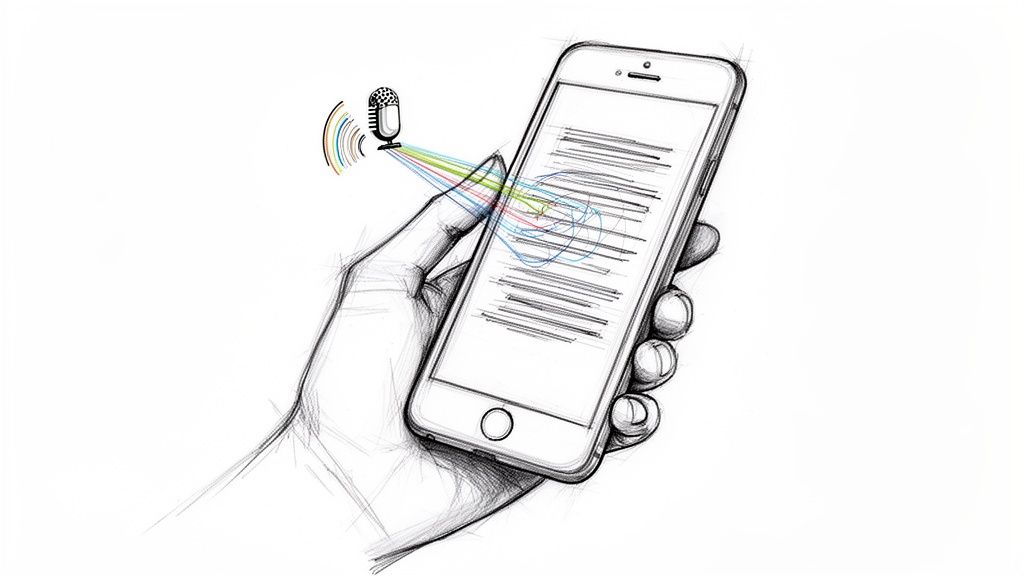
Turn Recordings into Assets with Transcription and SEO
A recorded video shouldn’t end its life as one upload. It should become a searchable transcript, captions, written content, research material, and a feedback source for your next video.
That starts before SEO. It starts with the way you speak and organize the recording itself. Clear section transitions, direct language, and specific examples make the video easier to edit, easier to caption, and easier to repurpose into text later.

Why transcription changes how you should record
Creators usually think about transcripts after publishing. The better approach is to think about transcripts while recording.
If you ramble, interrupt your own thought, or use vague phrasing, the transcript becomes harder to turn into useful assets. If you speak in clear sections and use words your audience searches for, the text becomes far more valuable.
That transcript can support:
- Closed captions and SRT files for accessibility and sound-off viewing
- A blog post version of the video for search visibility
- Show notes and summaries for educational or interview content
- Quote extraction for social clips, newsletters, and repurposed posts
If you need a starting point for that workflow, this guide on getting a transcript from a YouTube video is a practical reference.
Use analytics and transcript review together
Creators often miss out on a major opportunity. Performance data tells you what held attention. The transcript tells you what was being said in those moments.
YouTube Studio's Advanced Mode allows creators to export detailed performance data, which can be correlated with transcript content to identify which topics drive the highest audience engagement, according to YouTube Studio documentation on Advanced Mode exports.
That means you can review a published video more intelligently:
| What you review | What it tells you |
|---|---|
| Retention dips | Where the video likely lost clarity or pace |
| Strong segments | Which topics or examples landed |
| Transcript sections | The exact wording used in strong and weak moments |
| Caption quality | Whether accessibility and comprehension need work |
The recording process and the post-production process connect. The videos that are easiest to transcribe cleanly are usually easier to watch too.
SEO without turning your script robotic
Search optimization doesn’t mean stuffing keywords into every sentence. It means being specific enough that the platform and search engines understand what the video is about.
Use your transcript to identify:
- Natural recurring phrases your audience would also type into search
- Subtopics that deserve timestamps, subheadings, or separate posts
- Clear terminology that should also appear in your title and description
If you’re experimenting with AI-assisted workflows around summaries, outlines, and content expansion, this piece on optimizing content with uncensored AI is a reasonable companion read. The important part is still editorial judgment. AI can speed up packaging, but it can’t decide what was actually useful in your recording.
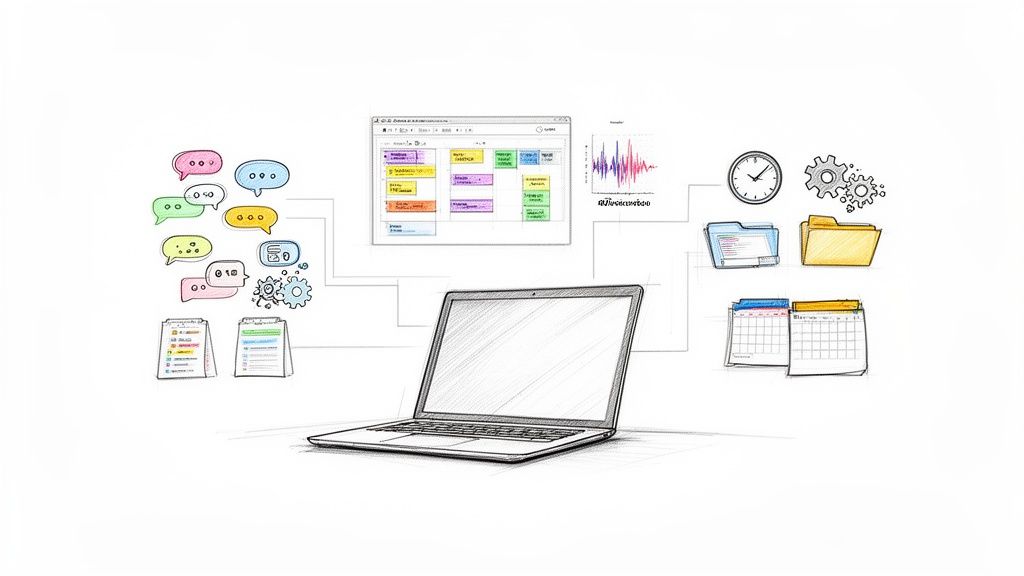
The best creators don’t treat recording as a standalone act. They treat it as the first step in a content system. One video becomes captions, a transcript, a search-friendly article, clipped highlights, internal documentation, and better decisions for the next shoot.
If you want to turn your videos into searchable transcripts, summaries, captions, and reusable written assets without adding a lot of manual work, try HypeScribe. Paste in a YouTube link or upload your file, then use the transcript to improve accessibility, extract key takeaways, and build a smarter publishing workflow around every recording.