A Guide to Using Dictation on Your iPhone
If you’ve ever tried to type out a long text message or email while walking, you know how frustrating it can be. That’s where dictation on your iPhone comes in. It’s a game-changer for getting thoughts down quickly, hands-free. Based on my own experience, once you get the hang of it, you can capture ideas and reply to messages in half the time it takes to type.
This feature is built right into your phone and is perfect for capturing ideas on the fly or replying to messages when your hands are full.
Getting Started with iPhone Dictation in Minutes
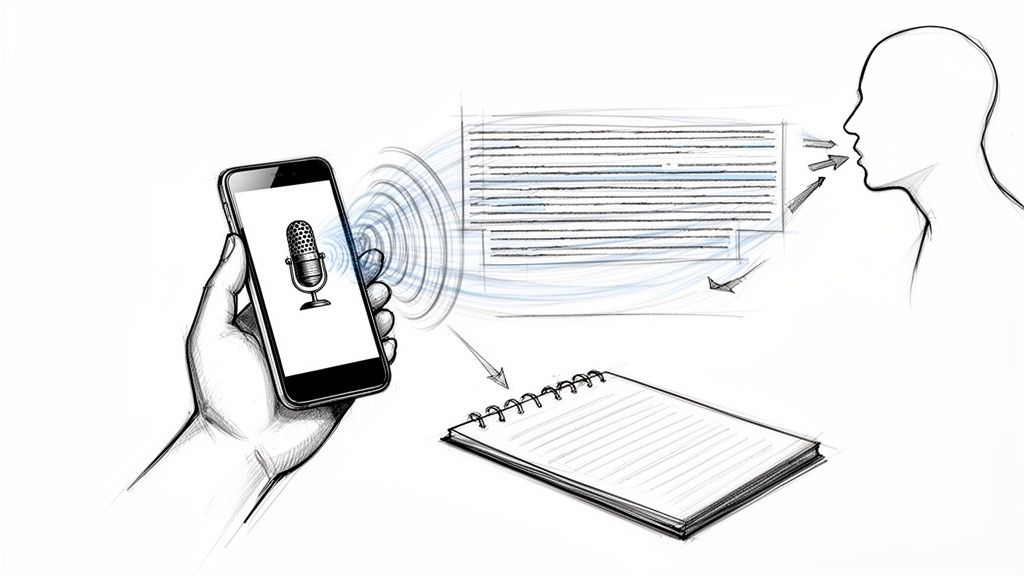
Tired of thumb-typing every single word? The built-in dictation on your iPhone is a surprisingly powerful and direct way to turn your speech into text. I've found it works seamlessly in almost any app that uses a keyboard, like Messages, Notes, or my email client.
How to Turn on Dictation on an iPhone
First things first, you need to make sure dictation is turned on. It only takes a second.
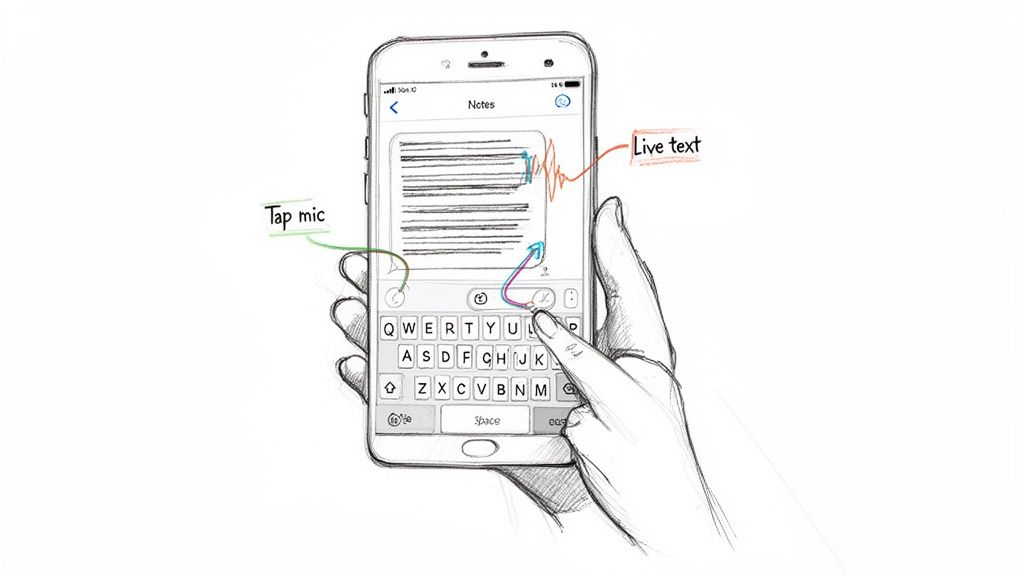
Just navigate to Settings > General > Keyboard, then find and toggle on Enable Dictation. That’s it. From now on, you'll see a small microphone icon on your keyboard, usually right next to the space bar.
Whenever you want to dictate instead of type, simply tap that microphone icon and start speaking. You’ll see your words pop up on the screen almost instantly. It’s incredibly useful for anyone who finds typing tedious or for individuals who use assistive communication tools to navigate their day.
For those interested in exploring more tools, some specialized apps for autistic adults also offer great ways to enhance communication and organization.
What are the basic dictation commands on iPhone?
The real key to mastering dictation is learning to "speak" your punctuation and formatting. It feels a little strange at first to say things like "comma" or "new paragraph" out loud, but you’ll get the hang of it quickly.
To get you going, here are some of the most common commands you'll use all the time.
Essential iPhone Dictation Commands
This quick-reference guide covers the basic commands for punctuation and formatting that will make your dictated text look clean and professional from the start.
To Do ThisSay This CommandAdd a period"period"Add a comma"comma"Add a question mark"question mark"Start a new line"new line"Start a new paragraph"new paragraph"Add a smiley face"smiley face"Capitalize a word"cap" [word]
Once you’ve got these down, you’ll be amazed at how much faster you can compose messages and notes. From personal experience, speaking is just faster than typing.
How to Configure Dictation for Peak Performance
So you've turned on dictation. That’s a great start, but getting it to really work for you—to feel less like a clumsy gimmick and more like a reliable assistant—takes a little tweaking under the hood. I've found that a few small adjustments in my settings made a world of difference in accuracy and flow.
First things first, let's head to the right spot: dive into Settings > General > Keyboard. This is your command center for all things dictation.
Once you’re there, you'll see the main Enable Dictation switch. Flipping this on is what makes the little microphone icon appear on your keyboard in the first place. But don’t stop there.
Right away, you'll notice that iPhones handle dictation in two different ways, and it's worth knowing which one you're using.
- On-Device Processing: If you have a newer iPhone, it probably transcribes your voice right on the device itself. This is the gold standard—it's faster, works offline, and keeps your voice data completely private.
- Server-Based Processing: Older iPhones, or instances where you're dictating in a less common language, will send the audio to Apple's servers to be processed. It still works well, but there’s a slight lag, and it won't work without an internet connection.
For the best experience, I always recommend sticking with on-device processing if your phone supports it.
Fine-Tuning Your Language and Punctuation
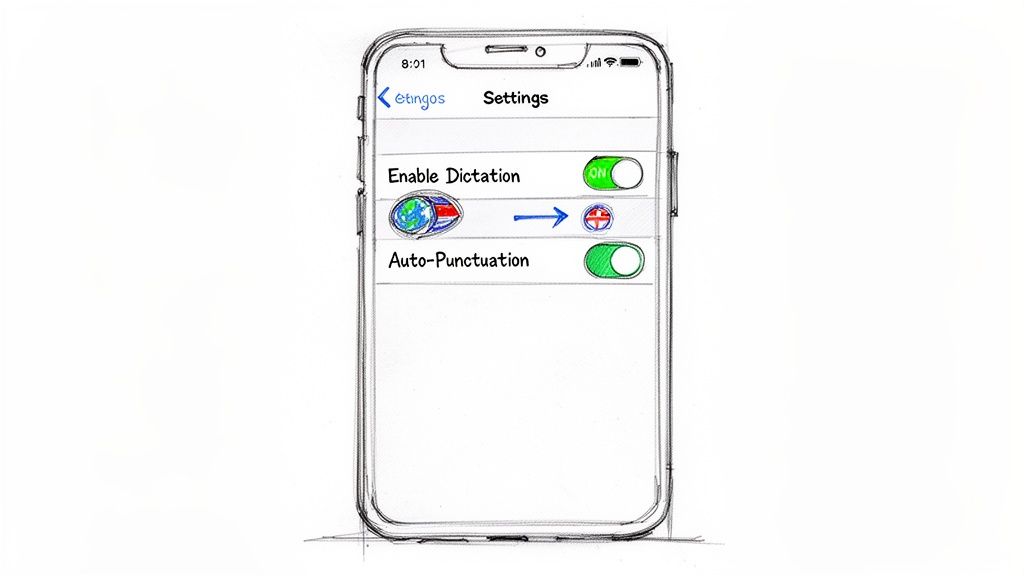
If you're bilingual or multilingual, here’s a tip I can't stress enough: add all the languages you speak. In that same Keyboard menu, find Dictation Languages and add every language you might use.
With multiple languages enabled, you can switch between them on the fly simply by long-pressing the microphone icon on your keyboard. It's a game-changer because it tells your iPhone which accent and vocabulary to expect, dramatically improving accuracy when you jump from English to Spanish and back.
Another setting to play with is Auto-Punctuation. With this turned on, your iPhone will intelligently add periods, commas, and question marks as you talk, which is great for casual use.
Based on my own use, Auto-Punctuation is fantastic for firing off quick texts or emails in a quiet room. But if I'm in a noisy café or drafting something more formal where every comma matters, I turn it off. Speaking my punctuation commands manually gives me total control.
How accurate is iPhone dictation?
Let's be honest: iPhone dictation still isn’t perfect. Even with all the latest updates, you'll run into errors. Third-party tests in recent years put its accuracy somewhere between 90-95% in ideal, quiet conditions.
But the moment you introduce background noise, a regional accent, or a fast speaking pace, that can easily drop to 80%. Considering there are over 1.4 billion active iPhones out there, that adds up to a lot of frustrating typos for users every single day.
Using Advanced Voice Commands to Edit and Format Text
Once you get the hang of basic punctuation, you can unlock the real magic of dictation on your iPhone: editing and formatting on the fly. This is where the feature goes from a simple speech-to-text tool to a hands-free editor. You can tweak and shape your text with surprising accuracy, all without touching the screen.
Think about it. You’ve just dictated a long email, but then you spot a phrase you want to change. Instead of the usual tap-and-drag dance to select the text, you can just speak your edit. That's the moment dictation becomes a genuine productivity hack.
How to Select and Replace Text with Your Voice
Some of the most useful commands are for selecting and replacing text. When I’m capturing thoughts on the move, I’m constantly correcting words or rewording sentences. Learning these commands was a total game-changer for my workflow.
You can get incredibly precise.
- To select text: Try saying "Select [word]" or "Select the last sentence." You can also target groups of words with "Select the next three words" or get very specific with "Select from [word] to [word]."
- To replace text: This is a simple two-step. First, select what you want to change using one of the voice commands above. Then, just say the new word. For instance, say "Select 'next week'" and then, "next Friday." The phone swaps it out instantly.
This select-then-replace process feels completely natural after you've done it a couple of times. It’s so much faster than editing by hand, especially in longer notes or documents.
My go-to move is saying, "Select the paragraph," and then just dictating a whole new version. It feels like I'm having a conversation with my notes, letting me refine my ideas out loud as they come to me.
The system is also smart enough to pick up on context, so these commands feel less like you're talking to a robot and more like you're working with a helpful assistant.
How to Format and Add Special Characters with Voice
Beyond just changing words, you can also control how your text looks. This comes in handy all the time for adding a little emphasis or structuring an email so it’s easier to read.
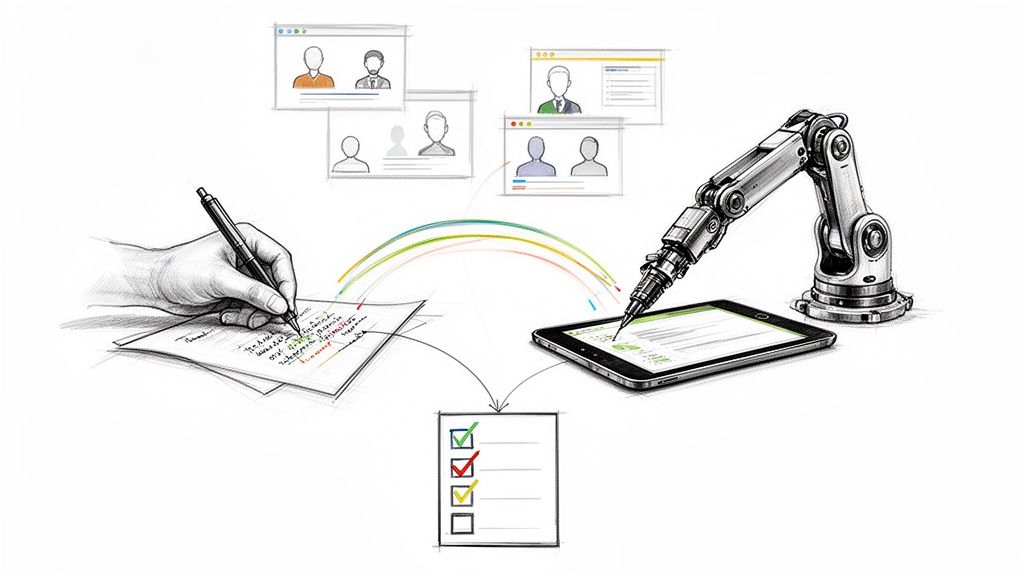
The same core technology that powers Siri is behind dictation, which means it's built to handle a wide range of requests seamlessly. This visual from Apple's official site gives you a sense of that versatility.
This integration is what makes the system so powerful. The commands you learn for formatting text are part of a much larger ecosystem designed to understand what you mean.
You can apply formatting to text you’ve already selected or do it as you go. For example, after selecting a word, you can just say, "Make that bold." Or, you can say, "Bold the next sentence," and then keep dictating.
Here are a few of the formatting commands I use almost daily:
- Emphasis: "Bold that," "italicize that," or "underline the last word."
- Lists: Get a list started by saying "Start a numbered list" or "Start a bulleted list." As you dictate, just say "next item" to move to the next point.
- Symbols and Emojis: You can also pop in special characters and emojis just by saying their names. "Winky face emoji" or "dollar sign" work exactly how you'd hope. For example, dictating "The total is fifty dollar sign" correctly types out "The total is $50."
Getting comfortable with these advanced commands is what turns dictation on your iPhone from a fun feature into an essential tool for communicating quickly and clearly.
Troubleshooting Common iPhone Dictation Problems
Even the most reliable tools hit a snag now and then, and iPhone's dictation feature is no different. We’ve all been there: the microphone icon vanishes, dictation stops listening, or it starts turning your perfectly clear sentences into gibberish. Let's walk through how to fix these common frustrations.
Before diving into settings, always check the simple stuff first. A weak or spotty internet connection is often the culprit, especially if you haven't enabled offline dictation. If things feel slow or unresponsive, try toggling your Wi-Fi or Cellular data off and on again. You’d be surprised how often that clears things up.
What to Do When the Dictation Icon Disappears
It’s a surprisingly common issue—you tap the text field, ready to speak, and the little microphone icon is nowhere to be found. When this happens, the fix is usually buried in your keyboard settings.
- Head over to Settings > General > Keyboard.
- Scroll all the way down and check that Enable Dictation is toggled on.
- If it's already on, try turning it off, waiting a few seconds, then switching it back on.
This simple toggle essentially reboots the dictation service and, more often than not, brings the icon right back. If you’re still not seeing it, a full restart of your iPhone is the next best step and almost always solves the problem.
How to Improve Transcription Accuracy
Another frequent headache is when your iPhone just doesn't seem to understand you. If it's consistently bungling your words, the problem is almost always your environment or your delivery.
My personal rule of thumb is to treat the iPhone’s microphone like a person on a phone call. If they wouldn't be able to hear me clearly over the noise, dictation is going to struggle, too. Simply moving to a quieter spot can make a world of difference.
Speaking at a steady, moderate pace—not too fast, not too slow—also gives the software a much better chance of keeping up. If you find that dictation isn't hearing you at all, it's possible you may need to troubleshoot iPhone microphone issues, as it could point to a hardware problem.
For those of us dictating longer-form content like interviews or meeting notes, built-in dictation has its limits. In those cases, it’s worth learning how to transcribe a voice memo on an iPhone for more powerful and accurate workflows.
Once you have your text down, the real work of editing begins. You can, of course, just use the keyboard, but getting comfortable with voice commands for editing is a huge time-saver.
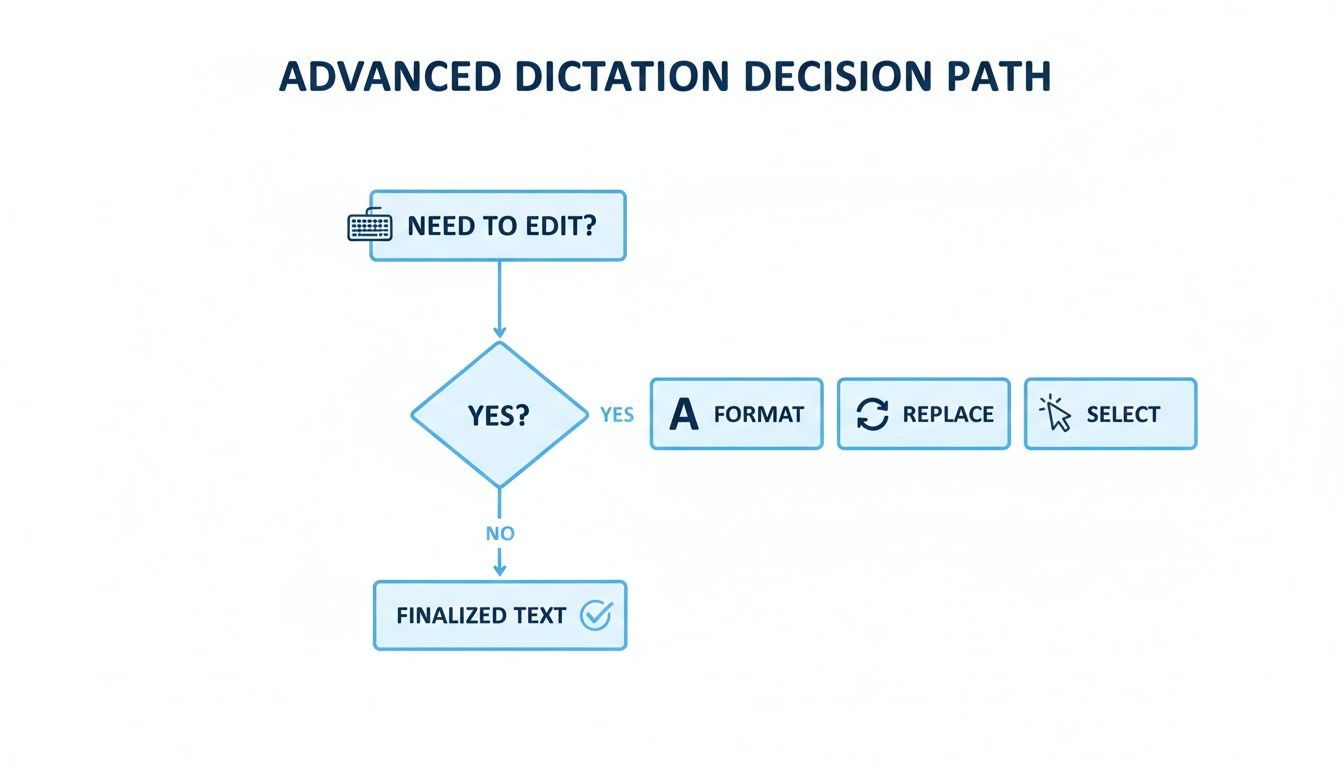
This flowchart gives you a great visual for the editing process. After you've spoken your text, you can use specific commands to select a word or sentence, replace it with something else, or apply formatting like bold or italics—all without ever touching the screen.
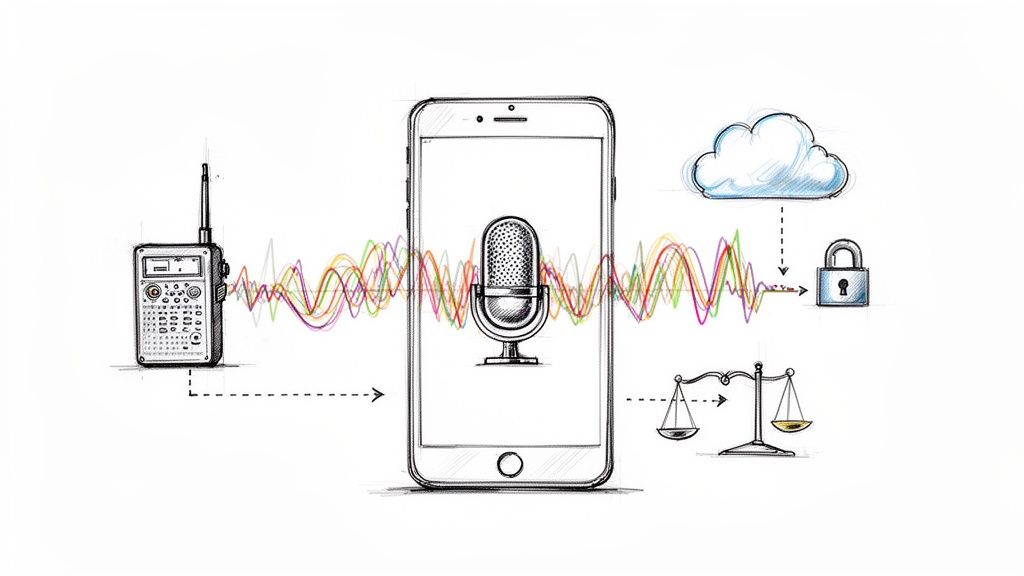
Understanding Your Privacy with Siri and Dictation
So, you're using dictation on your iPhone, but a nagging question pops into your head: who's listening? In an age where our data feels more public than ever, it’s a fair question to ask before you start speaking sensitive information into your phone. Apple has definitely tightened things up over the years, but knowing how to manage your own privacy settings is key.

This whole issue really blew up back in 2019. It came out that third-party contractors were reviewing Siri recordings and, you guessed it, had access to some incredibly private user audio. The public outcry forced Apple to overhaul its policies, but that wasn’t the end of it.
More recently, a bug in iOS 15 quietly re-enabled this data-sharing setting for some people who had specifically turned it off. Apple fixed it in iOS 15.2, but when you consider there were over 1 billion active iPhones at the time, even a "small portion" of users adds up to a lot of unintended recordings. You can get the full story on this and why it’s a stark reminder to be vigilant in this TechRadar report on iPhone conversation recordings.
What “Improve Siri & Dictation” Actually Means
When you set up a new iPhone, Apple asks if you want to “Improve Siri & Dictation.” If you tap yes, you’re giving Apple permission to store the audio of your voice commands and dictations. From there, human employees can review a sample of these recordings to help improve the system's accuracy.
Sure, the recordings are “anonymized,” so they aren’t tied directly to your Apple ID. But as the 2019 incident proved, anonymized audio can still contain names, locations, and other personal details you’d rather keep private. The only guaranteed way to prevent your recordings from being stored or reviewed is to opt out completely.
For me, the choice is simple. While I appreciate the goal of improving technology, the potential for private conversations to be overheard is a risk I'm not willing to take. I always opt out of sharing my dictation audio.
How to Take Control of Your Dictation Privacy
The good news is that Apple gives you direct control over these settings. You can easily check your status, opt out of sharing any data, and even wipe out any history Apple has stored on its servers.
Here’s exactly what to do to secure your privacy:
- Turn Off Data Sharing: Go to Settings > Privacy & Security > Analytics & Improvements. Find the toggle for Improve Siri & Dictation and make sure it’s turned off.
- Delete Your Existing History: Head over to Settings > Siri & Search > Siri & Dictation History. Tap the Delete Siri & Dictation History button to purge any stored audio from Apple's servers.
Taking these two simple steps ensures that what you dictate stays as private as possible within Apple's ecosystem. On a related note, remember that recording other people can have legal consequences, so it’s always a good idea to learn more about the laws around recording conversations to stay on the right side of the law.
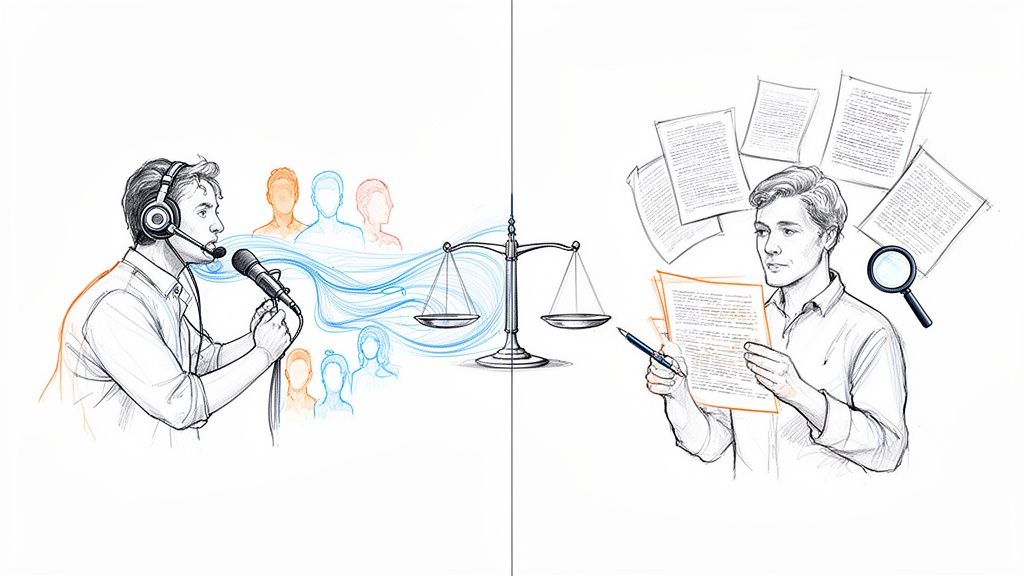
When to Upgrade to a Professional Transcription Tool
The built-in dictation on your iPhone is a lifesaver for firing off a quick text or jotting down a grocery list. It's fast, convenient, and gets the job done for casual use. But have you ever tried to dictate an important client email or a few paragraphs for an article, only to spend the next ten minutes correcting misplaced words and punctuation?
That's the moment you hit the wall with basic dictation. When your work demands precision—for client meetings, interviews, or detailed notes—it’s time to look beyond the built-in microphone icon and consider a professional tool.
In ideal, quiet conditions, your iPhone's dictation can achieve 90-95% accuracy. That sounds pretty good, but for a 1,000-word document, that leaves you with 50 to 100 errors to find and fix. In contrast, a dedicated AI transcription service like HypeScribe consistently delivers 99% accuracy or higher, even with background noise, multiple speakers, or industry-specific jargon.
That leap from 95% to 99% isn't just an incremental improvement. It’s the difference between a rough draft that needs a heavy edit and a reliable transcript you can trust immediately.
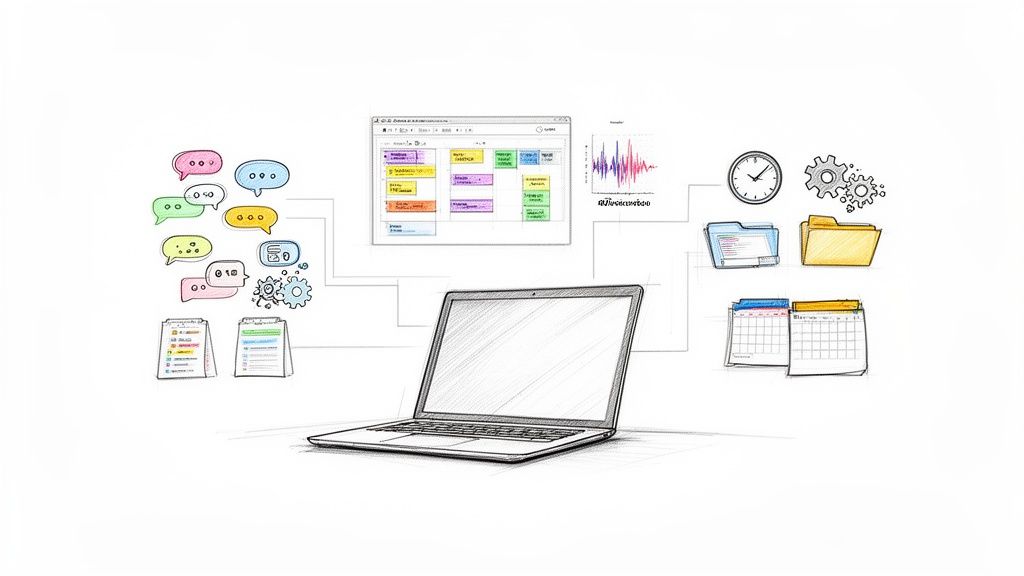
It's More Than Just Speech to Text
The real advantage of a professional tool isn't just getting the words right; it's what the software does with those words. Instead of handing you a wall of text, these platforms transform your raw audio into a structured, usable document.
Imagine finishing a one-hour project meeting. With a professional tool, you don't just get a transcript. You get a document that’s already organized for you.
Here’s what that looks like in practice:
- Speaker Identification: The AI automatically figures out who said what and labels each part of the conversation. This is a game-changer for reviewing interviews and team meetings.
- Intelligent Summaries: No need to reread the entire conversation. The software can generate a concise summary, pulling out key highlights and decisions for you.
- Noise and Filler Word Removal: It intelligently filters out background clatter, coughs, and all those "ums" and "uhs" that make a raw transcript hard to read. The result is a clean, professional document.
Taking Back Control of Your Data
Data privacy and access are another huge differentiator. While Apple's dictation has been around since iOS 7, a significant change with iOS 16 removed the ability for users to review their dictation history. Your only option is to delete it all at once. For professionals who need a searchable, verifiable record of their work, this "black box" system is a major liability.
You can read more about these dictation history limitations on GadgetHacks.
A service like HypeScribe puts you back in the driver's seat. You can upload your audio files, get a searchable transcript with 99% accuracy, export it in various formats, and then delete the source data from the platform whenever you choose.
When your business relies on accurate records, having a verifiable and accessible transcript isn't just a nice-to-have; it's a necessity. Professional transcription tools provide that audit trail and peace of mind that built-in dictation simply cannot offer.
For writers, journalists, and anyone creating content, the workflow benefits are enormous. If you want to see how these tools can fit into your process, check out our guide on the best dictation software for writers. Ultimately, upgrading means you stop wasting time fixing mistakes and start spending more time turning your spoken ideas into finished work.
Your iPhone Dictation Questions, Answered
As you start using dictation more often, a few questions are bound to pop up. Let's tackle some of the most common ones I hear so you can get back to dictating without a hitch.
Can I Use Dictation on My iPhone Without an Internet Connection?
Yes, you can! If you have an iPhone with an A12 Bionic chip or newer, your device can handle dictation for many popular languages (including English) right on the phone itself.
This is a game-changer when you're on a plane, in the subway, or anywhere with spotty service. Your voice is processed locally, which makes it faster and keeps your data private. Keep in mind, though, that for less common languages or really long, rambling dictations, your iPhone might still need to phone home to Apple's servers to get the job done.
Why Did the Dictation Microphone Icon Disappear from My Keyboard?
Ah, the mysterious case of the vanishing microphone. This is a surprisingly common headache, but the fix is usually simple.
First, double-check your settings. Go to Settings > General > Keyboard and make sure Enable Dictation is toggled on. If it already is, try the oldest trick in the book: turn it off, wait a beat, and turn it back on. This simple reset often brings the icon right back.
If that doesn't work, a quick restart of your iPhone is the next step and solves the problem most of the time.
If you've tried both of these fixes and the microphone is still missing, you might have run into a minor software bug. Apple is pretty good about squashing these, so your best bet is to check for an iOS update.
When you need every single word to be perfect—for client meetings, interviews, or important lectures—the built-in dictation might not cut it. For those moments where precision is everything, you'll want something more powerful. To get consistent 99% accuracy, speaker labels, and intelligent summaries, see what a dedicated tool like HypeScribe can do for you. Get your professional-grade transcript today.