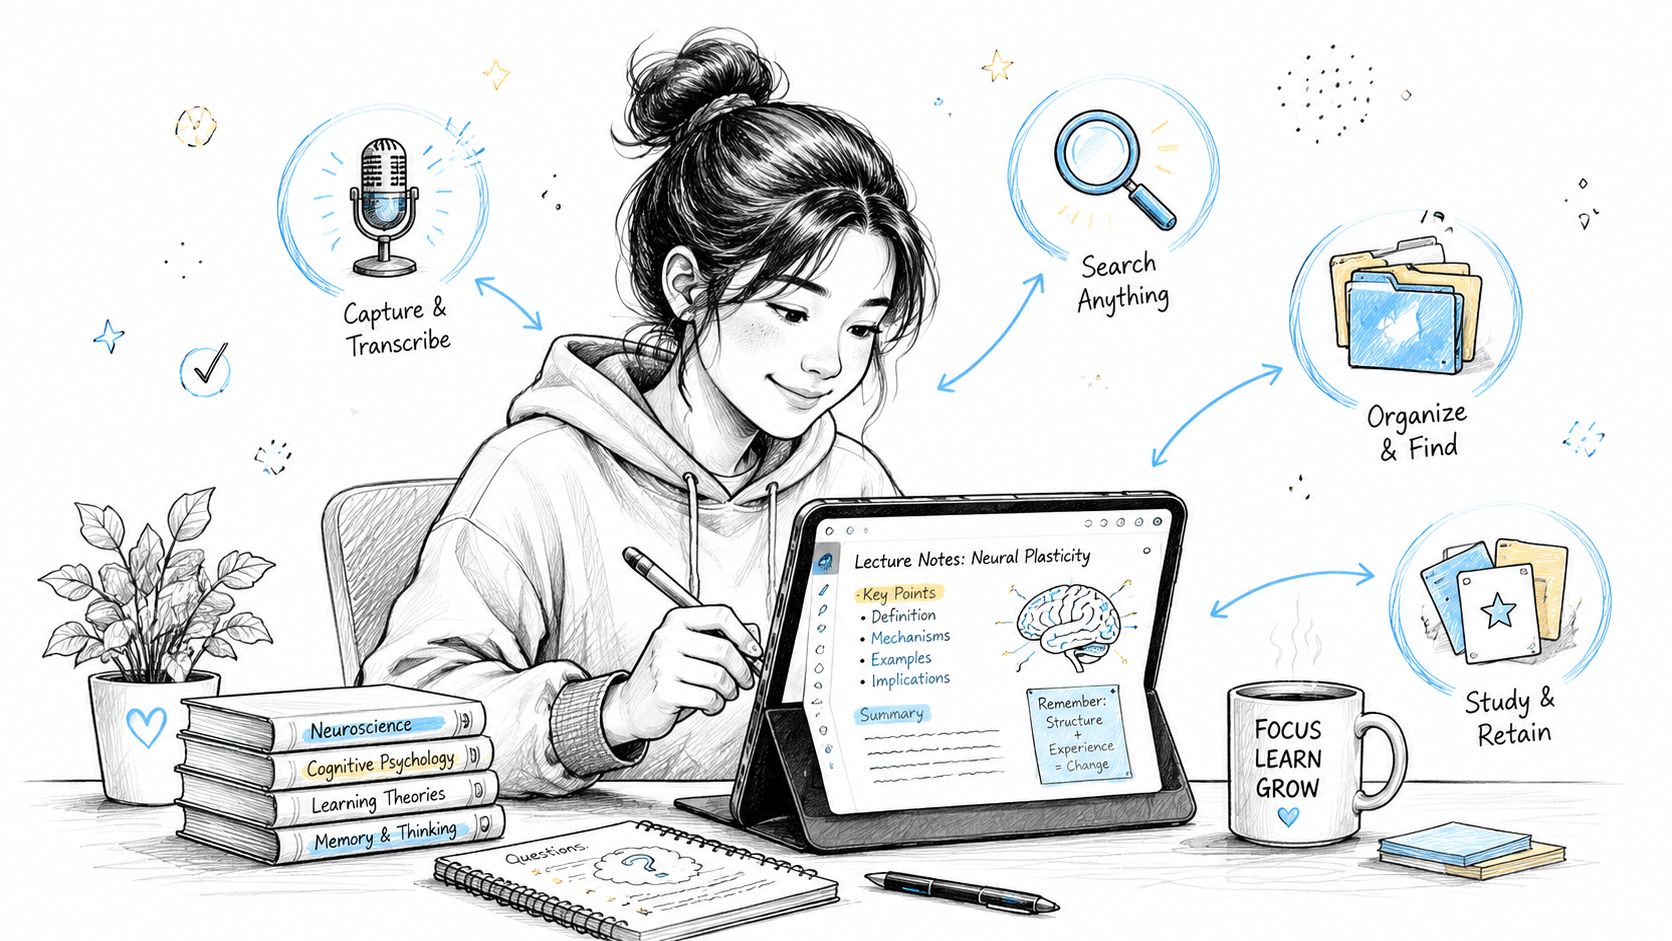
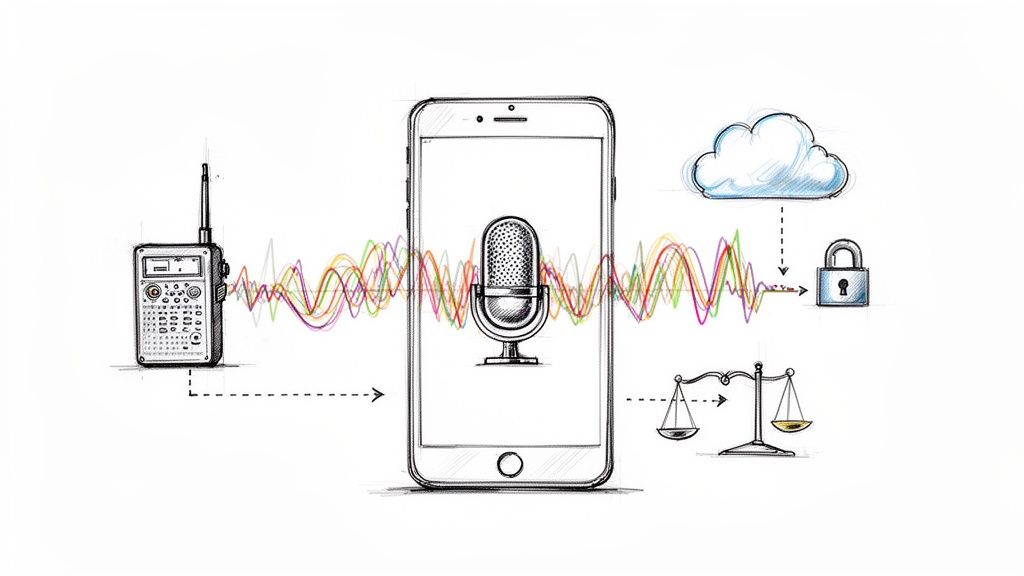
What Is an Auto Sound Levelizer and How Does It Work?
An auto sound levelizer is your secret weapon for turning messy, uneven audio into a clean, professional recording. It automatically smooths out the volume so that no part is jarringly loud or frustratingly quiet.
What Is an Auto Sound Levelizer and Why Does It Matter?
Have you ever been on a conference call where one person sounds like they're shouting, and the next is barely a whisper? It’s a common headache that forces everyone to constantly ride their volume controls, making it incredibly distracting to follow the conversation.
The culprit is inconsistent audio levels, a problem that can stem from anything—people moving away from the mic, different speaking styles, or just a less-than-ideal recording setup.
This is where an auto sound levelizer saves the day. Think of it as an instant audio engineer. Based on my experience editing hundreds of hours of audio, this software scans your entire recording, finds the quiet and loud spots, and intelligently adjusts them to a balanced, even volume. It brings up the whispers and tones down the shouting, creating a listening experience that’s smooth and easy on the ears.
The Value of Consistent Audio
Consistent audio isn't just a luxury; it's fundamental for clear communication and creating content that people actually want to listen to. When your audio is properly leveled, the benefits are immediate.
- A Better Listening Experience: Your audience can set their volume once and forget it. No more sudden shocks or straining to hear, which keeps them engaged with your content.
- A More Professional Sound: Evenly balanced audio immediately sounds more polished and put-together. It reflects well on your brand, whether it’s for a podcast, a corporate meeting, or an online course.
- Improved Comprehension: When every word is delivered at a clear, consistent volume, your message lands exactly as intended. Your audience can focus on what you're saying, not on trying to decipher it.
An auto sound levelizer is one of the simplest and most effective things you can do for your audio. It takes an unpredictable recording and turns it into a reliable, high-quality asset that anyone can follow with ease.
And for HypeScribe users, this is arguably the most important benefit: leveled audio is the key to unlocking higher transcription accuracy. AI transcription models thrive on clean, consistent input. By eliminating those wild volume swings before you transcribe, you drastically reduce errors and get a much cleaner text output from the start. That means less time spent editing and more time putting your content to work.
How the Technology Balances Your Audio
Ever wonder what’s actually happening when you click that "level audio" button? It feels like magic, but it’s really a combination of smart audio processing techniques working in concert. To get why it's so effective, it helps to peek behind the curtain and see how these tools turn a chaotic recording into a polished, professional-sounding track.
The fundamental problem is simple: some parts of your audio are just too loud, while others are way too quiet. Whether it’s a guest leaning away from the mic or someone laughing directly into it, the result is an inconsistent listening experience.
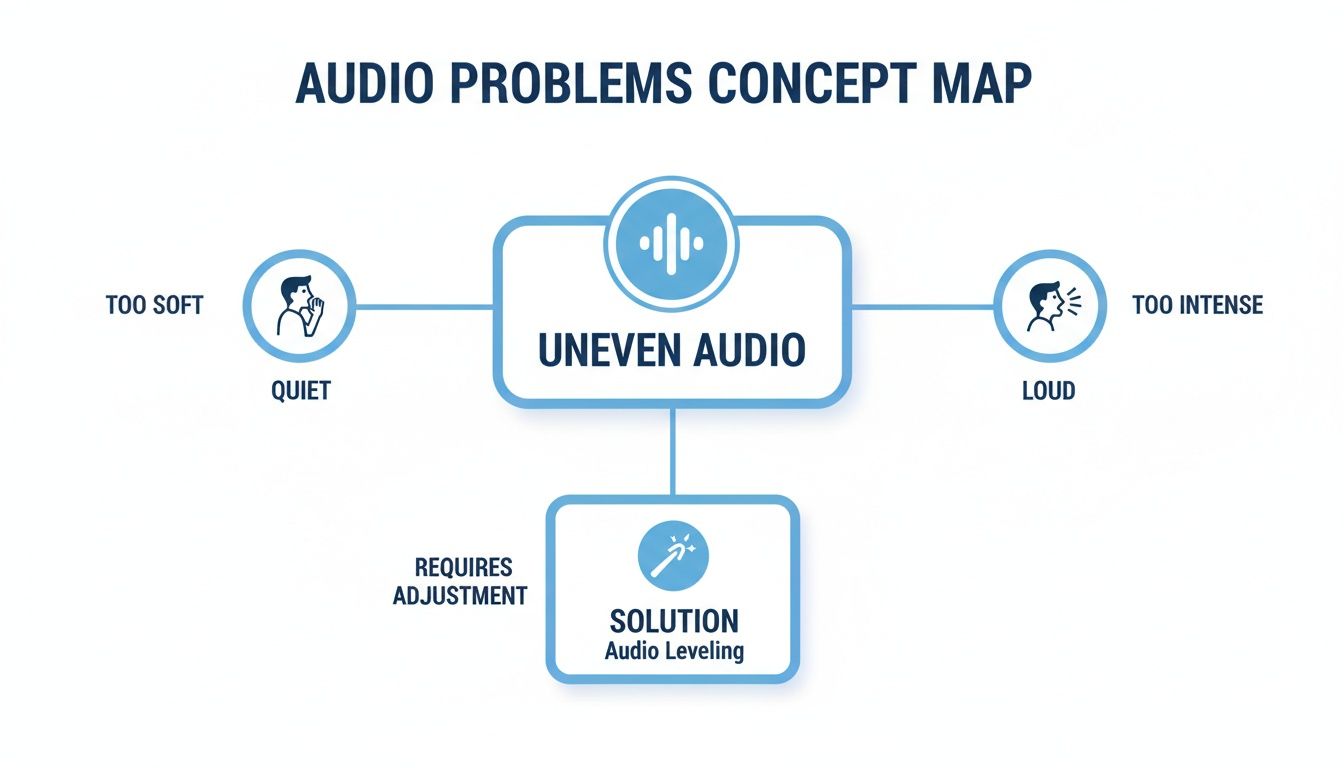
As you can see, the goal is to find that perfect middle ground, making every word clear and comfortable to listen to. Here’s how it’s done.
The Smart Assistant: Automatic Gain Control
Think of Automatic Gain Control (AGC) as a vigilant audio engineer adjusting your mic volume in real time. If someone starts speaking loudly, AGC immediately dials the microphone's sensitivity down. When their voice trails off or they turn their head, it cranks the volume right back up so you don't miss a thing.
This constant, automatic adjustment is a lifesaver for live recordings like conference calls or streams, where you don’t have the luxury of fixing things in post-production.
Setting a Volume Ceiling with Compressors and Limiters
While AGC works on the input signal, compressors get to work on the audio that’s already been recorded. Picture a flexible, invisible ceiling hovering just above your audio waveform. When a sudden loud sound—like a laugh or a shout—hits that ceiling, the compressor gently pushes it back down. The result is a much smoother sound, free of jarring volume spikes.
A limiter is basically a compressor’s more aggressive older sibling. Instead of a flexible ceiling, it’s a solid brick wall. Any sound that hits the limit is stopped dead in its tracks. This is an essential safety measure to prevent "clipping," that nasty digital distortion that occurs when a signal is too loud, protecting both your equipment and your listeners' ears.
A good way to remember the difference is that compression manages loudness, while a limiter prevents overload. Both work to control the loudest parts of your audio, just with different levels of intensity.
Defining a Target with Normalization and LUFS
Once the loudest parts are under control, the next job is to lift the entire recording to a consistent, standard volume. This is where normalization comes in, and there are a couple of ways to do it.
Peak Normalization: This old-school method scans your audio for the single loudest point—even if it's just a cough—and raises the entire track's volume until that one peak hits a target, like -1 dB. The problem? If that one peak is much louder than everything else, the rest of your audio might still end up too quiet.
Loudness Normalization (LUFS Targeting): This is the modern, professional standard. Instead of looking at peaks, this method measures the perceived loudness over the entire file using a metric called LUFS (Loudness Units Full Scale). An auto-leveler then adjusts the audio to a specific target, like -16 LUFS, which is a common standard for podcasts. This ensures your audio has the same presence and volume as professionally produced content you hear on platforms like Spotify or YouTube.
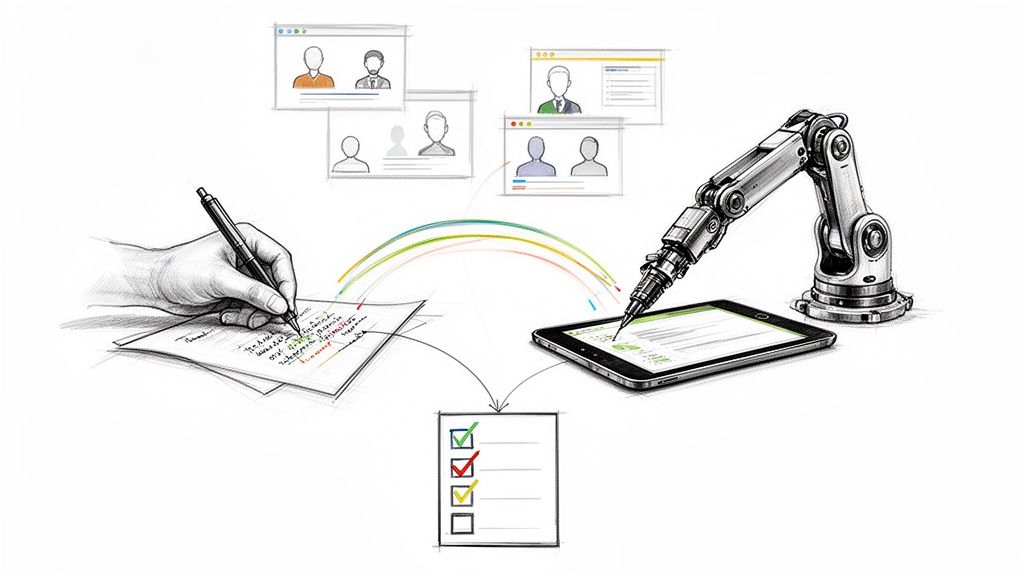
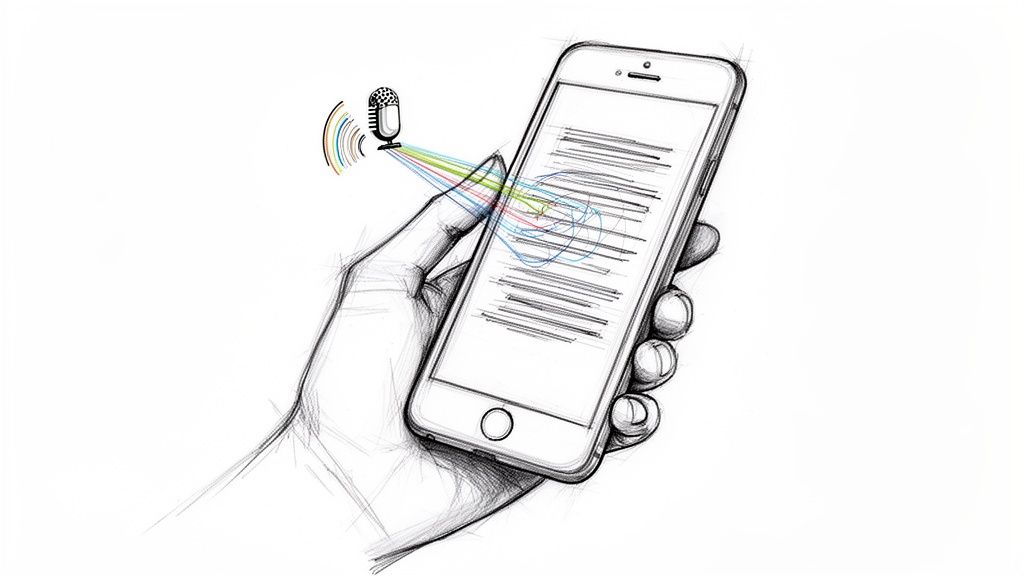
Why Level Audio for Better Transcription Accuracy
AI transcription tools like HypeScribe are incredibly smart, but they have an Achilles' heel: inconsistent audio. Their accuracy hinges on the quality of the recording you feed them.
Think of it this way: an AI is like someone trying to take perfect notes in a chaotic meeting. When one person speaks clearly and at a consistent volume, every word gets captured. But if another person mumbles and a third one shouts, the note-taker is bound to miss things or write down the wrong words.
That’s exactly what happens with a transcription AI. It loves predictability. Wild swings in volume are its biggest enemy, and they're a direct cause of frustrating errors in your final text. This is why a clean, balanced audio file isn’t just a nice-to-have; it's a critical first step. An auto sound levelizer prepares your audio for the AI by ironing out those jarring volume changes, making sure every word is heard.
Cut Down on Errors and Save Yourself Time
When audio levels are all over the place, an AI gets confused. It might mistake a faintly spoken—but crucial—word for background noise. A sudden, loud laugh can easily drown out the words spoken right after it, causing the algorithm to stumble. These little mistakes create a domino effect, leaving you to clean up a messy transcript.
From my experience, leveling audio before uploading it for transcription can slash the number of errors by up to 50%. This one simple step can easily cut your editing time in half and makes your final notes far more reliable.
Leveling turns your raw recording into the perfect source material for an AI. It no longer has to guess what was said during a quiet patch or struggle to make sense of dialogue during a loud one. Every voice and every word gets equal footing, which always results in a more accurate transcript.
Getting your audio levels right is a cornerstone of learning how to write a transcript of a video, whether you’re doing it by hand or with an AI. For a deeper dive into the process, check out our full guide on how to transcribe an audio file. It’s all about working smarter by giving the AI the best possible audio to work with from the very beginning.
Where an Auto Sound Levelizer Becomes Your Secret Weapon
Theory is one thing, but the real magic of an auto sound levelizer happens when you drop it into a real-world recording. In a lot of common situations, it’s less of a "nice-to-have" and more of an absolute game-changer for getting audio that’s clear, professional, and easy to listen to.
Let's break down a few places where these tools really shine.
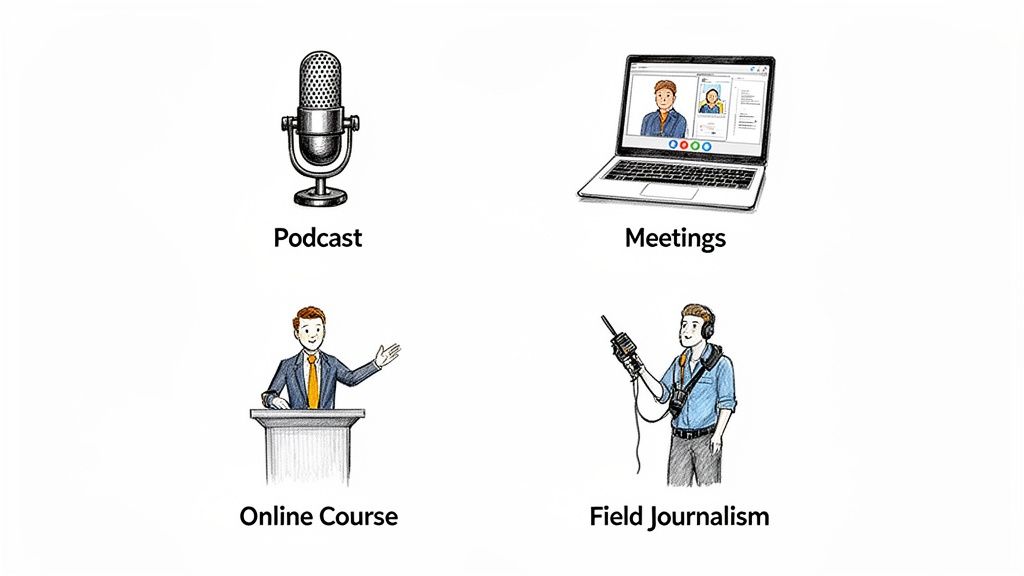
Making Every Voice Heard in Podcasts
Podcasting is built on conversation. But when you have a co-host who loves to lean into the mic for emphasis and a guest who leans back, you get a recording that’s all over the map, volume-wise.
Trying to manually ride the faders on every track in post-production is a surefire way to get bogged down in editing. An auto sound levelizer flattens those peaks and valleys instantly, making sure every single person comes through at a consistent, enjoyable level. It just makes the whole show sound more polished.
Capturing Critical Details in Meeting Replays
We’ve all been in that virtual meeting. One person is using their laptop mic from across the room, another is calling from a noisy cafe, and the project lead has a pro-grade setup. The resulting recording is a jumble of loud and barely-audible voices.
Leveling the audio makes that replay genuinely useful. Suddenly, the quiet speaker’s brilliant idea is just as clear as the manager’s loud directives. This is non-negotiable when you need to record and transcribe meetings, because consistent volume is one of the biggest factors in getting an accurate transcript.
Ensuring Accessibility in Online Learning
For any kind of online course or lecture, clear audio is everything. If a student is constantly reaching for the volume knob because the instructor turns away from the mic to write on a whiteboard, they’re going to miss important information.
An auto sound levelizer makes sure every word lands with the same clarity and impact. It’s a simple step that makes your educational content vastly more accessible and effective for everyone.
Stabilizing Audio for Field Journalism and Interviews
Journalists and researchers rarely get to record in a perfect, quiet studio. They’re out in the real world—on a busy street, at a windy park, or in the middle of a loud event. These environments are a nightmare for maintaining consistent audio levels.
An auto leveler is fantastic for this. It helps pull the speaker’s voice forward and smooths out the jarring volume shifts that happen in dynamic settings. The final interview is not only easier to understand but also much cleaner to transcribe, preserving the integrity of what was said. For streamers and gamers, managing multiple audio sources is even more complex, which is where a dedicated audio mixer for PC comes in handy—a process that often benefits from a leveling function.
This need for clean, processed audio isn't just for professionals, either. It’s a huge driver in consumer tech, especially in cars where you're balancing music, navigation prompts, and phone calls. The global car audio market was valued at around $11.10 billion in 2025 and is expected to climb to $20.72 billion by 2034, largely because people expect a high-quality, balanced listening experience everywhere they go. You can read more about the growing automotive audio market on fortunebusinessinsights.com.
How to Level Your Audio for Maximum Clarity
Getting consistently clear audio is less about having the most expensive gear and more about having a solid process. If you nail a few key steps during recording and then apply some simple post-production magic, you can drastically boost your sound quality. The result is a polished, professional recording that's ready for high-accuracy transcription.
I can't stress this enough: great audio starts at the source. While post-production tools are powerful, they can't salvage a truly terrible recording. Think of it as cooking—the better your ingredients, the better the final dish.
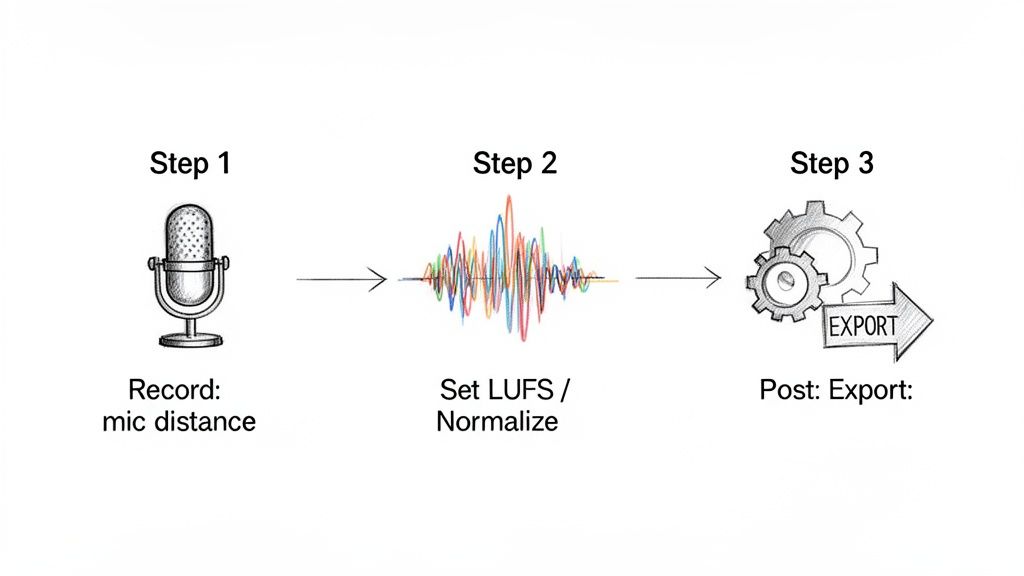
Step 1: Start with a Clean Recording
Before you even think about hitting that record button, a few small tweaks can save you a world of headaches later. Getting these right means less time spent fixing things in post.
- Maintain Consistent Mic Distance: This is the single biggest factor in keeping your volume steady. Try to keep the same distance from your microphone the entire time you're speaking. A good starting point is about a hand's width away.
- Set Proper Input Levels: Your recording device has an input gain setting for a reason. Speak at your normal volume and keep an eye on the meter. You want the levels to dance in the green and yellow sections, but never touch the red. Hitting the red means you're "clipping," which creates a nasty distortion that's nearly impossible to fix.
- Minimize Background Noise: It sounds obvious, but you’d be surprised how much ambient sound a microphone picks up. Close doors and windows, shut off fans, and step away from humming refrigerators. A clean recording environment prevents an auto sound levelizer from accidentally boosting that annoying buzz along with your voice.
Think of good recording hygiene as the foundation of your audio. The stronger the foundation, the better the final result will be, regardless of how much processing you apply afterward.
Step 2: Use an Auto-Leveler Tool
With a clean recording in hand, it’s time for the final polish. You don't need a fancy, expensive audio suite for this. Free tools like Audacity or the built-in features in apps like Descript can get the job done beautifully. The secret is knowing which buttons to push.
The main goal here is to hit a standard loudness target, which we measure in LUFS (Loudness Units Full Scale). This ensures your audio is at a comfortable volume for everyone and plays nicely with different platforms. Here are the go-to targets:
| Platform | Recommended LUFS Target | Why It Matters |
|---|---|---|
| Podcasts | -16 LUFS | This is the industry standard for most podcasting platforms, creating a uniform experience for listeners. |
| YouTube | -14 LUFS | YouTube automatically adjusts audio to this level, so targeting it yourself prevents their algorithm from messing with your mix. |
| Meetings | -18 LUFS | For pure spoken word, a slightly lower target keeps things clear and easy to understand without being too loud. |
In most software, leveling your audio is straightforward. Just select your track, find an effect called "Loudness Normalization" or "Leveler," and type in your target LUFS value. The software does all the heavy lifting, delivering professional-sounding audio in just a few clicks. The need for this kind of precise audio control is booming—the car audio DSP market alone, which focuses on sound optimization, was valued at $1.4 billion in 2024 and is expected to reach $2.8 billion by 2033. You can see more details about the car audio DSP market on marketintelo.com.
Common Mistakes to Avoid When Leveling Audio
An auto sound levelizer is an incredible tool, but it's not a magic wand. I’ve seen plenty of decent recordings get mangled by a leveler that was pushed too hard. If you're not careful, you can create more problems than you solve, leaving your audio sounding processed and unnatural.
Let's walk through a few of the most common traps people fall into.
Mistake 1: Over-Compressing and Creating Lifeless Audio
The number one mistake is over-compression. This is what happens when you set the leveler to be way too aggressive, effectively steamrolling the natural peaks and valleys in a person's voice.
Imagine someone telling an exciting story. Their voice naturally gets louder and more intense at the climax. A heavy-handed leveler will squash that peak, making the most dramatic moment sound just as loud as the quiet setup. The result? Audio that’s technically "level" but feels completely flat, lifeless, and stripped of all human emotion.
Mistake 2: Accidentally Boosting the Noise Floor
Here’s another classic problem: raising the noise floor. An auto leveler works by making quiet parts louder. But here’s the catch—it can't tell the difference between a softly spoken word and the faint hiss of your microphone or the low hum from a nearby air conditioner.
When the tool boosts the volume on those quiet phrases, it brings all that unwanted background gunk right up with it. A recording that sounded perfectly clean can suddenly become a distracting, hissy mess.
Remember this: a leveler can fix inconsistent volume, but it can’t remove background noise that’s already baked in. Always start with the cleanest recording you possibly can.
Mistake 3: Erasing Important Dynamic Range
Finally, you have to know when to back off. Dynamic range—the difference between the quietest and loudest sounds—is what gives audio its character and emotional punch. For a team meeting or a straightforward interview, you absolutely want consistent volume for clarity.
But what about an audiobook or a dramatic podcast? In those cases, a whisper needs to sound like a whisper, and a shout needs to have real impact. If you flatten everything too much, you strip the performance of its power. The goal is to apply leveling with a light touch, improving clarity without sacrificing the recording's soul.
The processing power needed to do this intelligently is constantly improving. It's a big reason why the automotive audio semiconductor market is projected to jump from $6.5 billion in 2024 to $20.3 billion by 2034, as cars need smarter chips for in-cabin audio processing. You can read more about the growth of the automotive audio market on gminsights.com.
Your Sound Leveling Questions, Answered
Let's clear up a few common questions that pop up when people start working with audio leveling.
Does an auto leveler remove background noise?
Not at all. In fact, it's something you have to watch out for. An auto sound levelizer only cares about volume, not the type of sound.
If you have a quiet section with a low-level air conditioner hum, the leveler will boost everything in that section—including the hum, making it much more obvious. Think of it as brightening a whole photo, which can also make the grainy parts stand out.
What is the difference between normalization and compression?
This is a great question because they're often confused. Normalization is a blunt tool; it finds the loudest peak in your entire audio file and raises the whole track's volume until that one peak hits a target level (like 0 dB). It's an all-or-nothing adjustment.
Compression is much more nuanced. It acts like a sophisticated volume knob, automatically turning down only the parts that get too loud, while leaving the quieter parts untouched. This reduces the dynamic range, making the overall volume feel more consistent.
Can I level audio on my smartphone?
Absolutely. Many modern video and audio editing apps for phones have built-in normalization or leveling tools.
While they might not give you the surgical precision of desktop software, they're surprisingly good for quickly improving the clarity of a podcast interview or a meeting recorded on the fly.
Ready to get perfect transcripts every time? HypeScribe uses advanced AI to turn your clear, leveled audio into highly accurate text, complete with summaries and action items. Try HypeScribe for free and see the difference for yourself.