How to record facetime call on iPhone & Mac (2026)
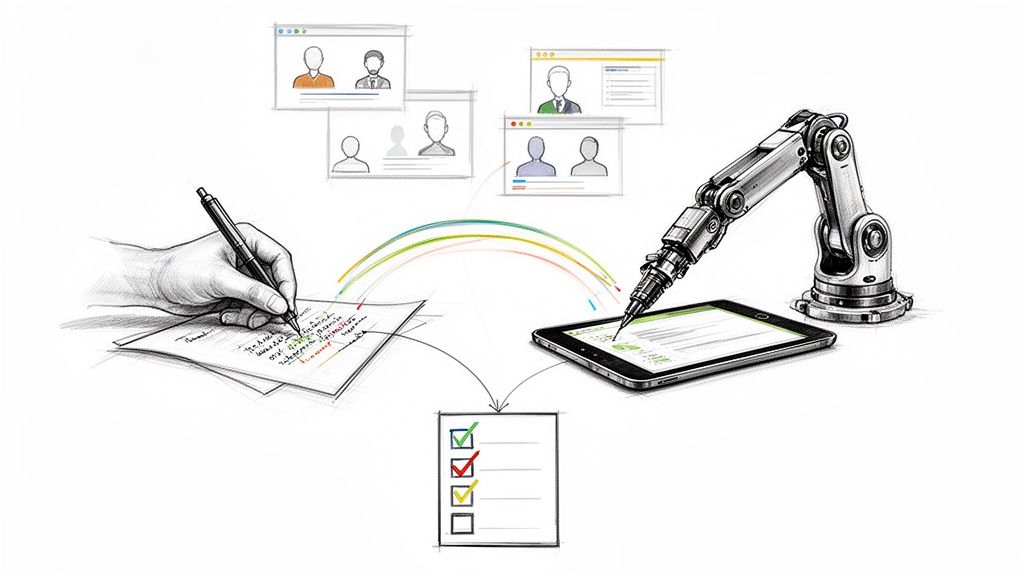
You start with a simple goal. Save an interview. Keep a client call for notes. Hold on to a conversation with a parent or grandparent that you know you'll want later.
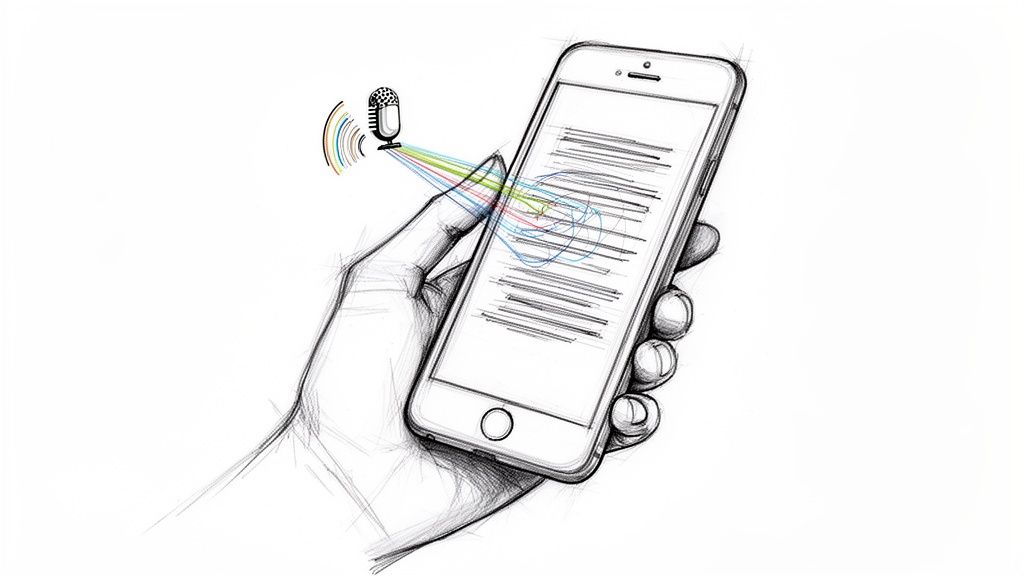
Then FaceTime does the most FaceTime thing possible. You tap screen record, have the call, open Photos afterward, and find a clean video with no usable call audio. That silent file is the part most guides gloss over.
If you need to record FaceTime call sessions reliably, the method depends almost entirely on the device you're using. On a Mac, there’s a workable built-in path. On an iPhone or iPad, the built-in path is where people get burned. The difference matters.
Why You Might Need to Record a FaceTime Call
A lot of people looking this up aren't trying to do anything sneaky. They’re trying to avoid losing information.
A journalist might want an exact quote. An HR manager might need to review an interview. A remote team lead might want a record of decisions from a quick FaceTime check-in. Families do it too. A video call with a relative can turn into something you want to keep, especially if it covered stories, advice, or just a moment that felt worth saving.
The problem is that FaceTime recording isn't one feature. It's a pile of device-specific limitations.
The moment most people realize something is wrong
The usual failure happens on iPhone. You swipe into Control Center, hit the screen record button, and assume you've handled it. The call looks captured. The file exists. But the call audio isn't there in any useful way.
That’s why the right question isn't just “how do I record FaceTime?” It’s “what setup will actually capture both the picture and the conversation?”
Practical rule: If the call matters, don't trust a setup you haven't tested first.
Different use cases need different recording standards
Not every recording needs the same level of quality. A personal keepsake and a work interview have different stakes.
Here’s the practical split:
- Personal calls: You may care most about preserving the moment, even if the workflow is a bit improvised.
- Work calls: You need clean audio, predictable file handling, and a process you can repeat.
- Interviews or content creation: You need clear speech, stable sync, and a format that's easy to edit or transcribe later.
FaceTime can support all three, but not with the same method. If you’re on Mac, the path is much cleaner. If you’re on iPhone or iPad, you need to know upfront that the obvious method is the one that fails.
First Things First Consent and Legality
Before you record anything, get permission. Not later. Not after the “important part.” Before the call is underway.
That’s the safest legal move, and it’s also the least awkward in practice. People react much better when you ask directly than when they discover a recording after the fact.

Why the legal side gets messy fast
Recording laws vary by location. A 2023 analysis referenced in an Apple Discussions thread about international recording rules noted that over 40% of recording-related queries on tech forums involve international teams confused by varying laws, with one-party consent in 38 U.S. states and all-party consent in 11 states like California.
That alone is enough reason to stop trying to outsmart the rules.
If your call crosses borders, the situation gets murkier. Different privacy regimes can apply, and if the call includes work, client information, or sensitive topics, the compliance risk goes up. The easiest workable standard is also the best one: ask everyone, get a clear yes, and make that part of your routine.
Ask plainly: “Is it okay if I record this FaceTime call for notes?”
Then wait for an actual answer.
A simple habit that protects everyone
You don't need a legal speech. You need a consistent script.
Try one of these:
- For work calls: “I’d like to record this so I don’t miss any details. Is everyone okay with that?”
- For interviews: “Can I record this conversation for accuracy when I review it later?”
- For personal calls: “Would you mind if I saved this call? I’d love to keep it.”
If you're building a broader call-recording workflow, it also helps to compare how consent expectations show up in other platforms. This guide on how to record Skype calls is useful because it shows the same basic principle across another calling tool. If your needs extend beyond FaceTime, this overview of recording phone calls is a practical companion.
Recording FaceTime Calls on Your Mac The Easy Way
If you have a Mac, use it. It’s the most dependable built-in option for recording a FaceTime call with video and audio.
That doesn’t mean every Mac recording is automatic. The setup has one step people miss all the time, and that one mistake is usually what ruins the file.

The QuickTime workflow that actually works
The practical workflow, based on Nearity’s FaceTime recording walkthrough, is straightforward:
- Open QuickTime Player.
- Choose File > New Screen Recording.
- Click the dropdown arrow next to the record control.
- Select the microphone input before you start the call.
- Begin recording.
- Start or answer the FaceTime call.
- Stop the recording when the call ends and save the file.
That fourth step is the make-or-break one. If you rush past the microphone selection, you can end up with partial audio, weak audio, or a file that captures the wrong source.
What to select before you hit record
The microphone menu deserves more attention than most tutorials give it.
If you're using:
- Built-in Mac microphone: Fastest setup, but it will also pick up room sound.
- USB microphone: Better if you’re doing interviews or any call you may reuse.
- Noise-canceling headset mic: Often the best balance of speed and clarity.
The same Nearity testing reports that using quality audio equipment over built-in mics can improve speech intelligibility by 40-60% in their tests, which matters a lot if you plan to revisit the recording or turn it into notes later.
Clean audio saves time twice. First during the call, then again when you review, edit, or transcribe it.
Keep the recording focused
You don’t need to record your entire desktop if the FaceTime window is the only thing that matters.
A cleaner setup usually looks like this:
- Close unrelated windows: Notifications, chats, and email previews have a habit of appearing at the worst possible time.
- Resize the FaceTime window: Give the caller enough space on screen without showing desktop clutter.
- Choose the selected-portion option if available: It helps keep the file visually tight and easier to share internally.
- Name the file right away: Use a date and subject so it doesn't disappear into “Screen Recording 47.mov”.
For file handling after the recording, it helps to know which formats work best for editing, sharing, and storage. This overview of the best video format is useful if you want to avoid compatibility headaches later.
A visual walkthrough can help if you want to see the interface before trying it yourself:
Common Mac mistakes
The Mac method is reliable, but only if you avoid the obvious traps.
| Mistake | What happens |
|---|---|
| Starting the call before recording | You lose the opening context |
| Forgetting microphone selection | Audio capture may fail or sound wrong |
| Using a noisy room | The recording becomes harder to review |
| Trusting built-in audio without a test | You may not notice problems until after the call |
If the call matters, do a 20-second test. Record. Speak. Play it back. That tiny rehearsal is worth more than any troubleshooting guide after the fact.
Navigating FaceTime Recording on iPhone and iPad
This is the part that frustrates almost everyone.
People assume the iPhone screen recorder works the same way for FaceTime as it does for a tutorial, app demo, or game clip. It doesn’t. For FaceTime, the built-in path is the trap.

The silent truth about native iPhone recording
A definitive Riverside test covered in this video explanation of FaceTime audio capture limits confirmed that Apple’s native screen recording on iPhone intentionally fails to capture audio from FaceTime calls, and even turning on the microphone during screen recording still results in 0% audio capture for the FaceTime call itself.
That’s not a bug. It’s an intentional platform limitation.
So if your plan is:
- open Control Center
- tap record
- have the call
- expect a complete audio-video file
that plan doesn’t work for FaceTime video calls on iPhone and iPad.
If you're recording a FaceTime video call on iPhone with only the built-in screen recorder, assume the file will not give you the call audio you need.
What does work on iPhone and iPad
If you want a more dependable result, you need a workaround. The most practical one is to use a Mac as the recording device.
Option one using a Mac and cable
This is the best workaround for many people.
Connect your iPhone to your Mac, mirror or capture the device through QuickTime, then record from the Mac side. That shifts the recording job to the machine that has the better capture tools. It’s more awkward than a one-tap phone feature, but it’s far more dependable than creating another silent file.
Option two using external gear
If you don’t have a Mac, the fallback is external capture.
That can mean:
- A second device recording the session externally
- An external microphone or recorder near the playback source
- A more elaborate creator setup using capture hardware
These methods vary in quality and convenience. The upside is that they can preserve the conversation when the built-in method won't. The downside is more setup, more room for sync problems, and more opportunities for poor sound.
When your hardware choice matters more than the app
A lot of users end up troubleshooting software when the actual limitation is the device path.
If your current phone is old, storage-constrained, or unreliable under long calls, your recording workflow gets harder. If you’re shopping for a backup device or testing on secondary hardware, a guide to the best refurbished iPhones can help you compare realistic options without buying brand new.
The short version is simple. On iPhone and iPad, the obvious recording method is the wrong one. If the call matters, route the job through a Mac or use external capture on purpose.
Tips for Crystal-Clear FaceTime Recordings
Getting a file is one thing. Getting a recording you can use is different.
A useful FaceTime recording needs clean speech, stable sync, and a setup that doesn't create extra work later. Most quality problems start before the call, not after.
Fix the room before you fix the software
Start with the environment. Hard rooms, open windows, fans, keyboards, and table bumps all show up in the final recording.
Use this checklist:
- Choose a quiet space: Soft furnishings help. Kitchens and empty offices usually sound worse than people expect.
- Reduce interruptions: Silence notifications and close unrelated apps before the call starts.
- Set your camera angle early: You don’t want to spend the first minute adjusting framing while the recording runs.
- Use stable internet: A cleaner call usually produces a cleaner recording.
Audio gear matters more than most people think
If you're serious about quality, improve the microphone before you chase fancy recording software.
A headset with a decent mic usually beats a laptop mic in a reflective room. A USB microphone can be even better if you're seated and not moving around. The goal isn't studio perfection. The goal is speech you can understand on first playback.
Better audio beats better video in almost every review workflow. If people can hear the words clearly, the recording stays useful.
Recording with non Apple guests
FaceTime web links make mixed-device calls possible, but they add new complications. As noted in this discussion of recording FaceTime web calls, browser-based recorders can capture calls with non-Apple guests, but users need to watch for web latency that can desynchronize tracks, browser video quality can be capped at 720p, and search interest in “record FaceTime Android” is up 35% YoY.
That matters if your guest joins from Android or Windows through a browser. The call may work fine live, but the recording can be harder to clean up later.
For hybrid-device calls, keep these points in mind:
- Browser recording can work: It’s often the practical route for non-Apple participants.
- Sync issues can appear later: Audio and video may drift, especially on longer calls.
- Quality ceilings are real: Browser-based guest feeds may look softer than native Apple-to-Apple calls.
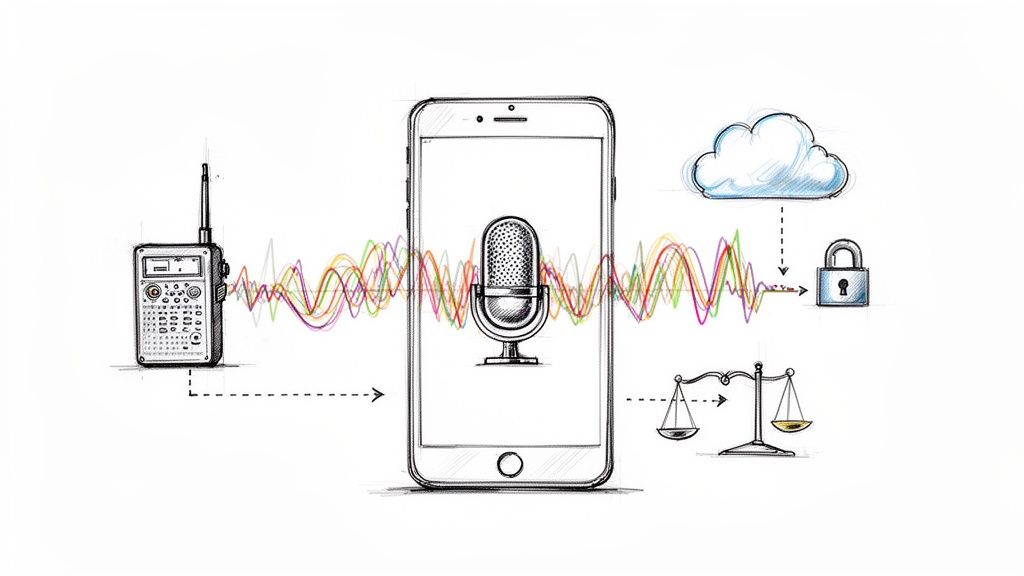
Watch your data if you’re not on Wi-Fi
FaceTime can also eat through cellular data faster than people expect. According to Business Insider’s FaceTime data usage reference, FaceTime video calls use about 3-4 MB per minute, or roughly 200 MB per hour, while audio-only FaceTime calls drop to about 500 KB to 1 MB per minute. That same source notes turning off the camera can reduce data use by up to 50%.
If you’re recording while traveling or tethered, that matters. A long call plus upload time can create an annoying surprise if you’re relying on mobile data.
From Call to Transcript Turn Your Recording into Action
A recorded FaceTime call is useful, but only up to a point. If you have to scrub through the file to find one quote, one task, or one decision, the recording becomes an archive instead of a working document.
That’s why the practical next step is transcription.

Why the transcript matters more than the file
A transcript changes how you use the call.
Instead of replaying sections over and over, you can:
- Search for names, dates, or decisions
- Pull exact wording from interviews
- Turn loose discussion into follow-up actions
- Share the content with people who don’t need the full video
That’s especially helpful for interviews, internal meetings, and support or operations workflows where the call matters because of what was said, not just because it happened.
What a good post call workflow looks like
The efficient workflow is simple:
- Record the call cleanly.
- Save the file with a clear name.
- Upload the recording to a transcription tool.
- Review the text for important points.
- Export or share the result in the format your team uses.
If you want to turn recordings into searchable text, this guide on converting audio to text is a good place to start.
The primary payoff isn't just having a transcript. It's being able to act on the call without revisiting the full recording every time. That’s what turns a saved FaceTime conversation from “I should keep this” into something operationally useful.
If you're ready to turn recorded FaceTime calls into searchable notes, summaries, and action items, HypeScribe is built for that workflow. Upload your audio or video, get a fast transcript, pull out key takeaways, and export the result in the format your team already uses.