How File Uploads Work in HypeScribe

This is the first post in our Updates series, where we show how HypeScribe actually works — starting with the thing everyone does first: uploading a file.
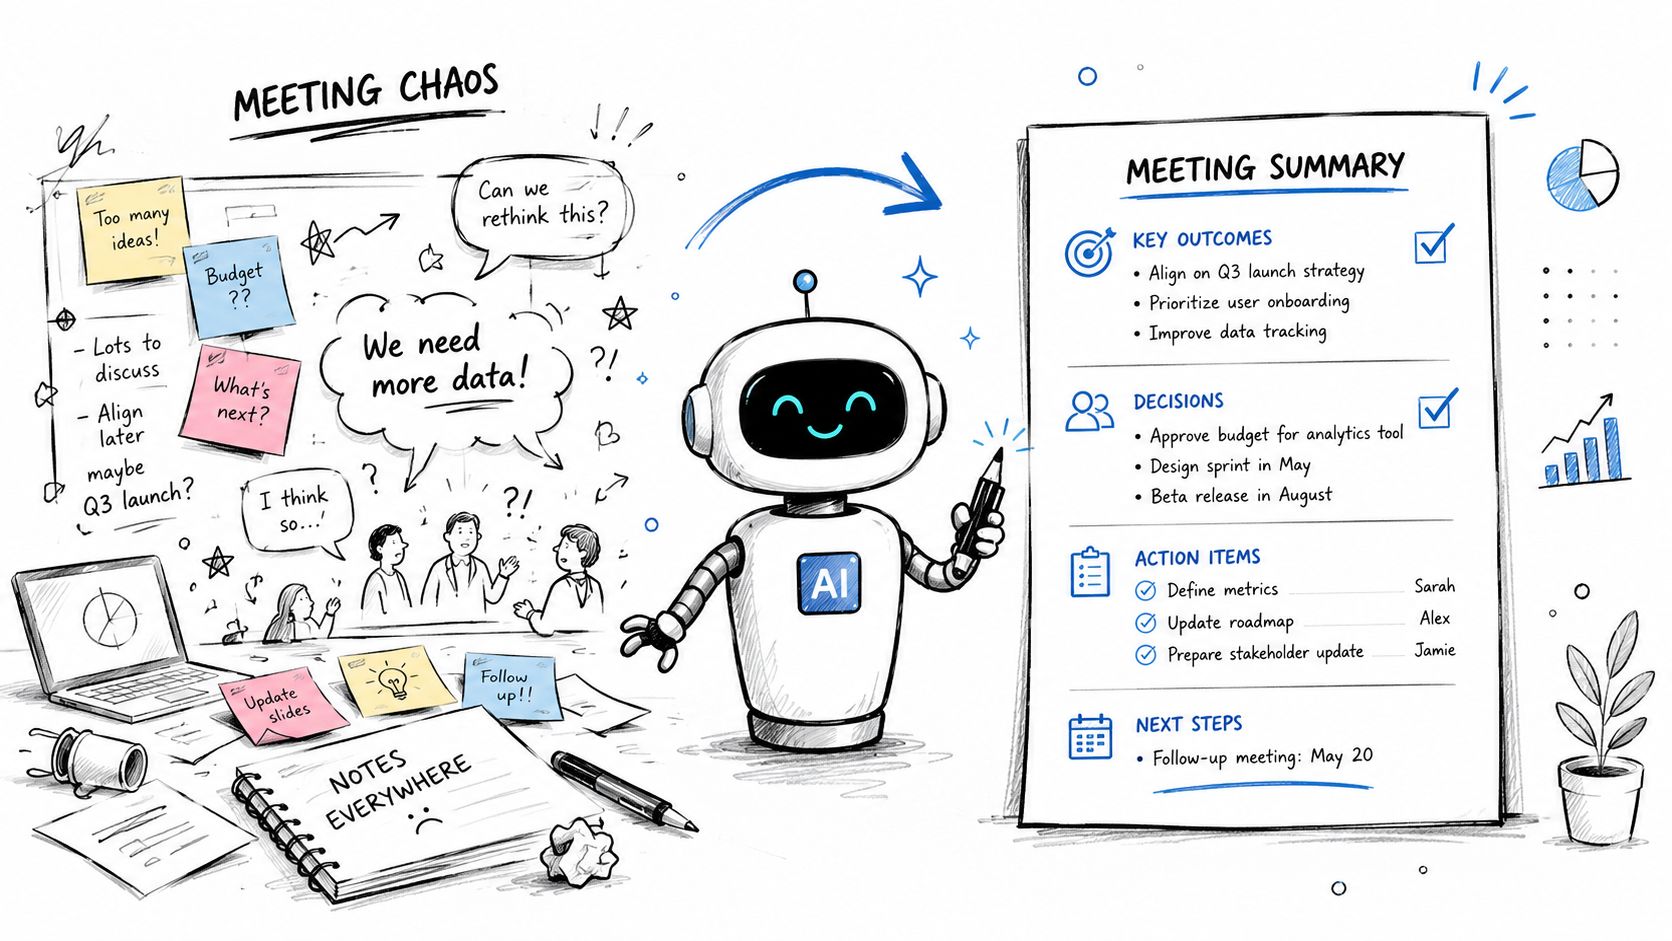
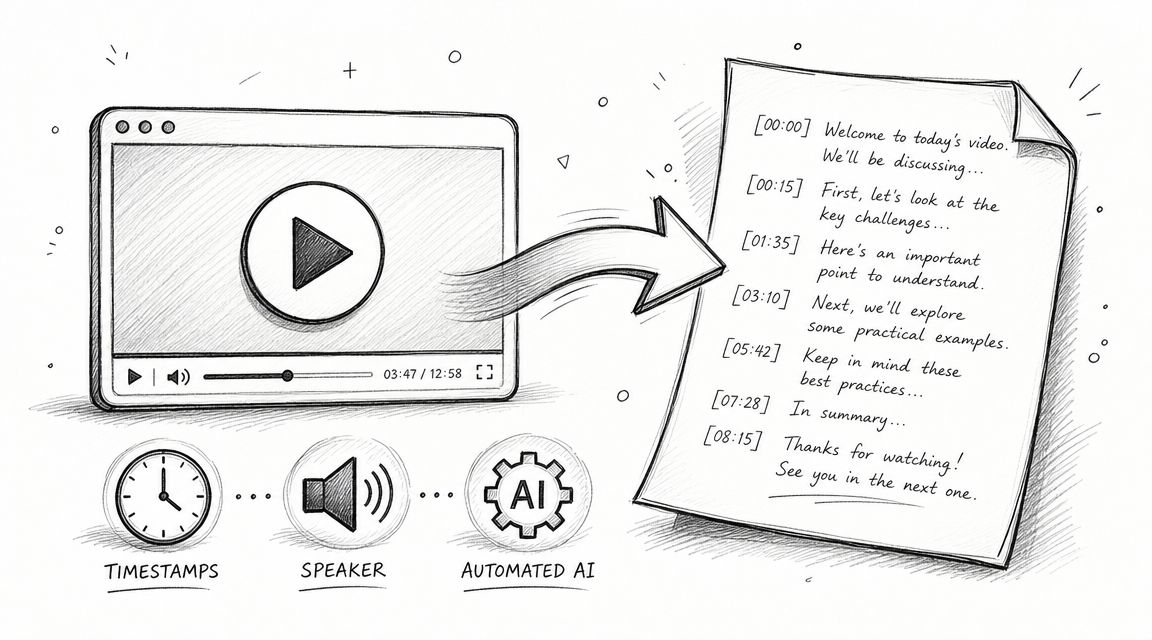
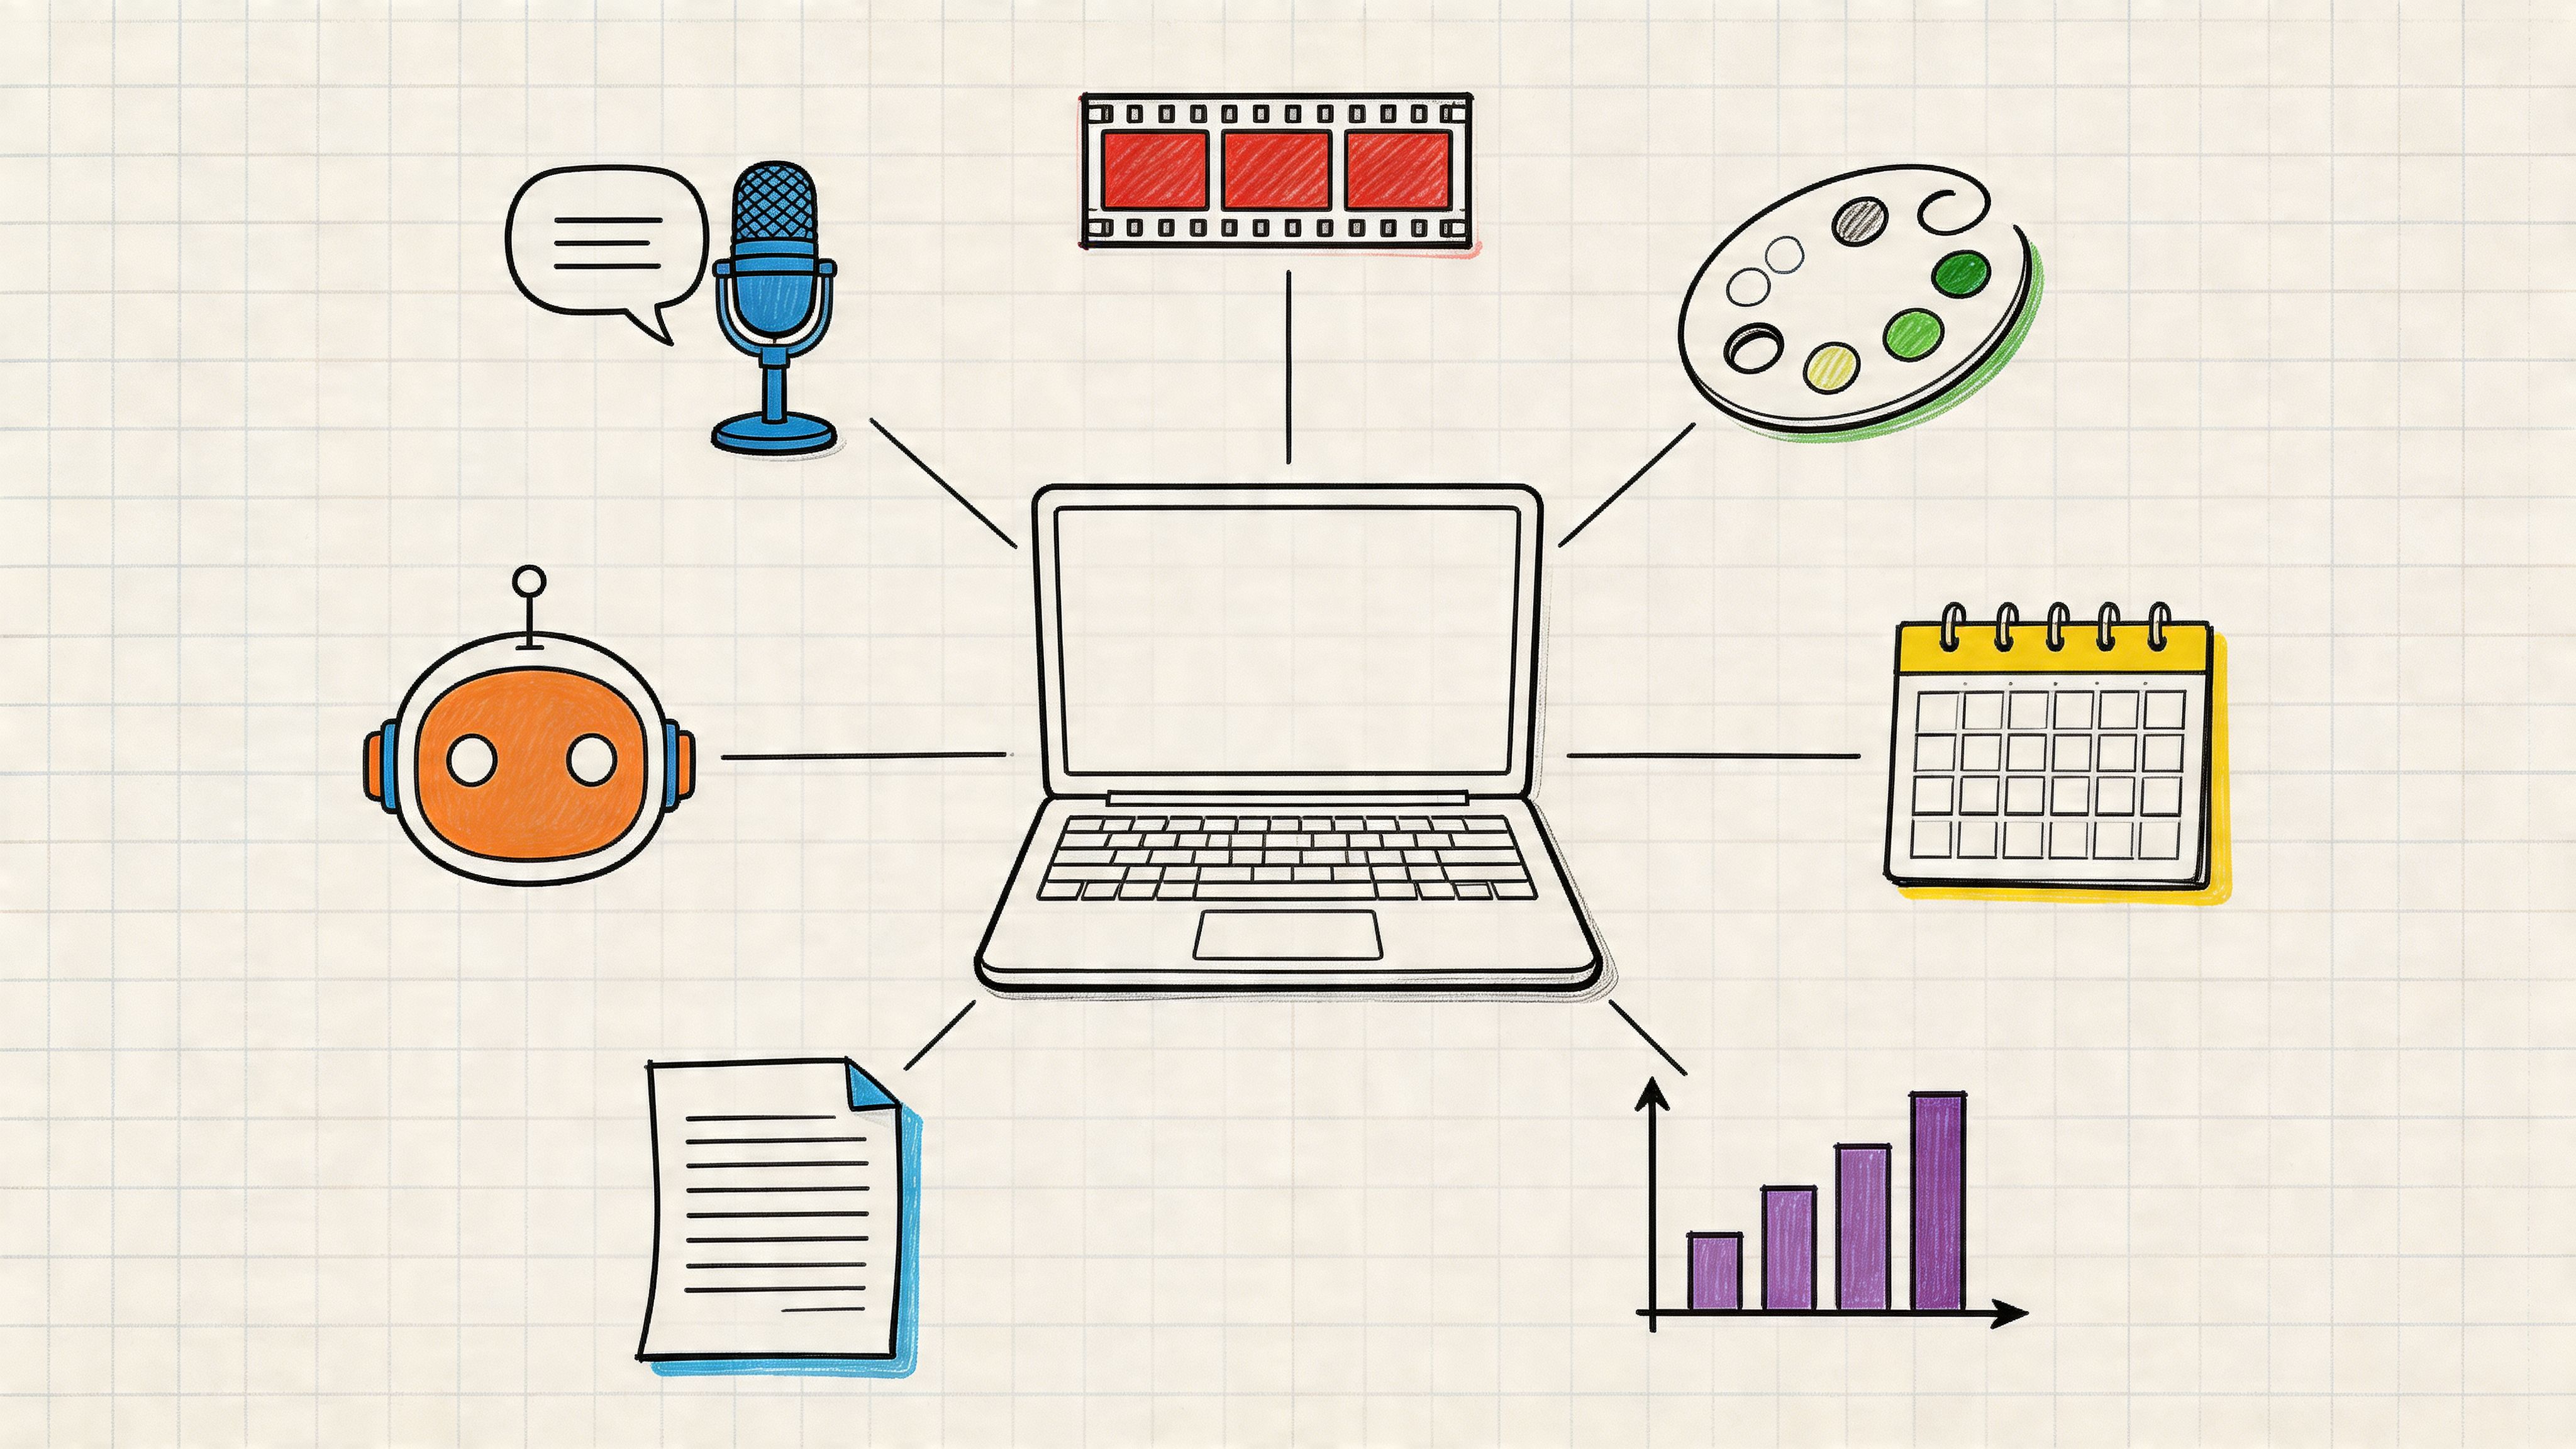
The short version: drag in any audio or video file up to 2 GB, and a minute or two later you have a transcript, a summary, action items, and an AI assistant that answers questions about the recording. All of it in one upload, with no per-minute meter running. Here is what happens at every step — and where we deliberately did things differently from other transcription tools.
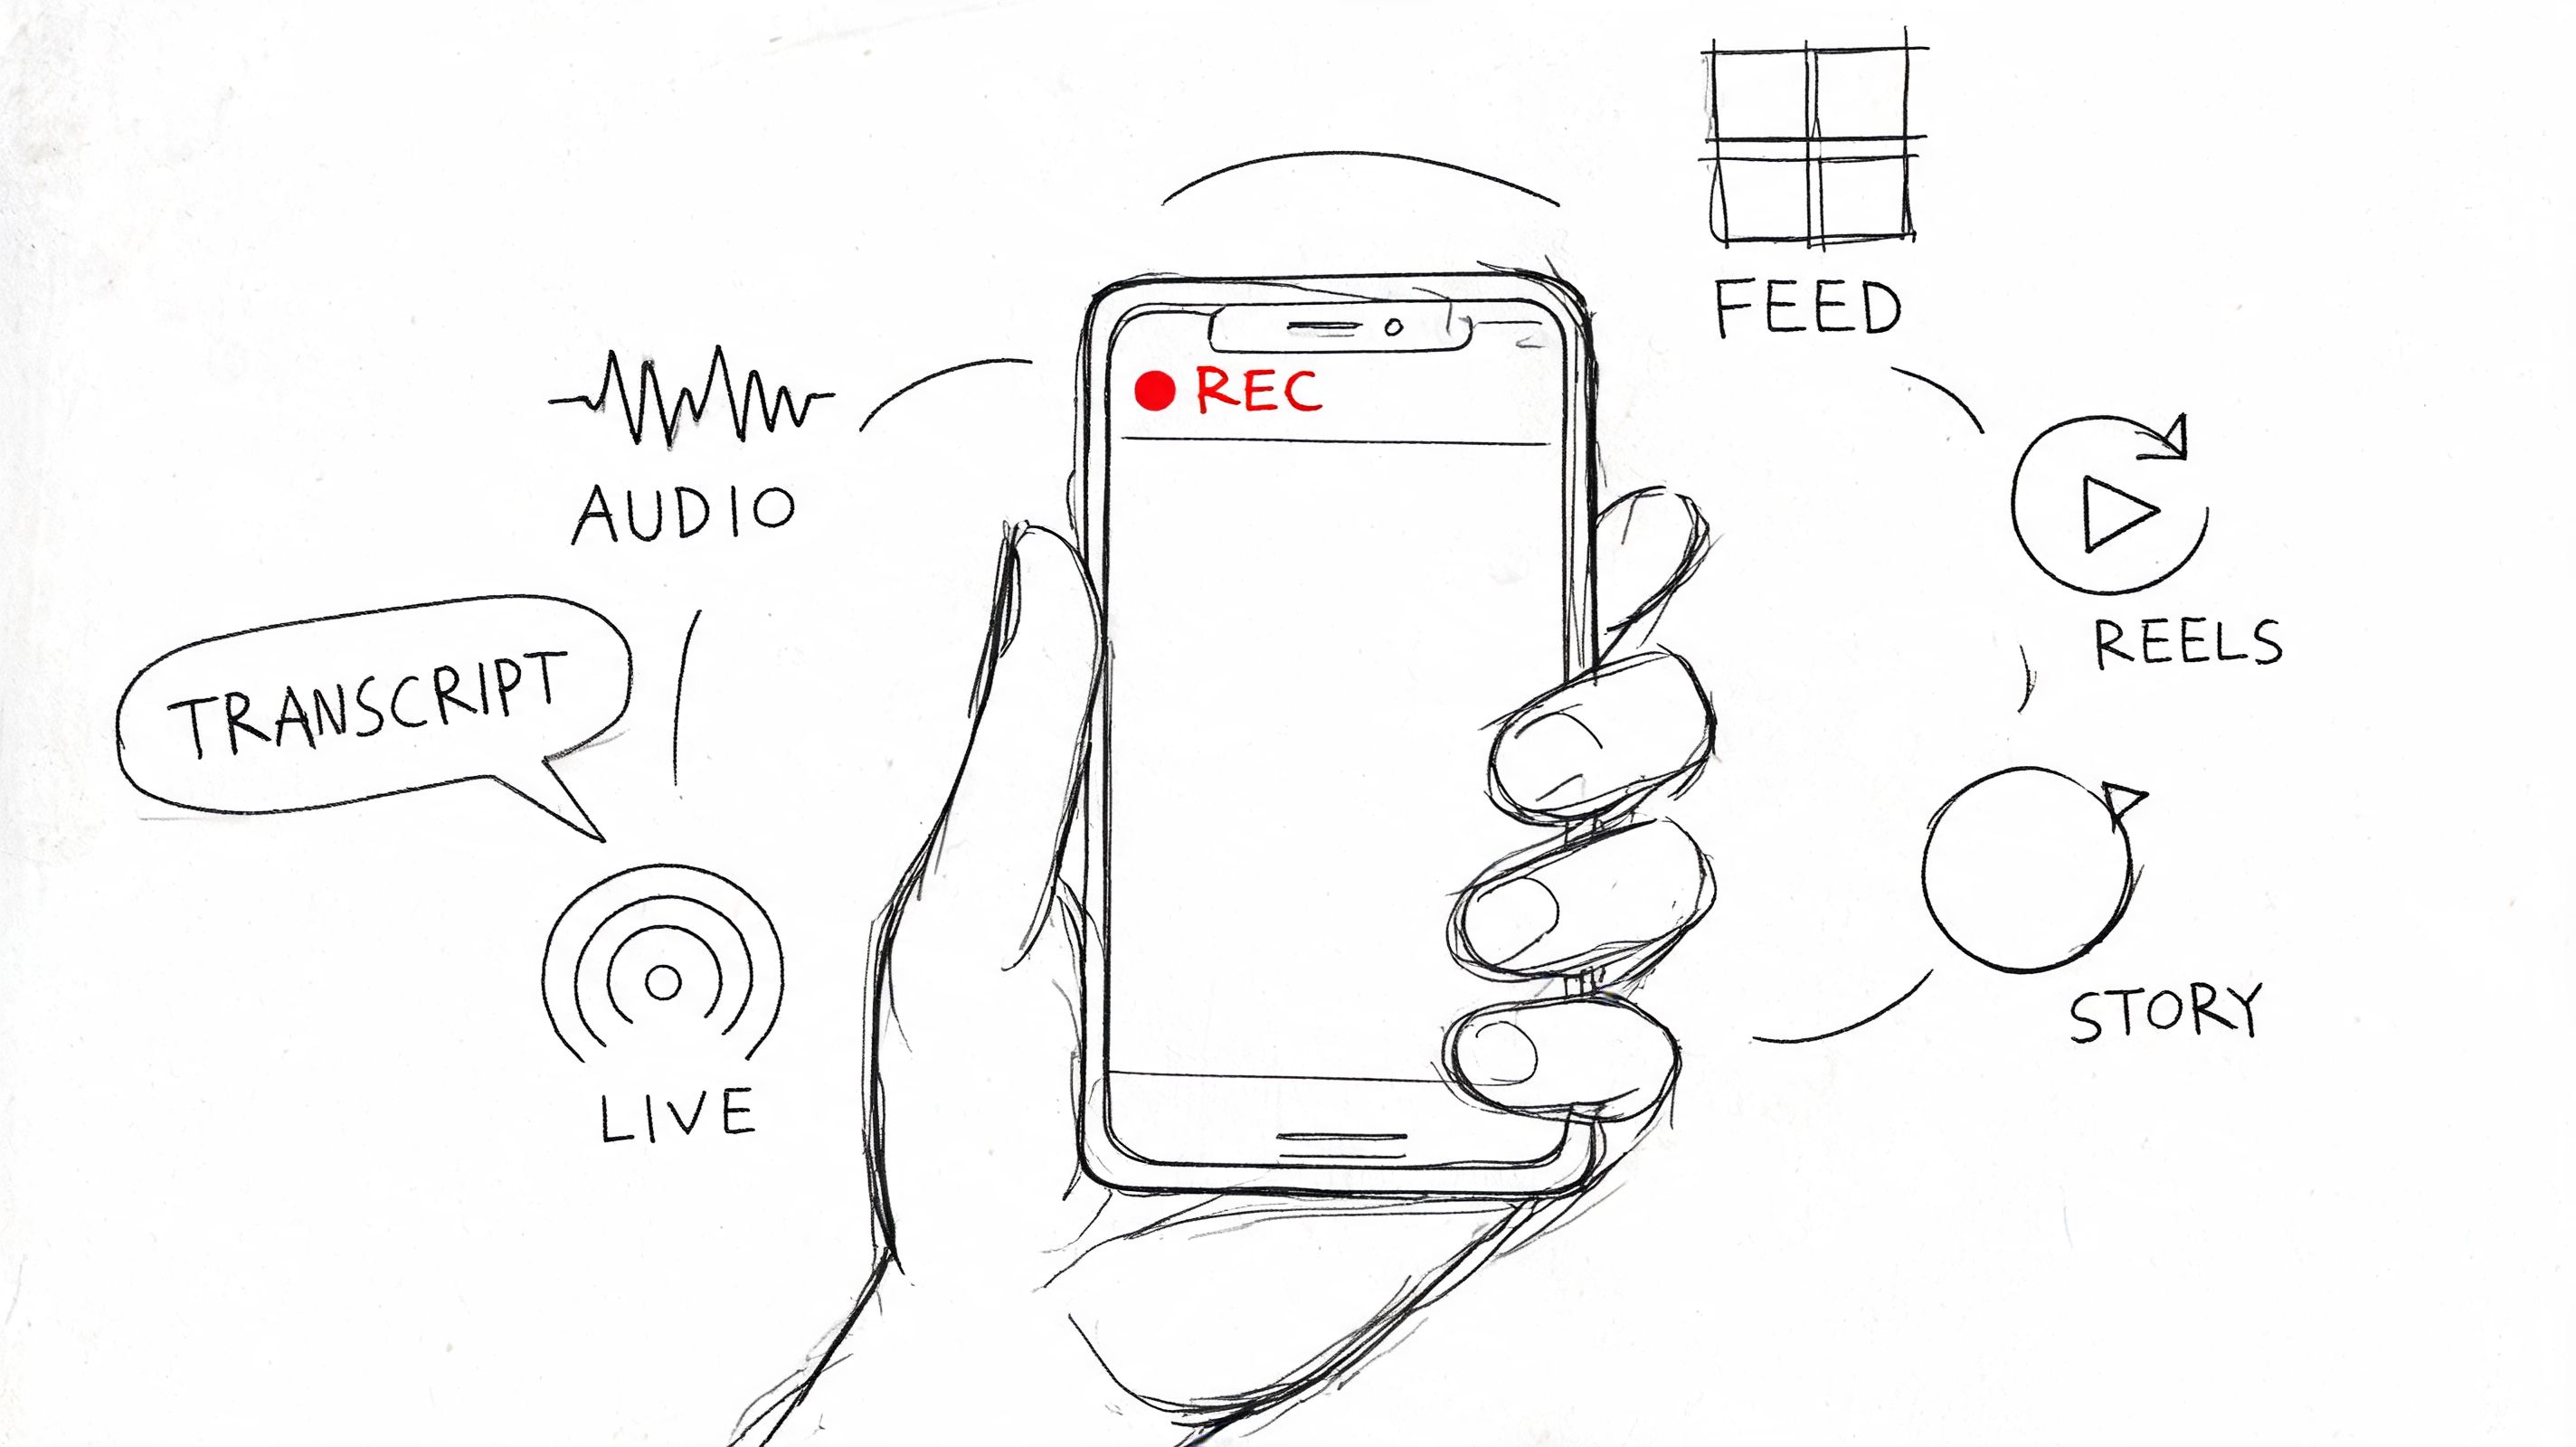
Four ways to get content in
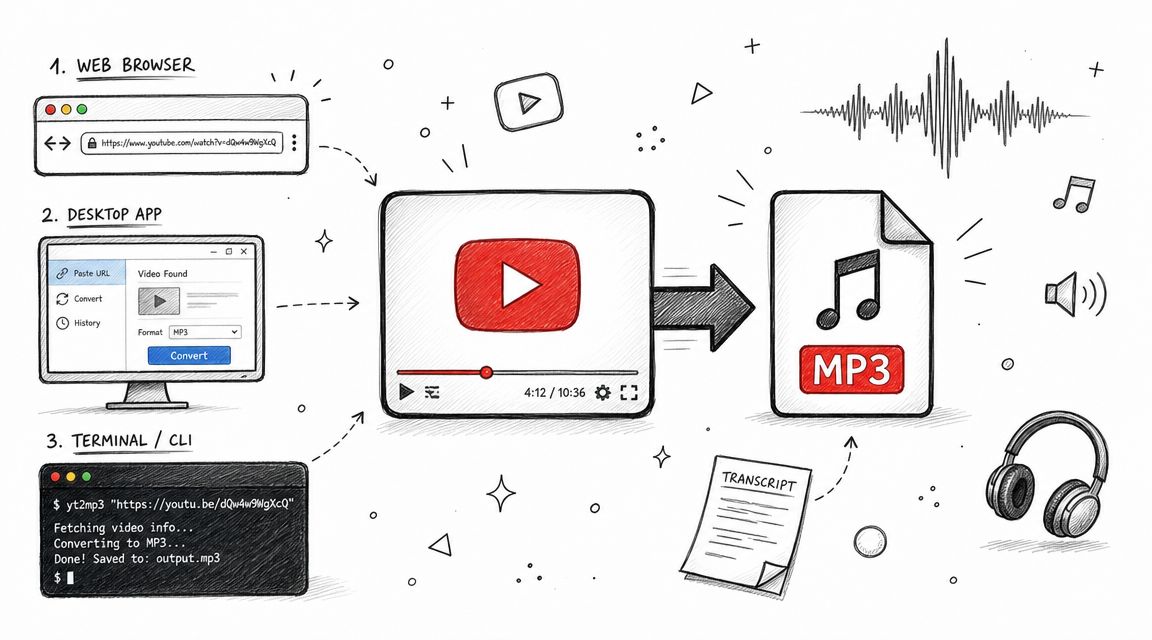
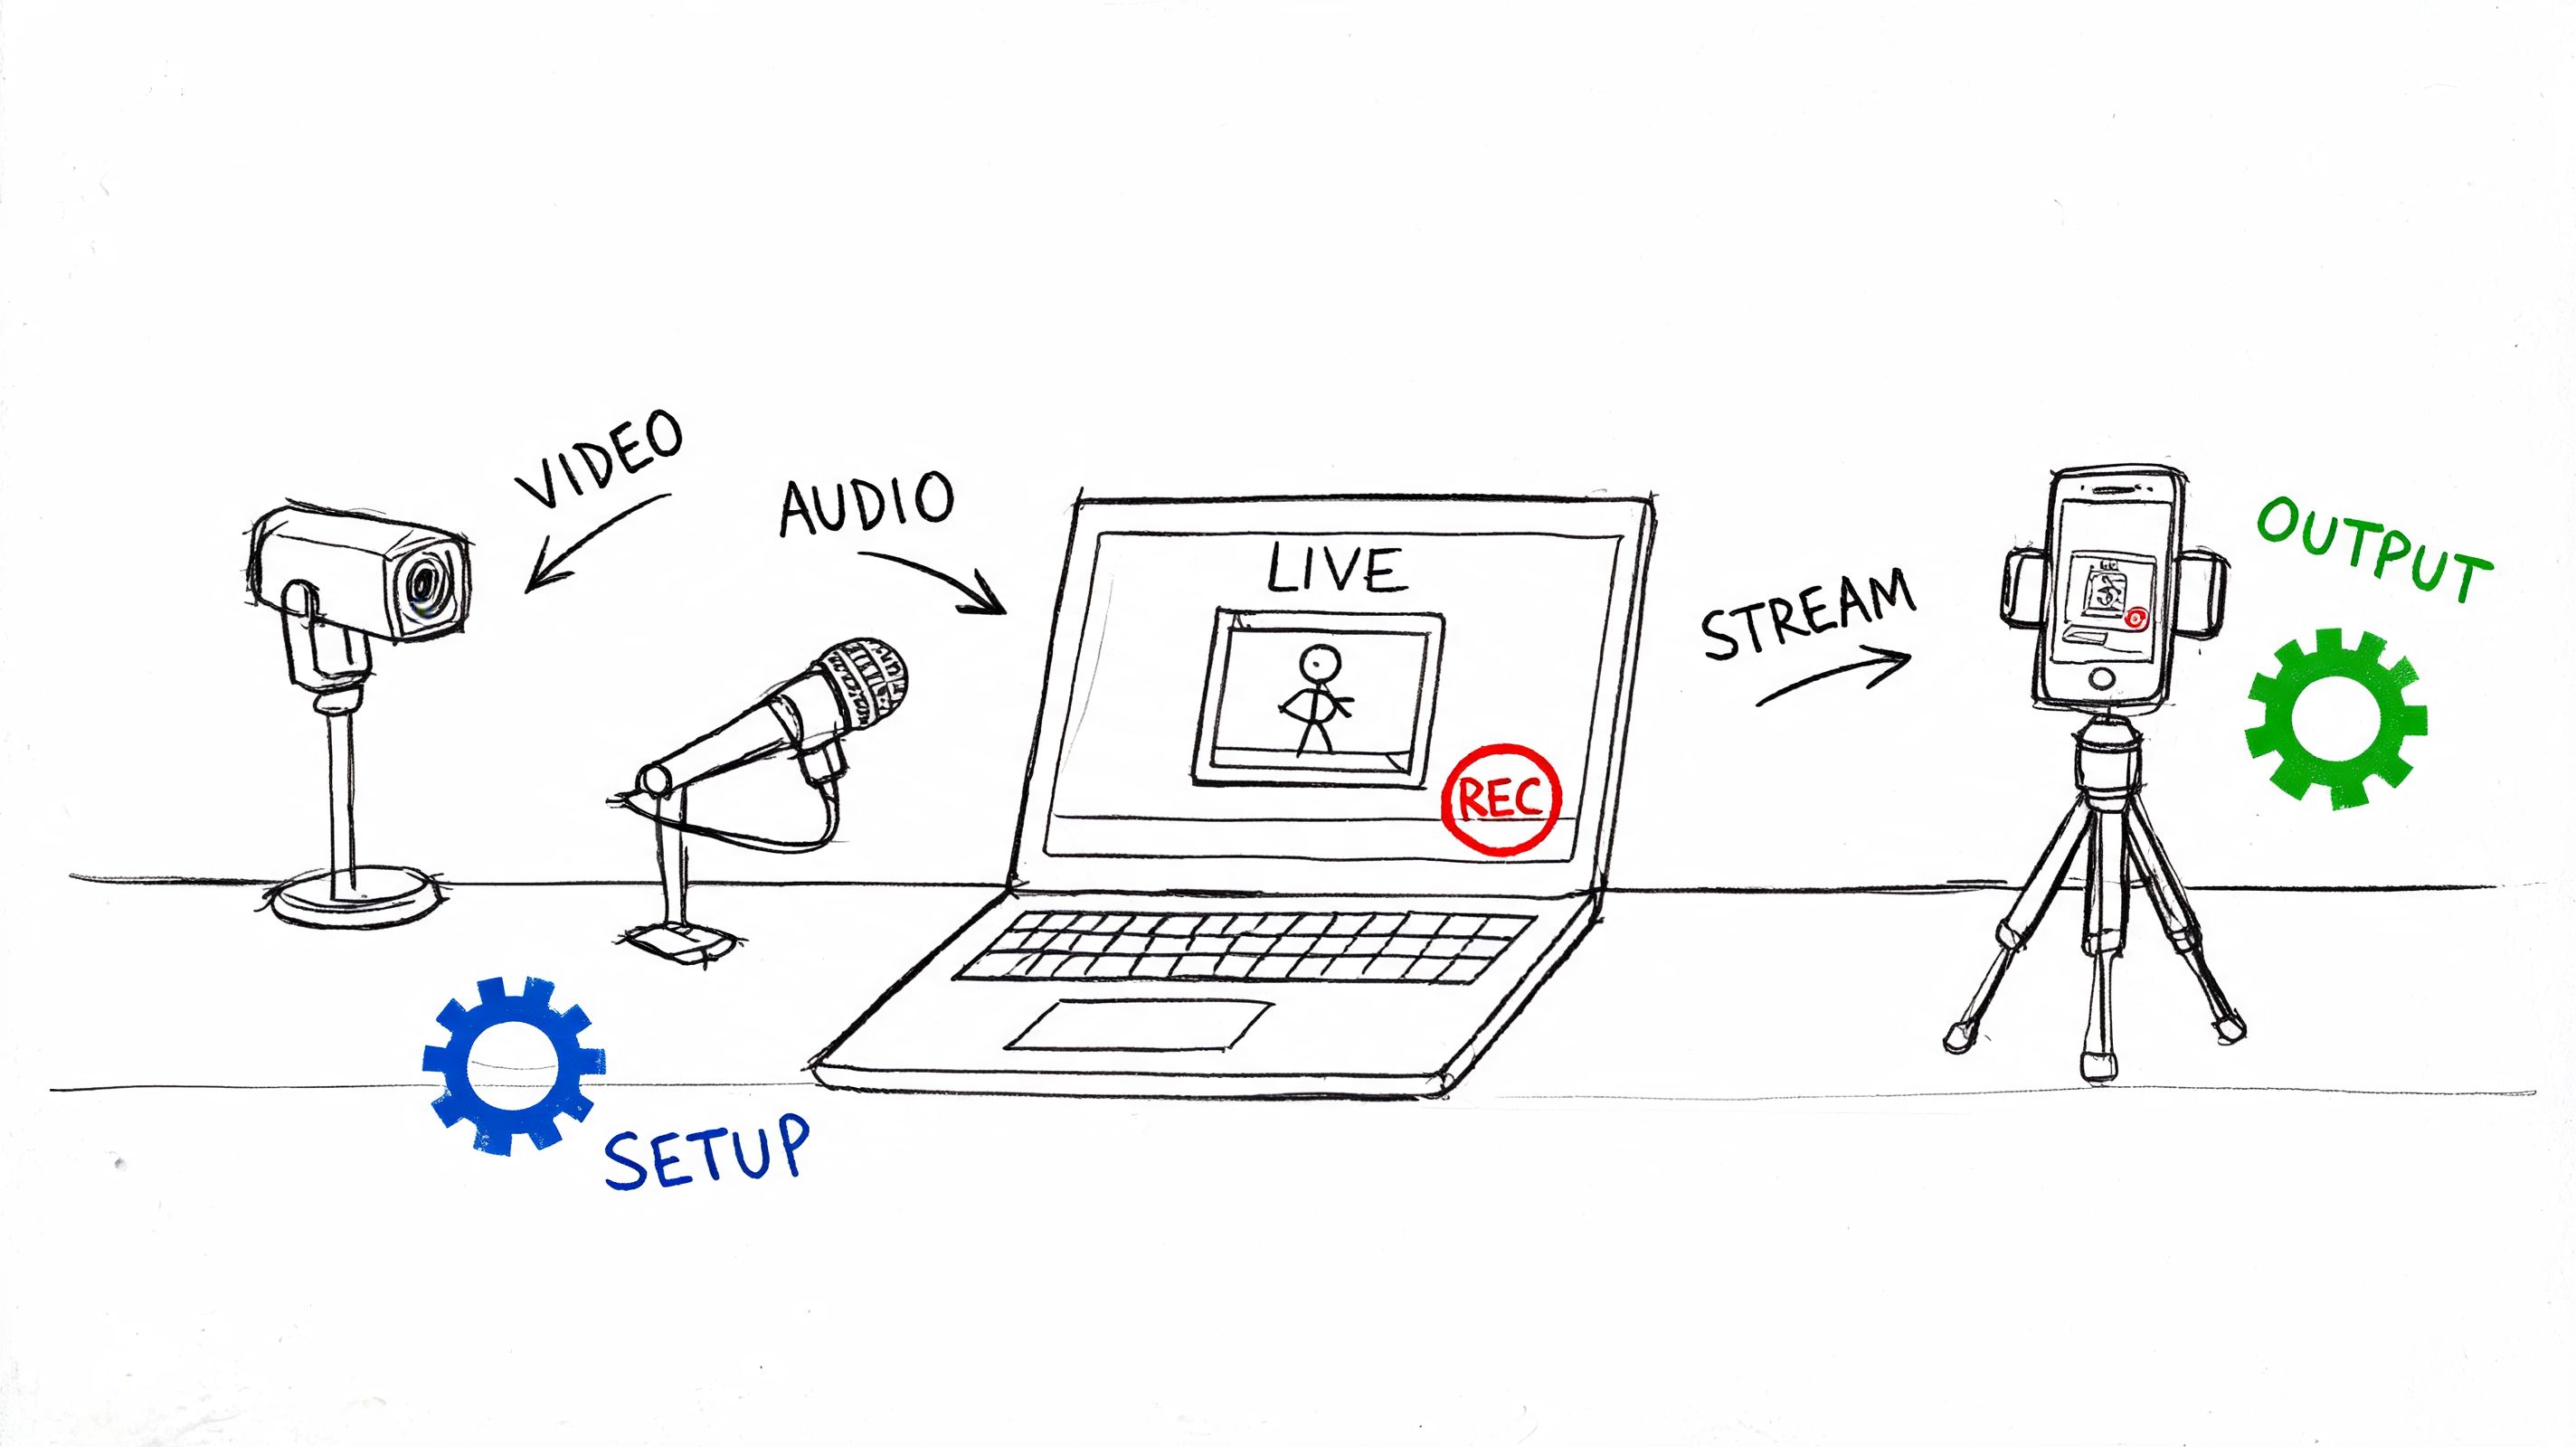
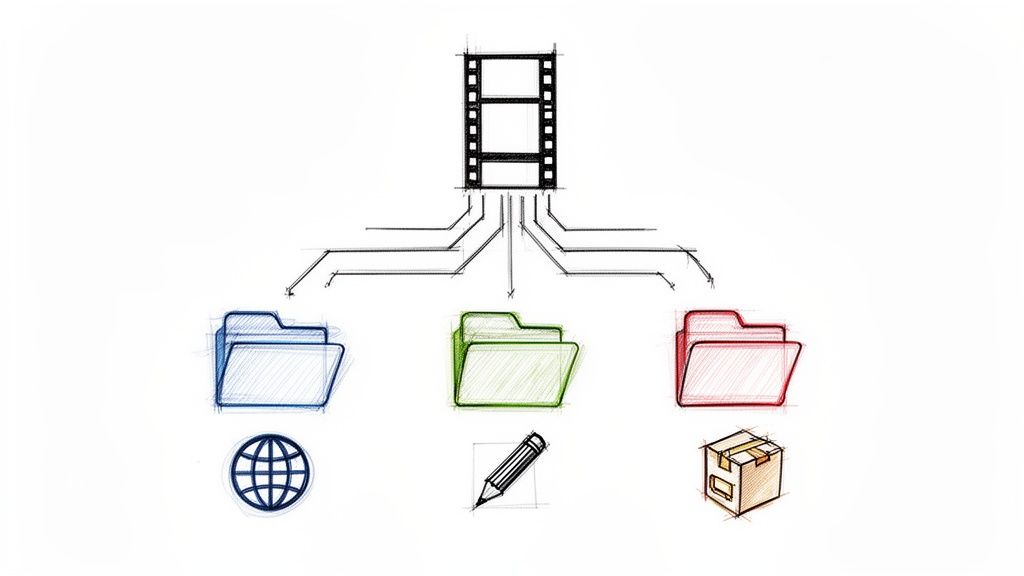
Most transcription tools accept one thing: an audio file. We built four entry points, because recordings don't all live on your hard drive:
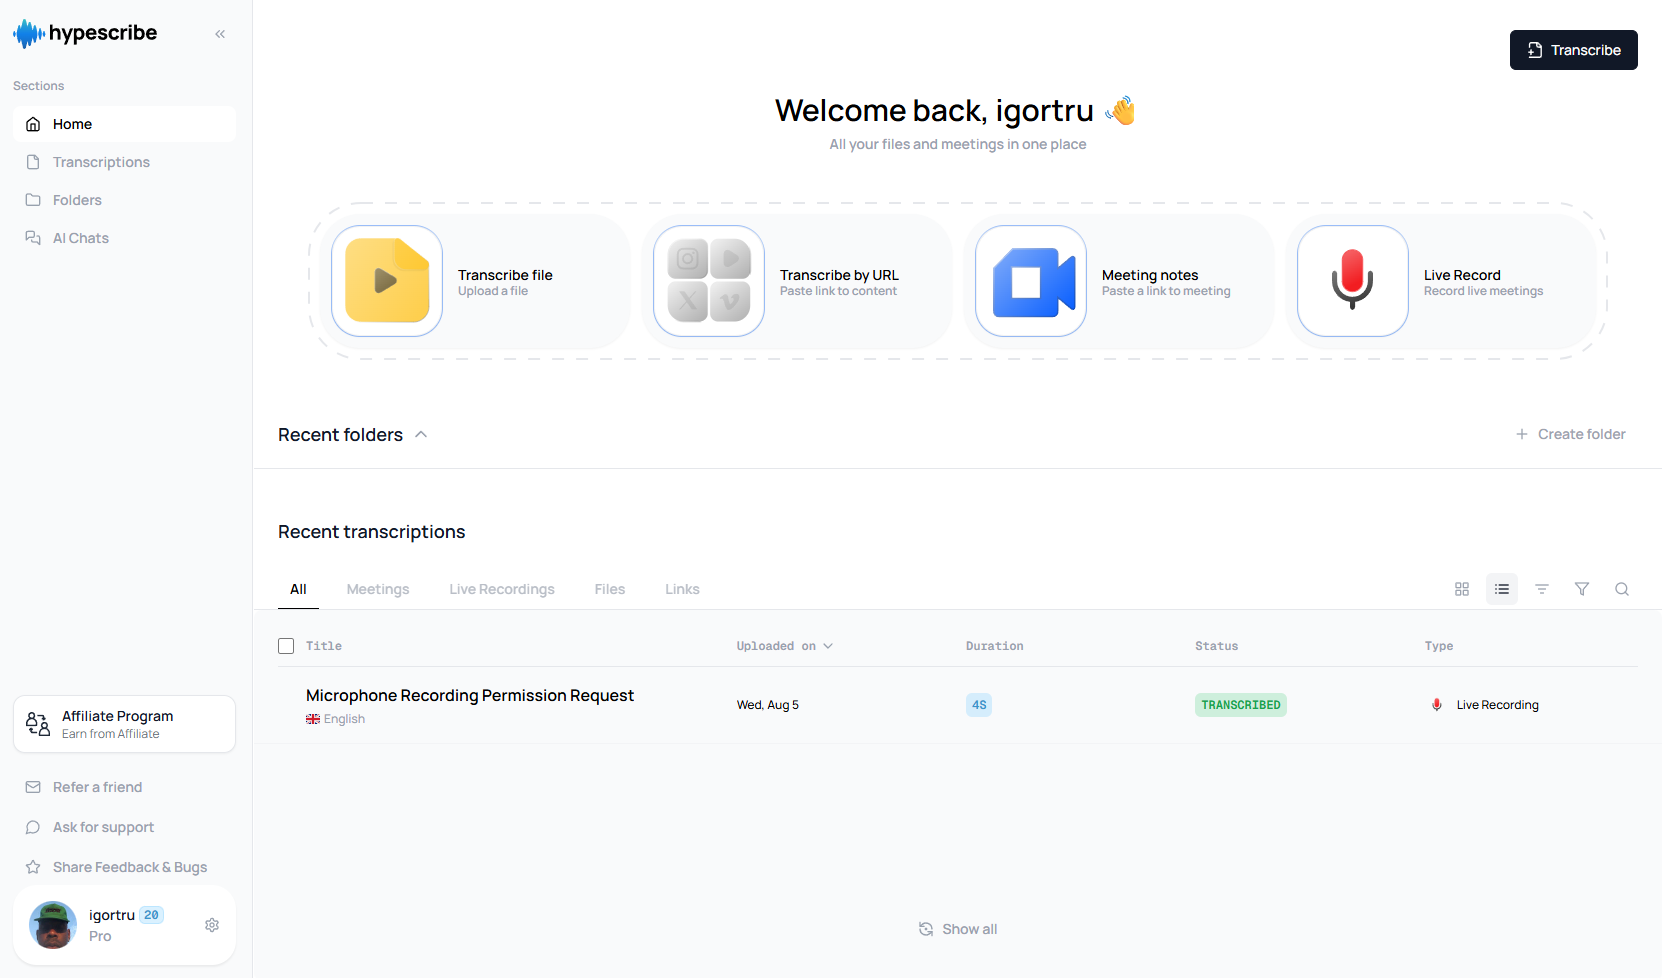
- Transcribe file — upload a recording from your device. This is what this post covers.
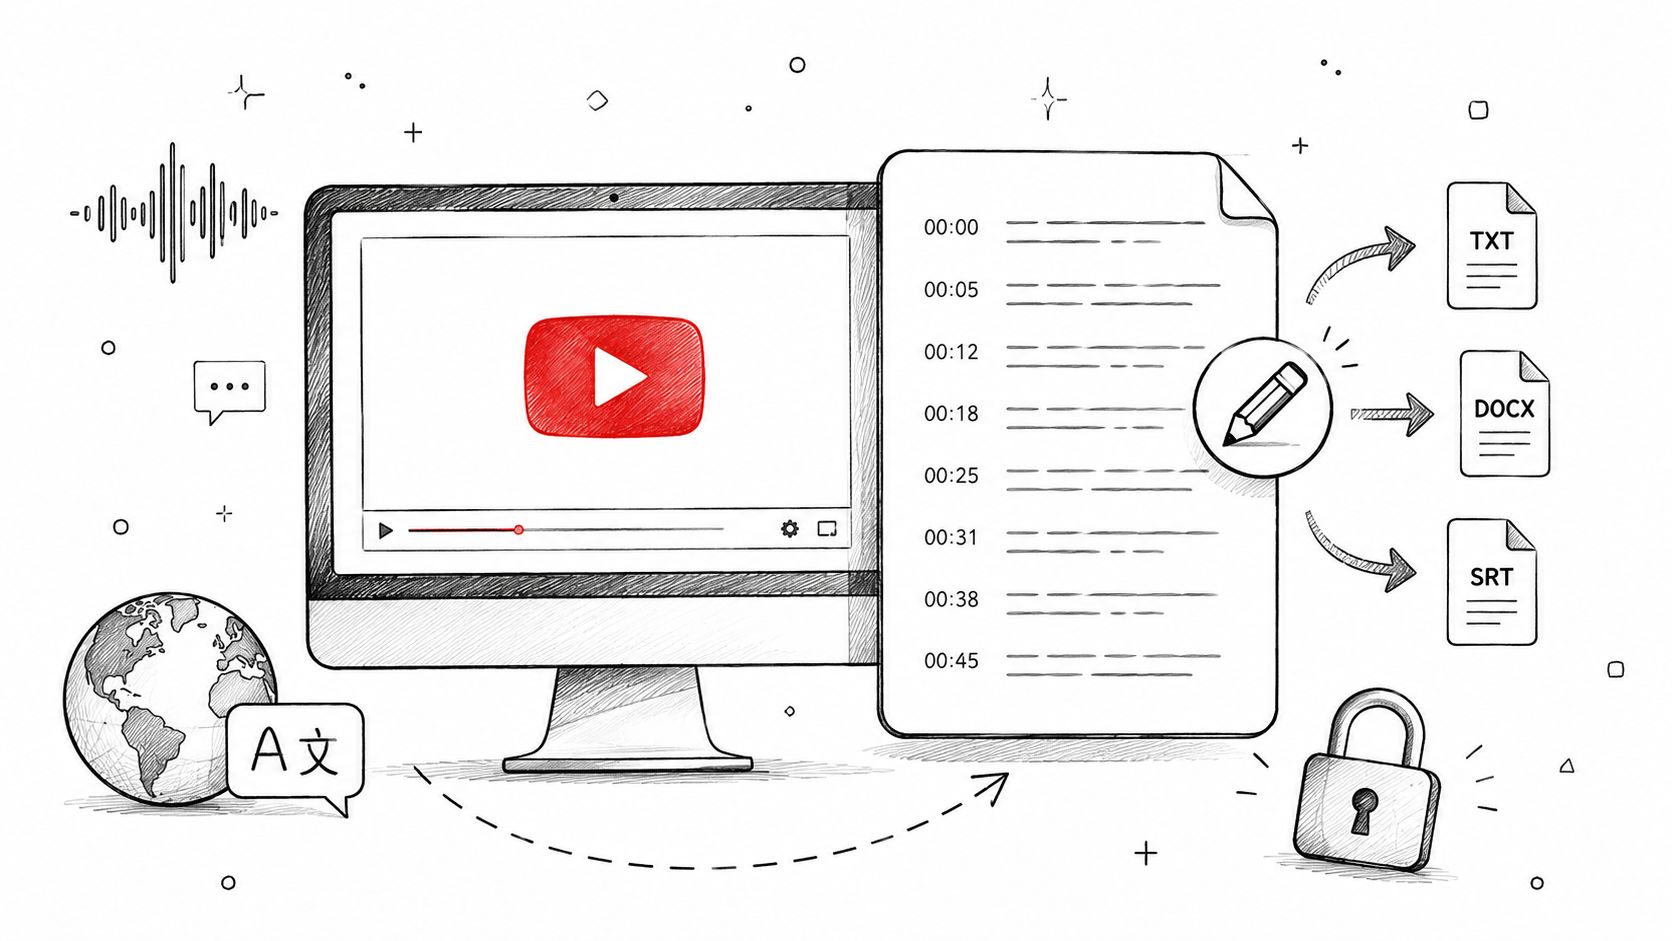
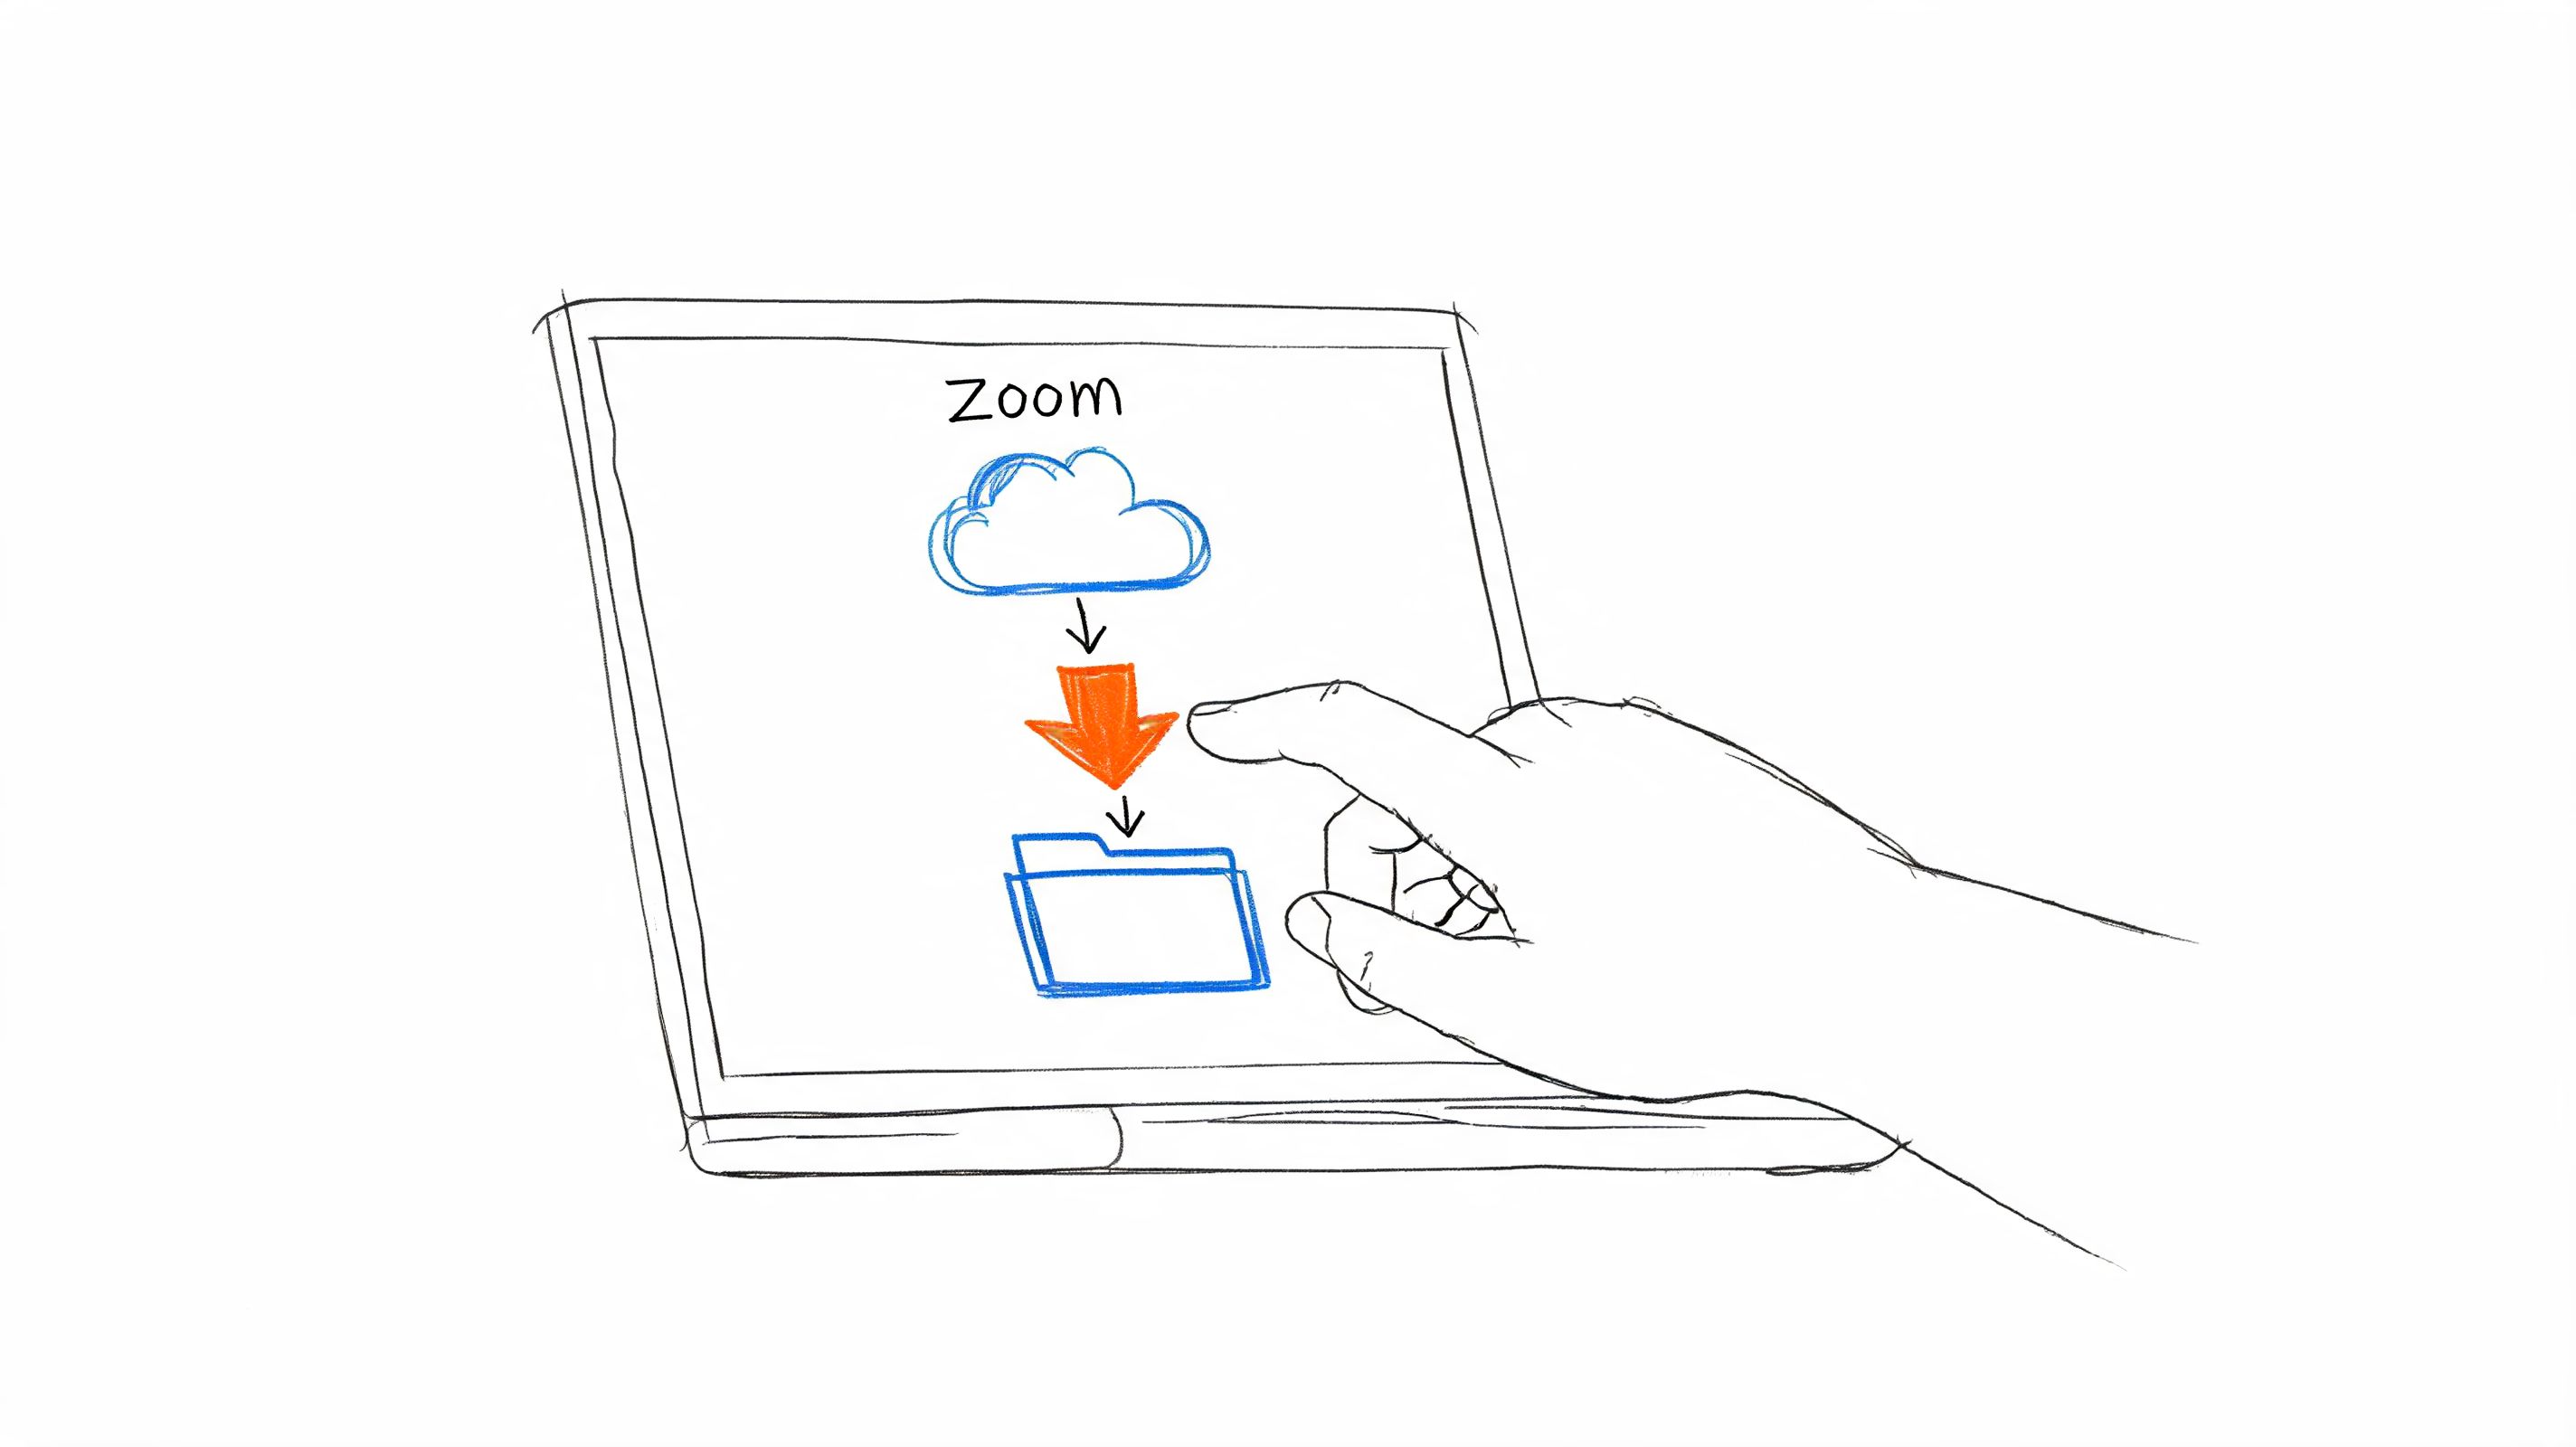
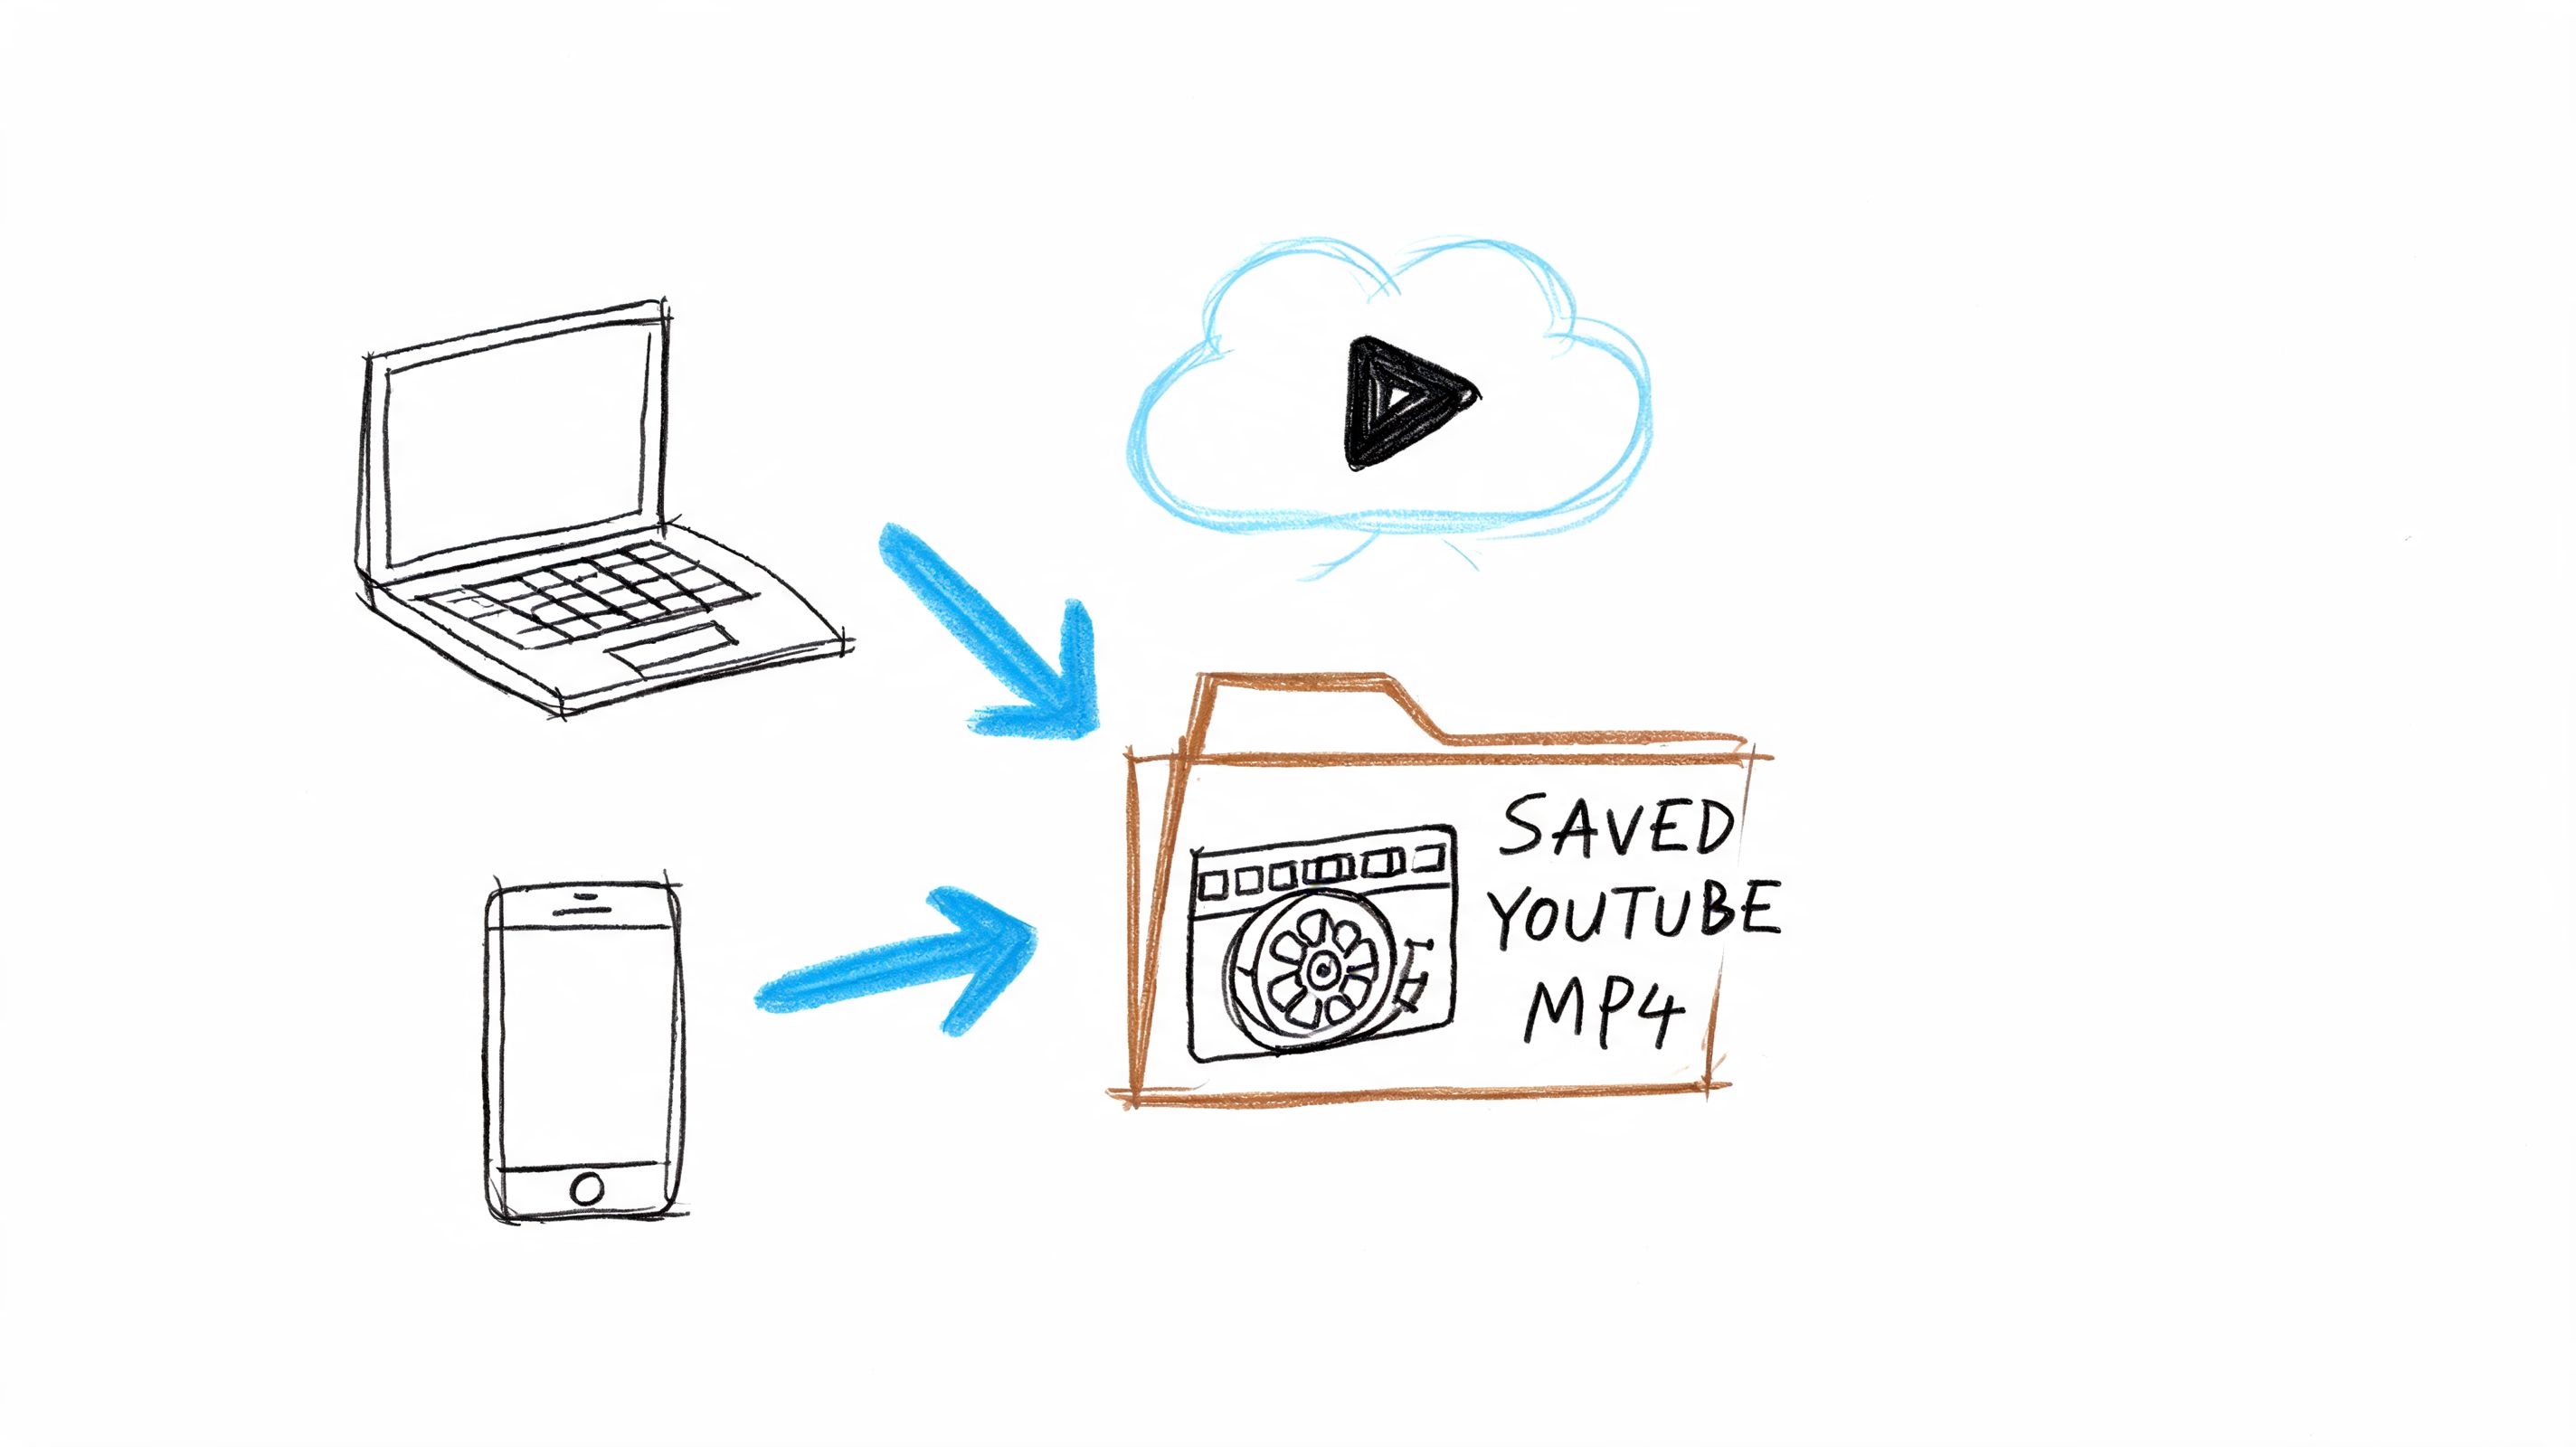
- Transcribe by URL — paste a link (YouTube, Google Drive, Zoom recording and other supported sources). No downloading a video just to re-upload it somewhere else — the step most tools still force on you.
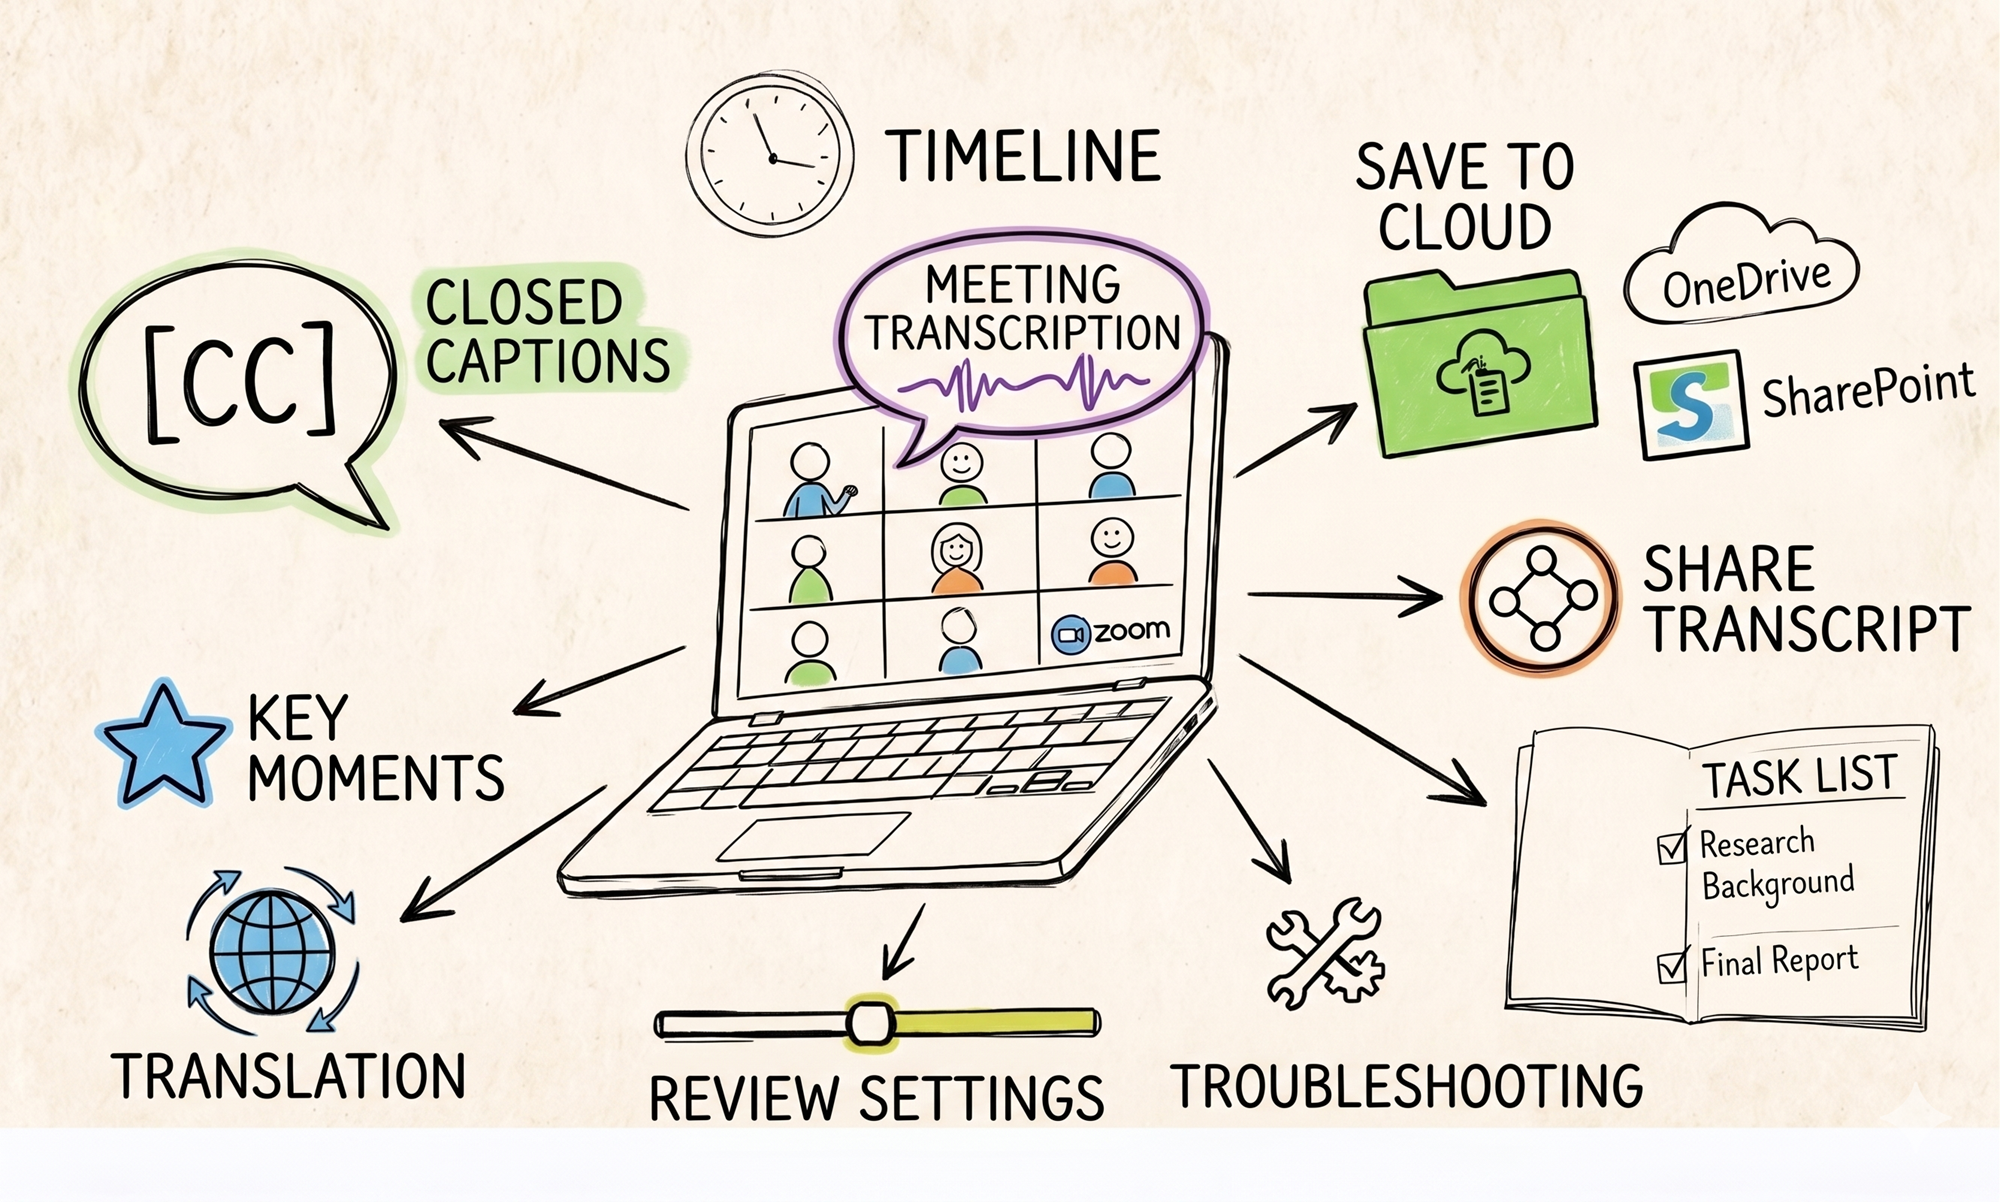
- Meeting notes — drop in a meeting link and get notes from the call.
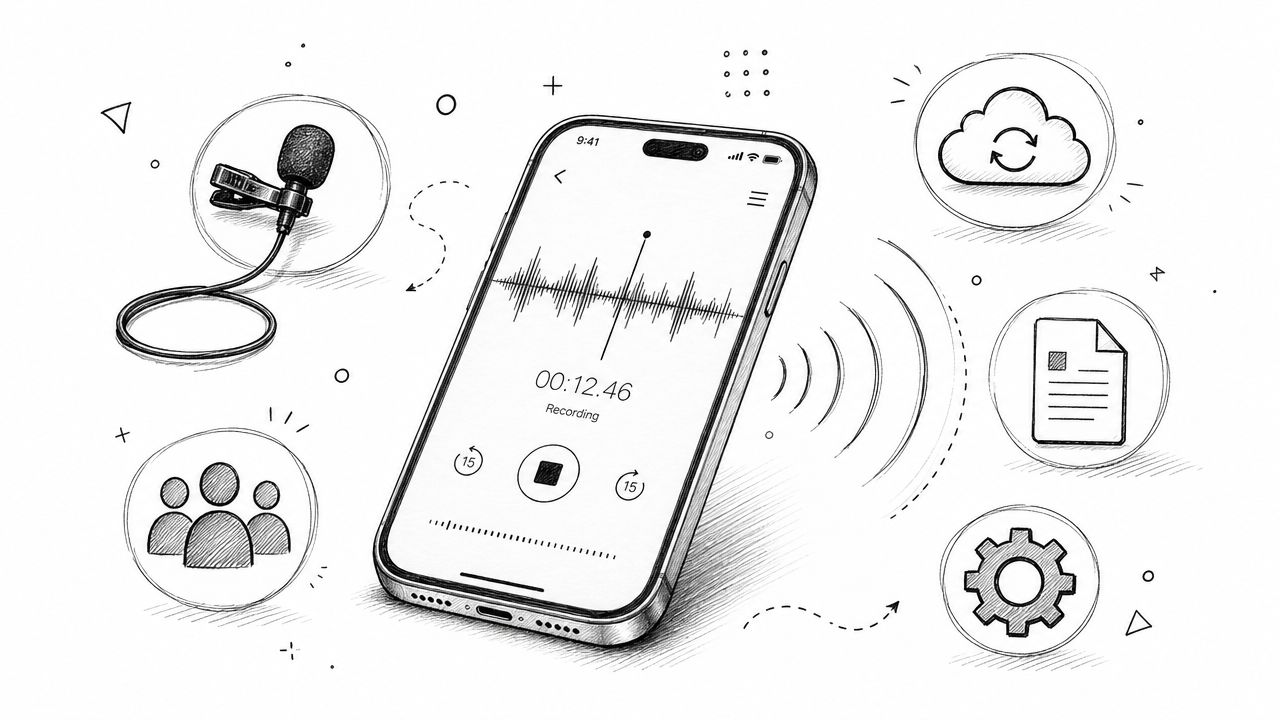
- Live Record — record directly in the browser, no file involved.
Everything lands in one library with folders, so a file uploaded today is still findable in March.
Uploading a file: no conversion, no size anxiety
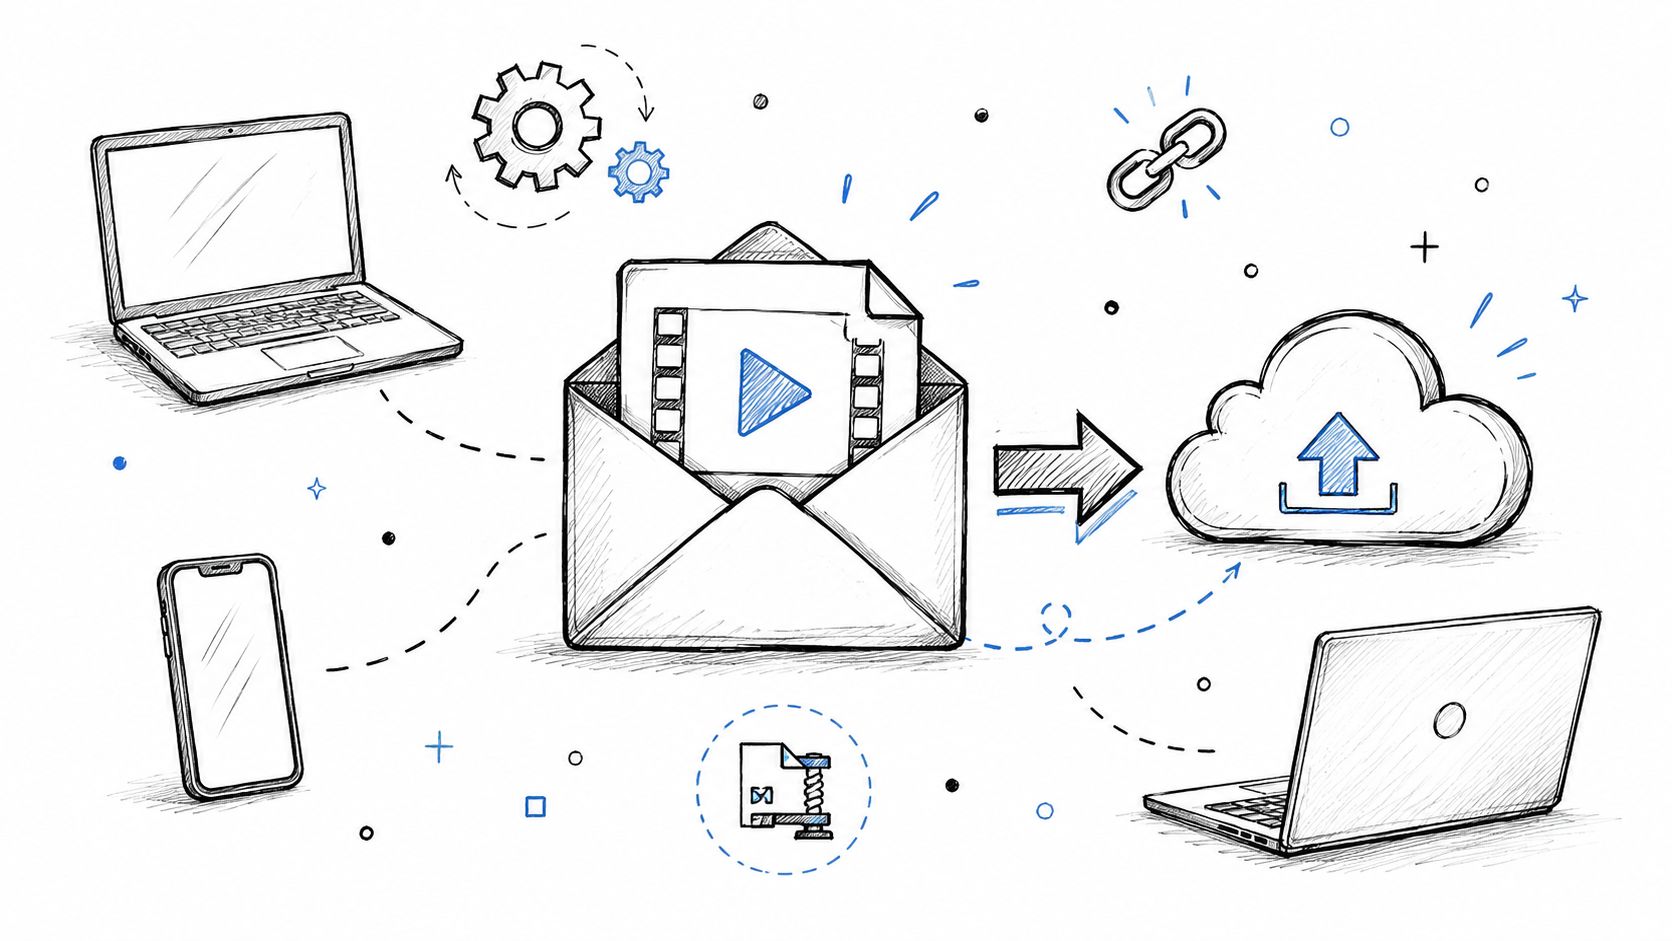
Click Transcribe file and you get a plain upload window: select a file or drag it in.
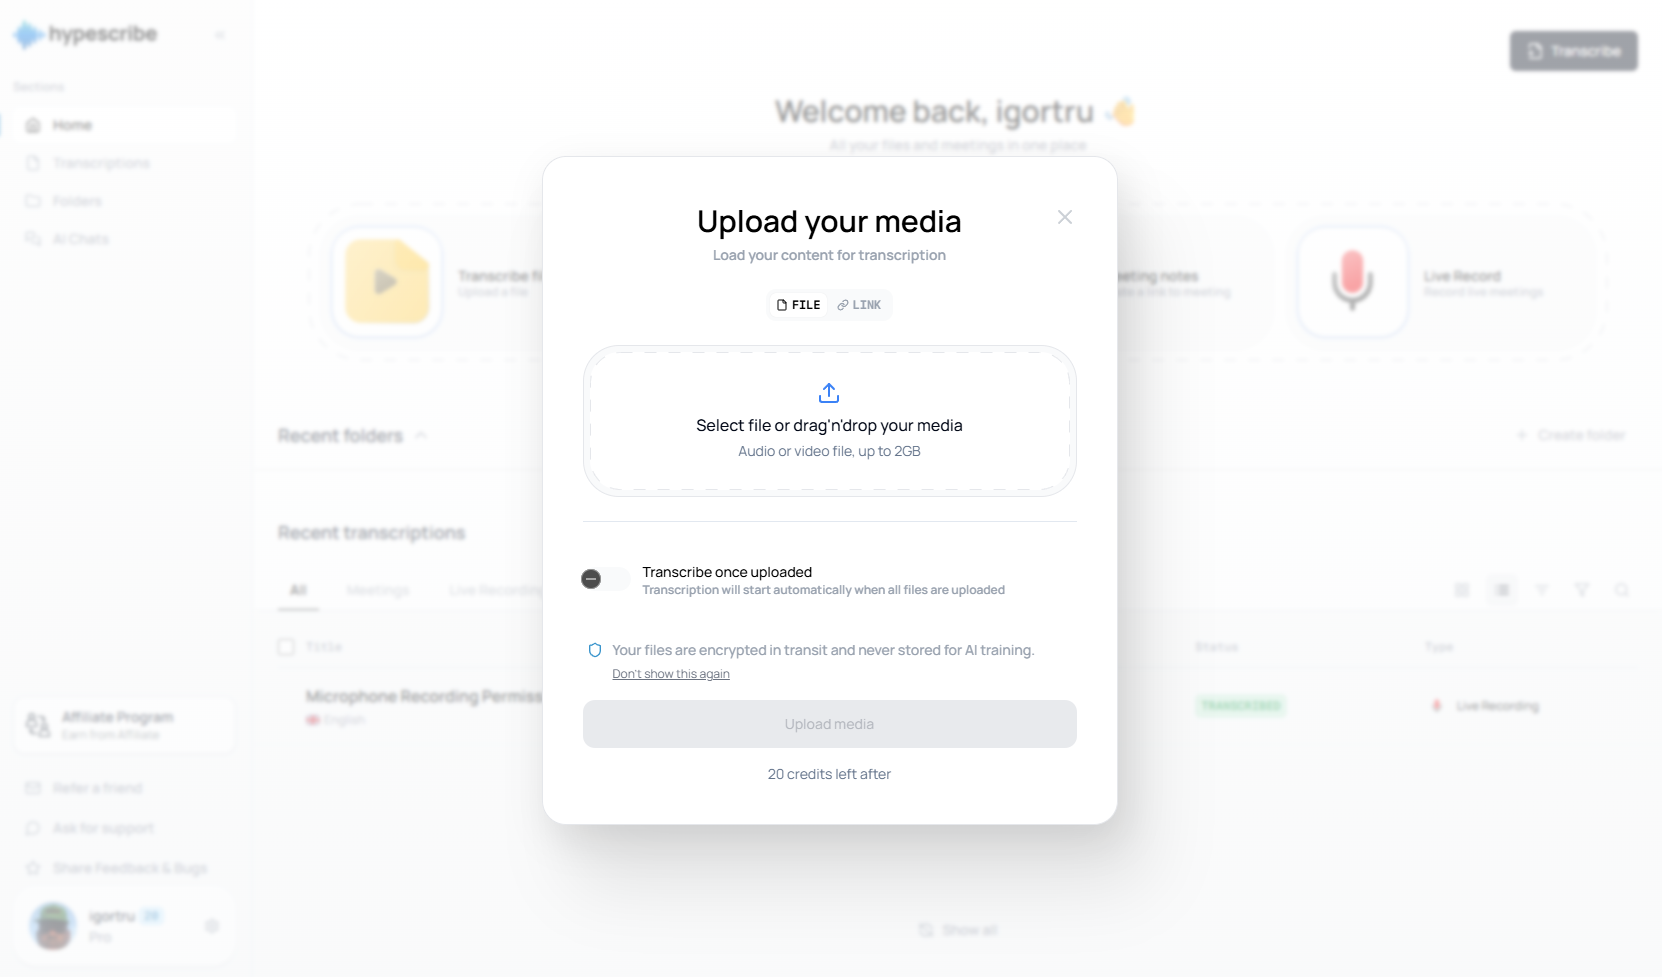
Three decisions here that save you real time:
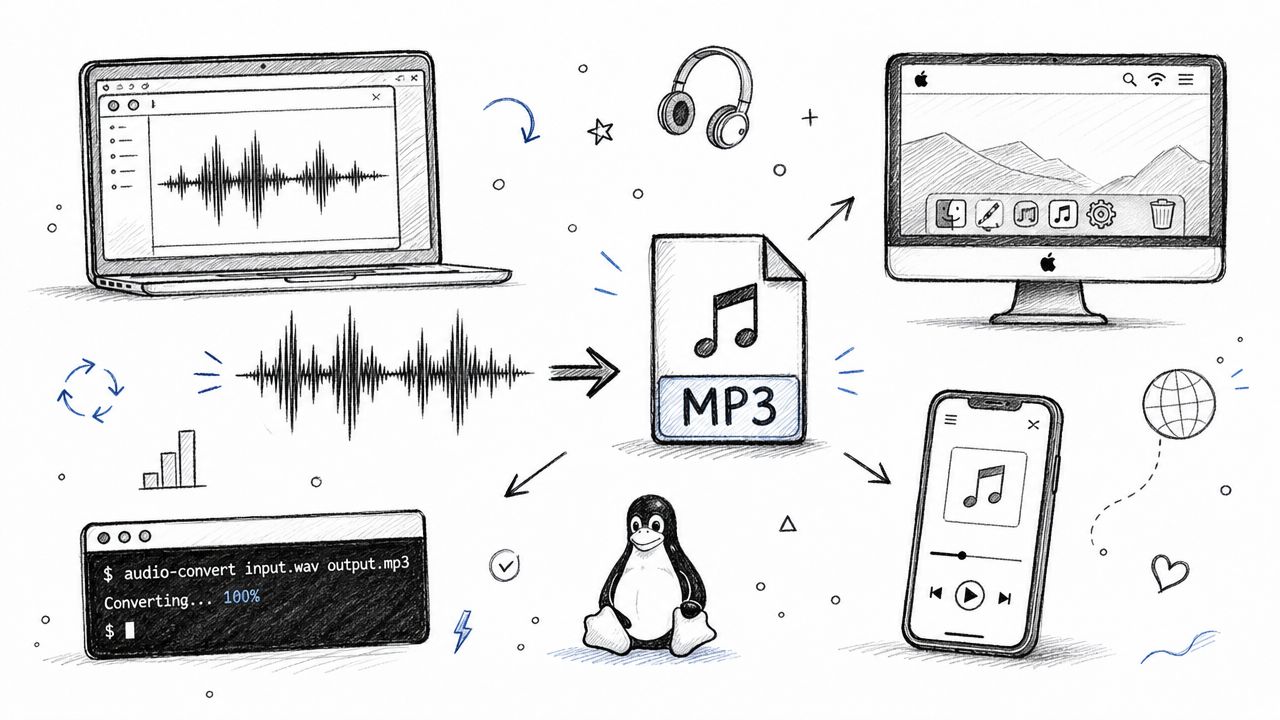
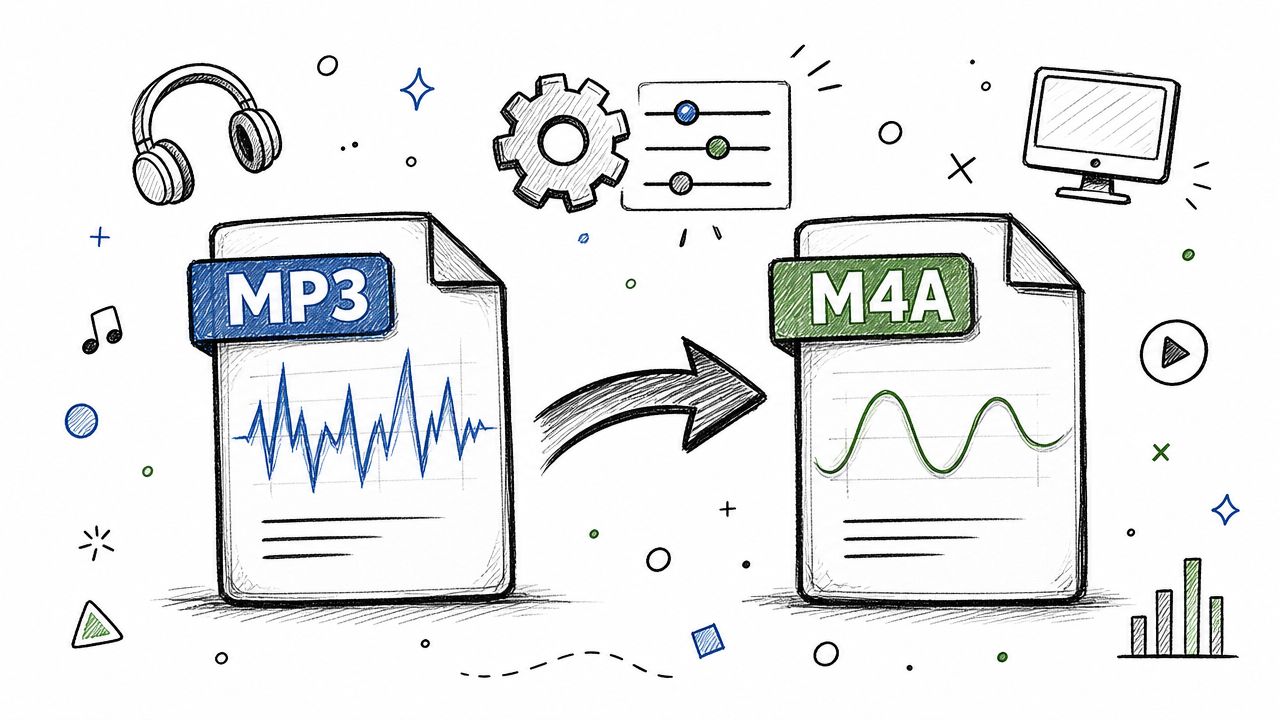
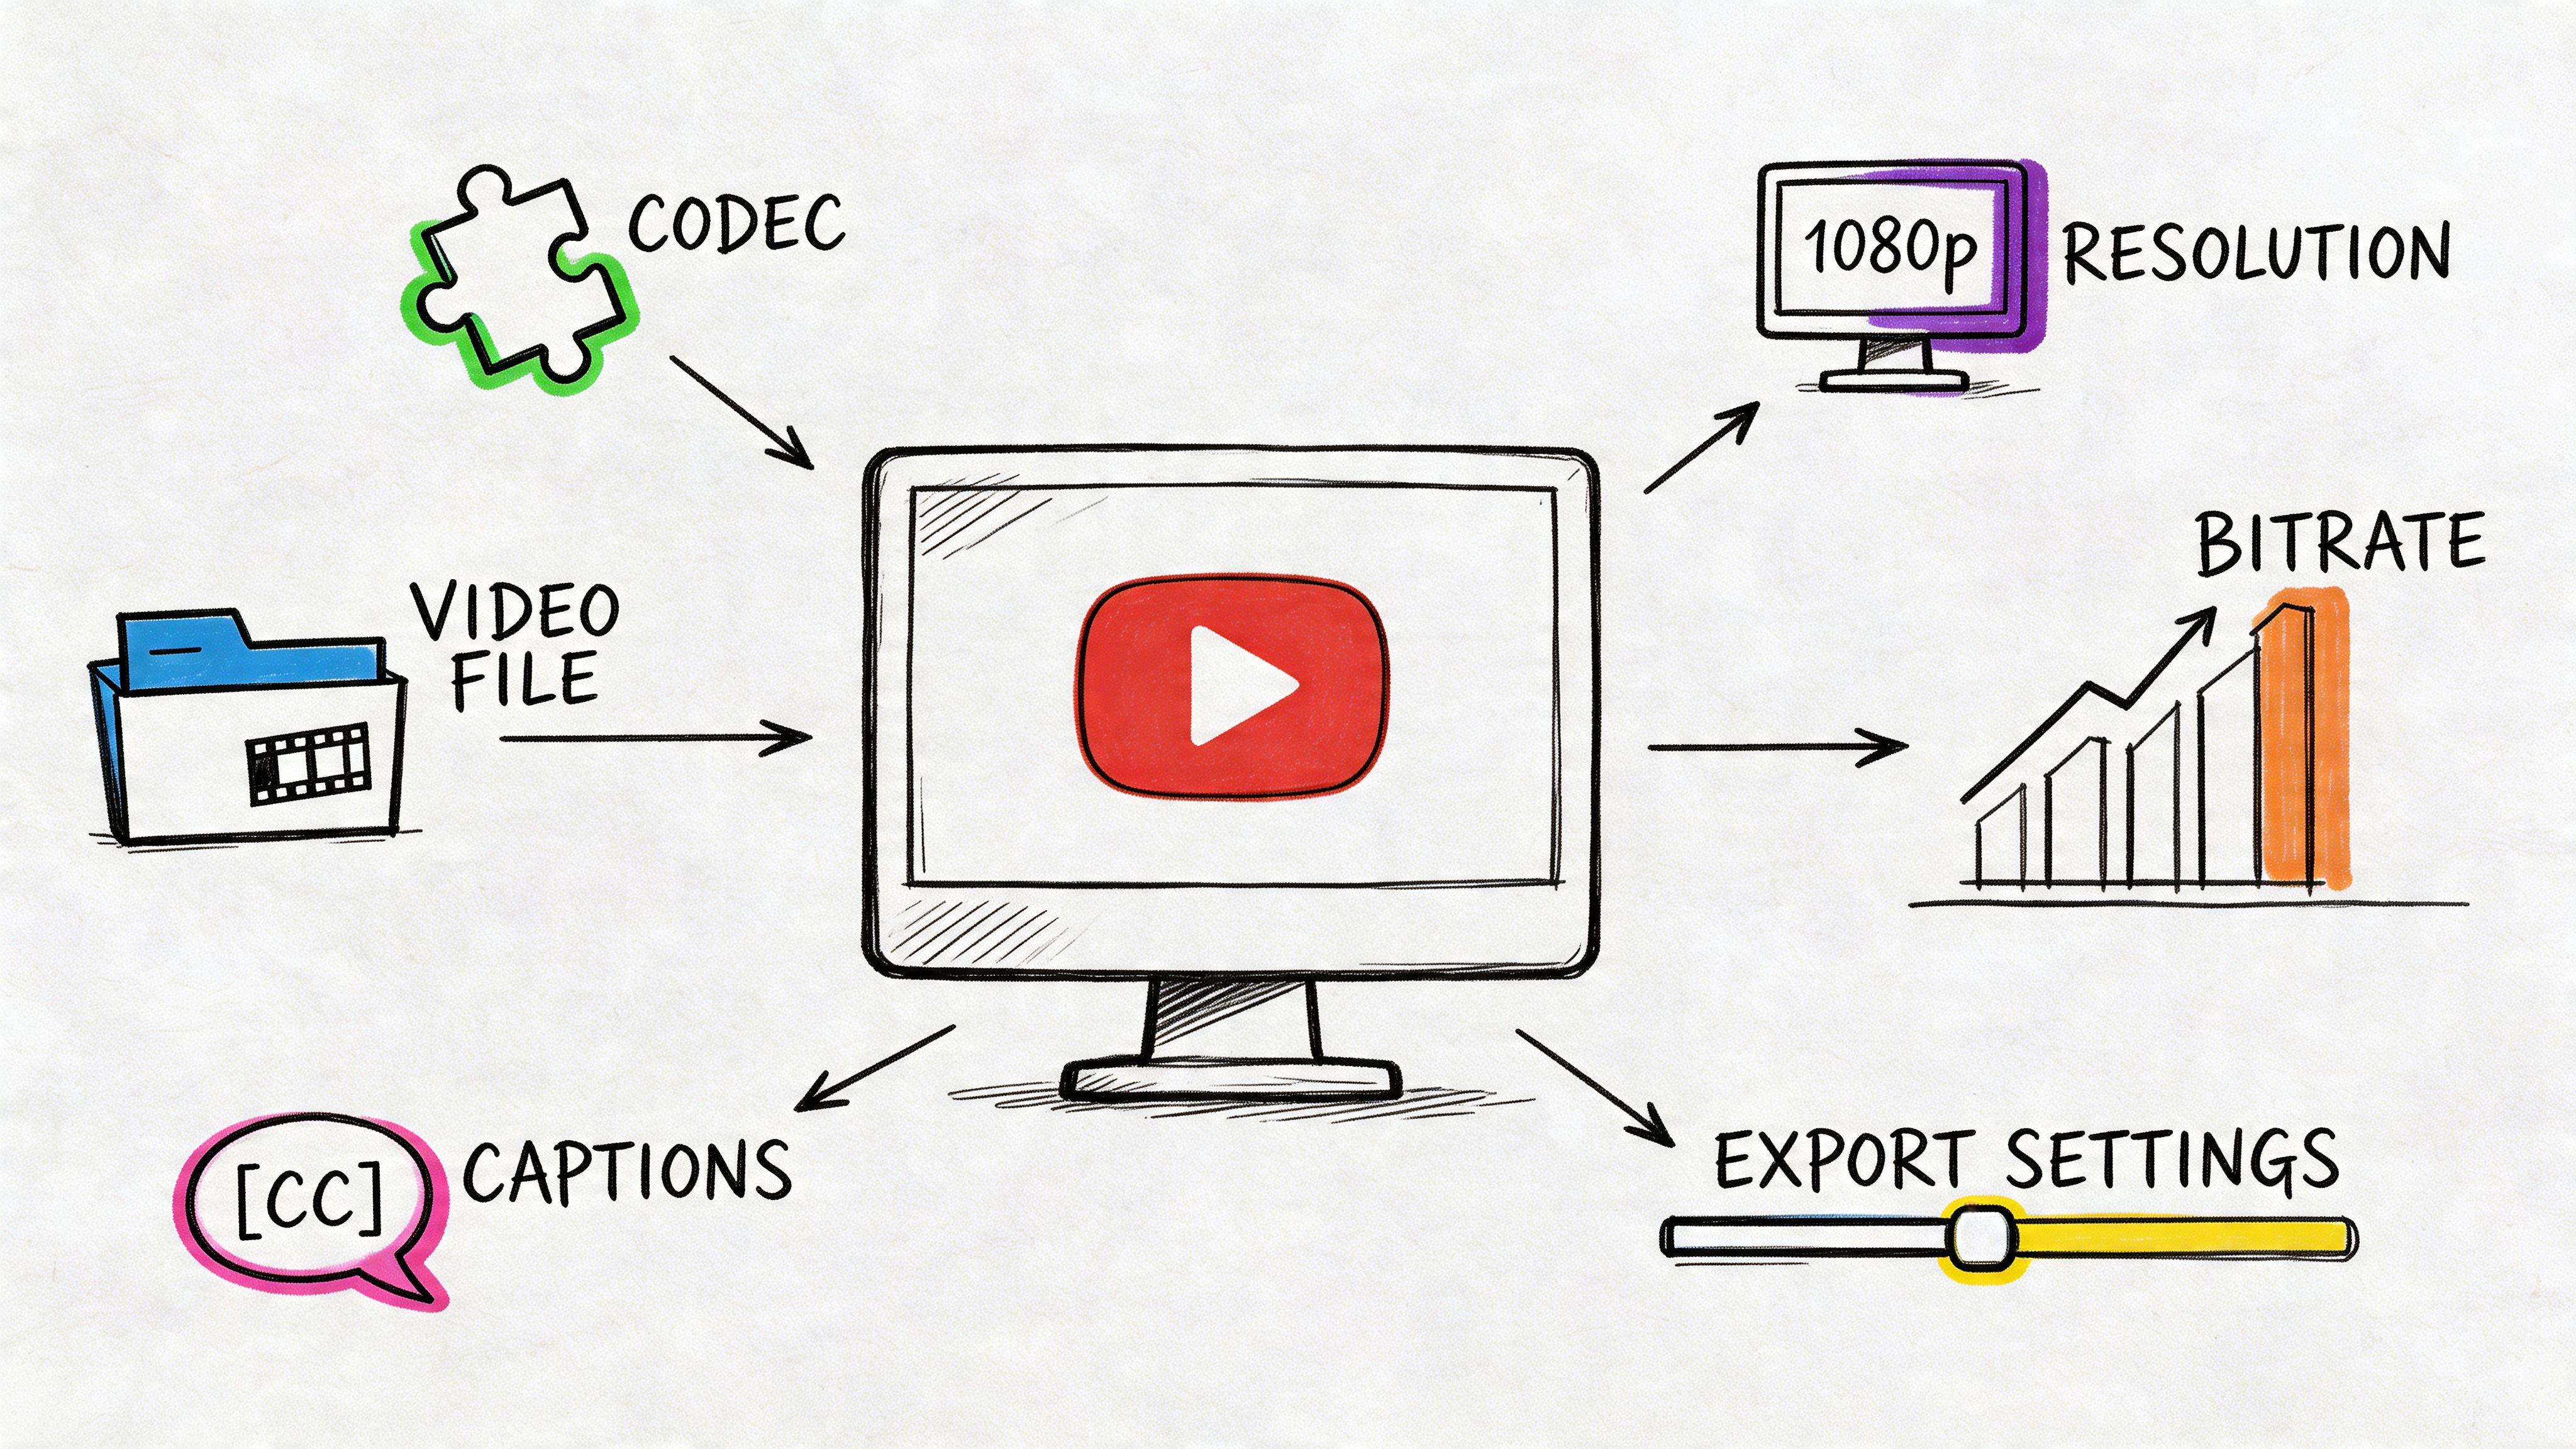
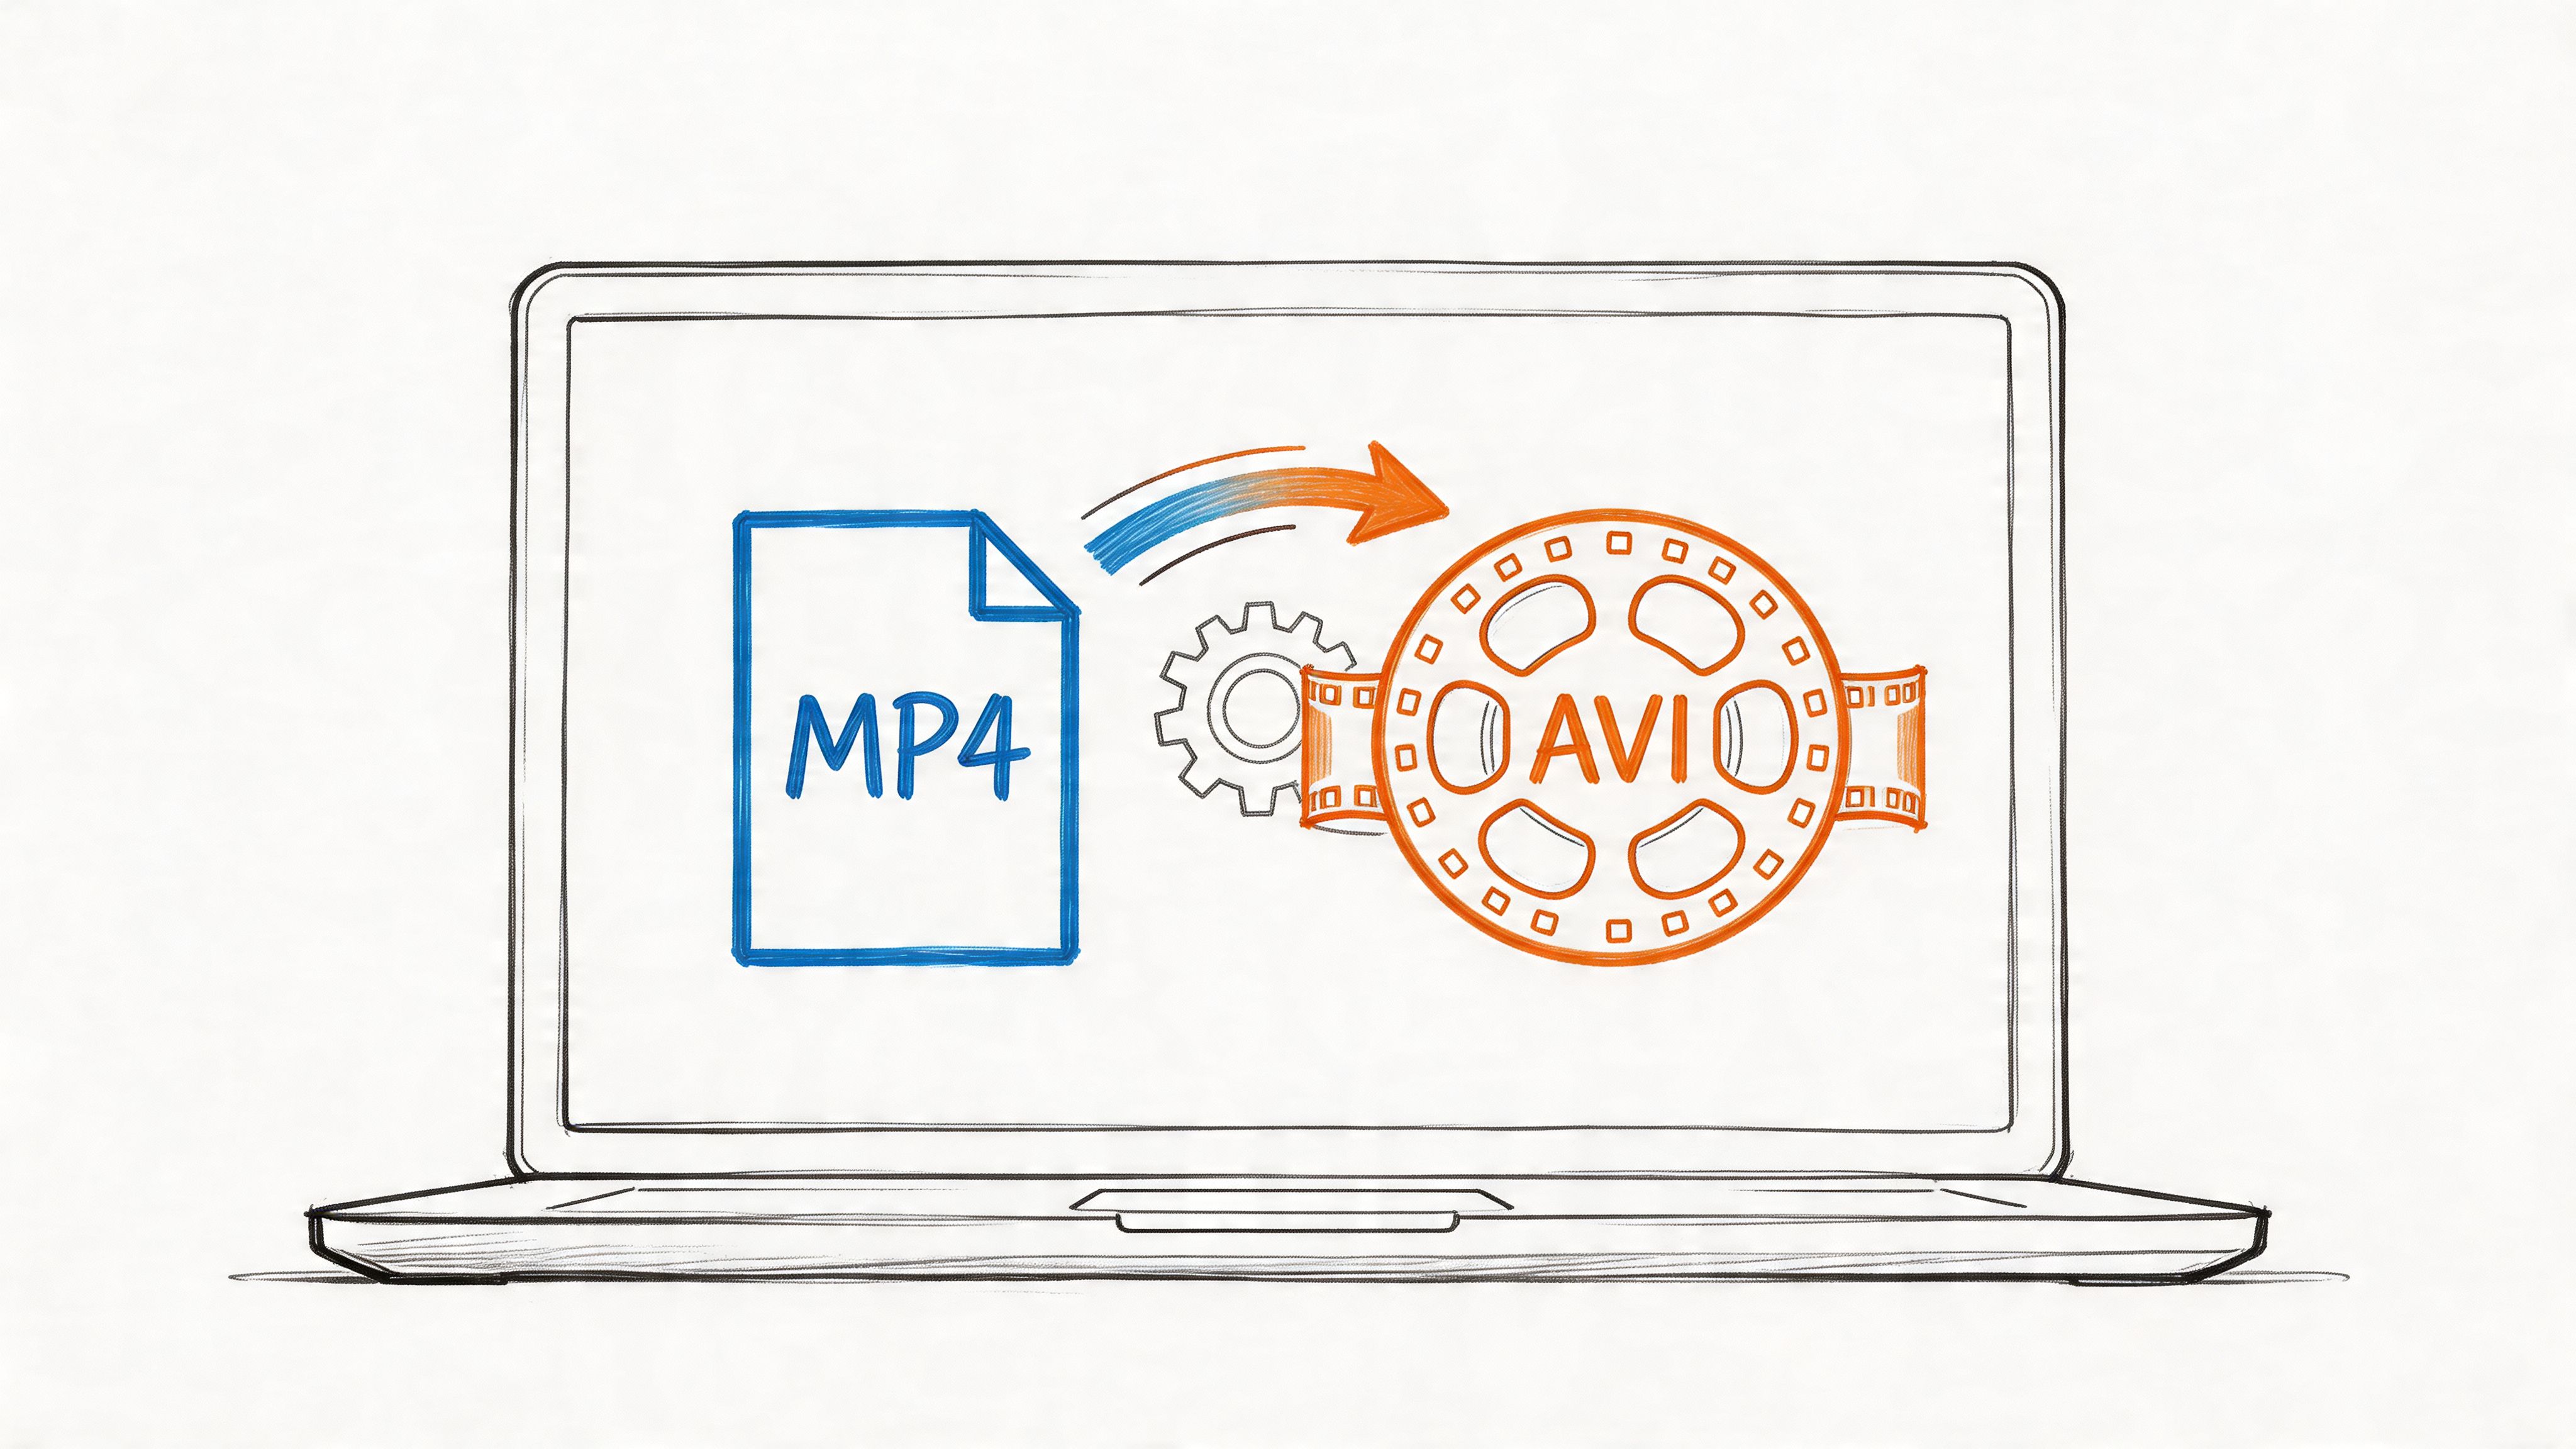
- Video goes in as video. MP4, MOV, MKV, WEBM, MP3, WAV, M4A — if it plays, it transcribes. A surprising number of tools still want audio only, which means you convert the file first in some third app. Here you skip that entirely: HypeScribe extracts the speech from video itself.
- Up to 2 GB per file. That covers hours of recorded video — a full lecture, a three-hour workshop, an all-hands. You don't split recordings into parts to fit under a cap.
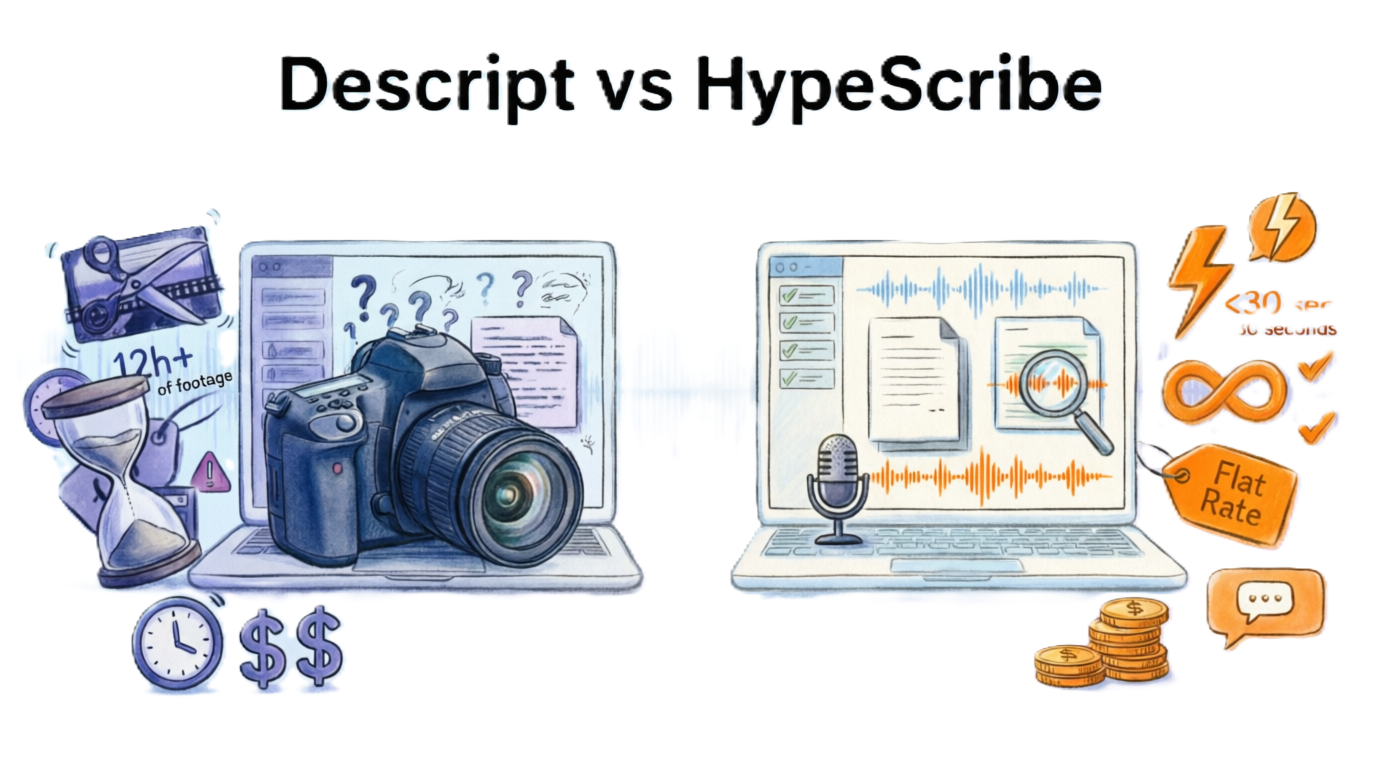
- One credit per file, flat. A 5-minute memo and a 4-hour recording cost the same one credit. Compare that with per-minute pricing (Rev charges by the minute) or free tiers that cut a conversation off at 30 minutes, like Otter's. The window shows your balance before you commit — no surprises after.
Add the file and it starts uploading immediately, with live upload speed next to the name:
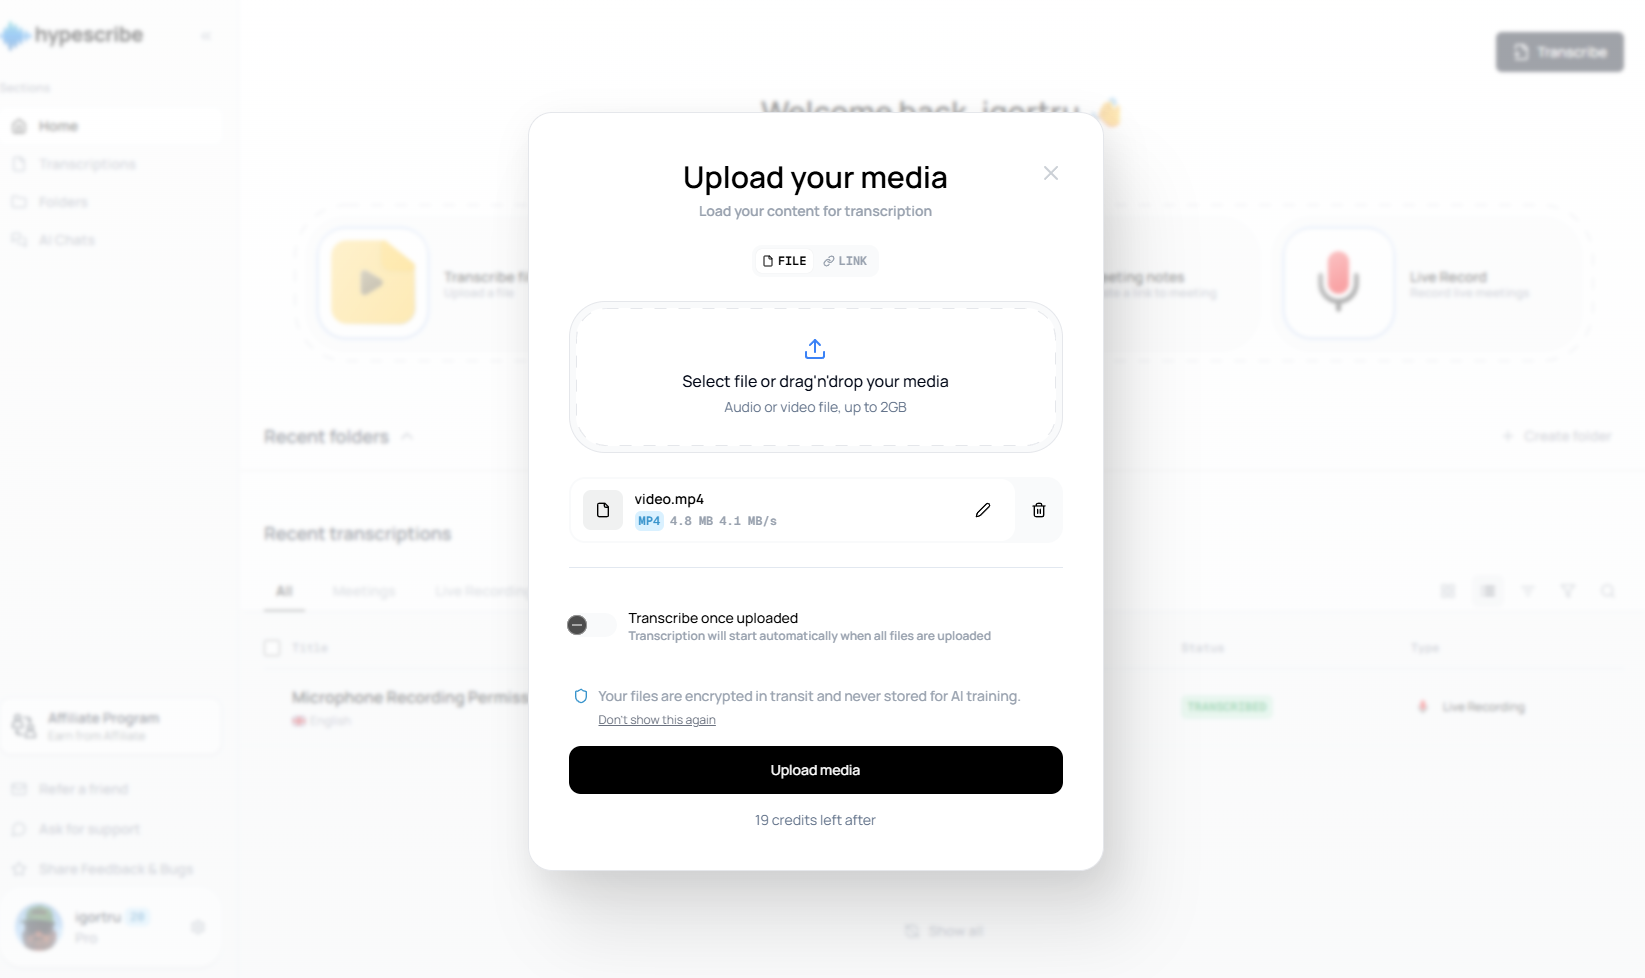
Two details worth knowing:
- The Transcribe once uploaded toggle starts transcription automatically the moment the upload finishes — add several files and walk away.
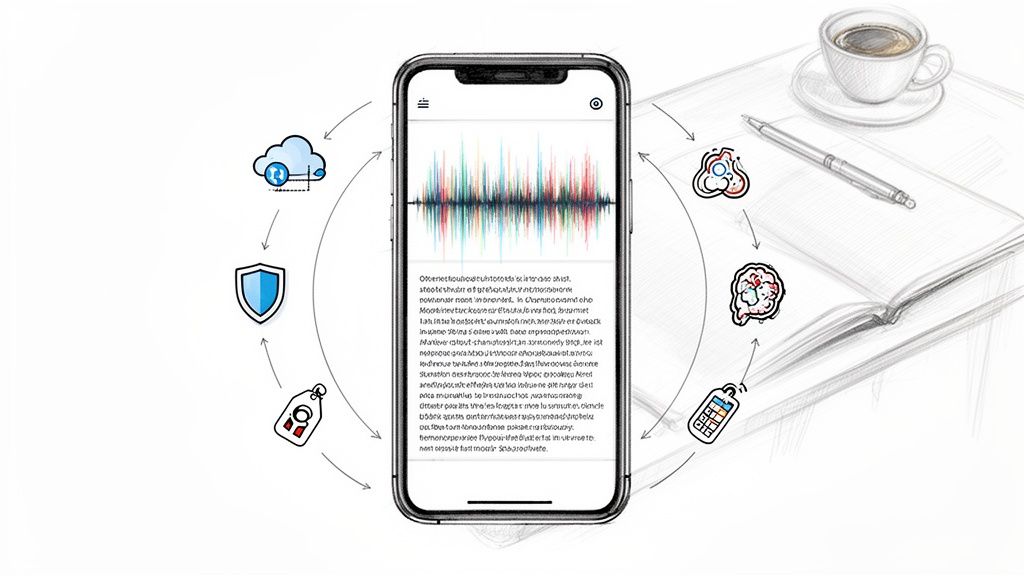
- Files are encrypted in transit and never used for AI training. Plenty of "free" tools pay for themselves with your data. Your recordings stay yours — that line sits right in the upload window, not buried in a policy page.
What you get back — and what others charge extra for
A minute or two later the file page opens with everything already done. Not just the raw text: the top of the page answers the first three questions you'd ask — how many speakers, how long, what needs doing.
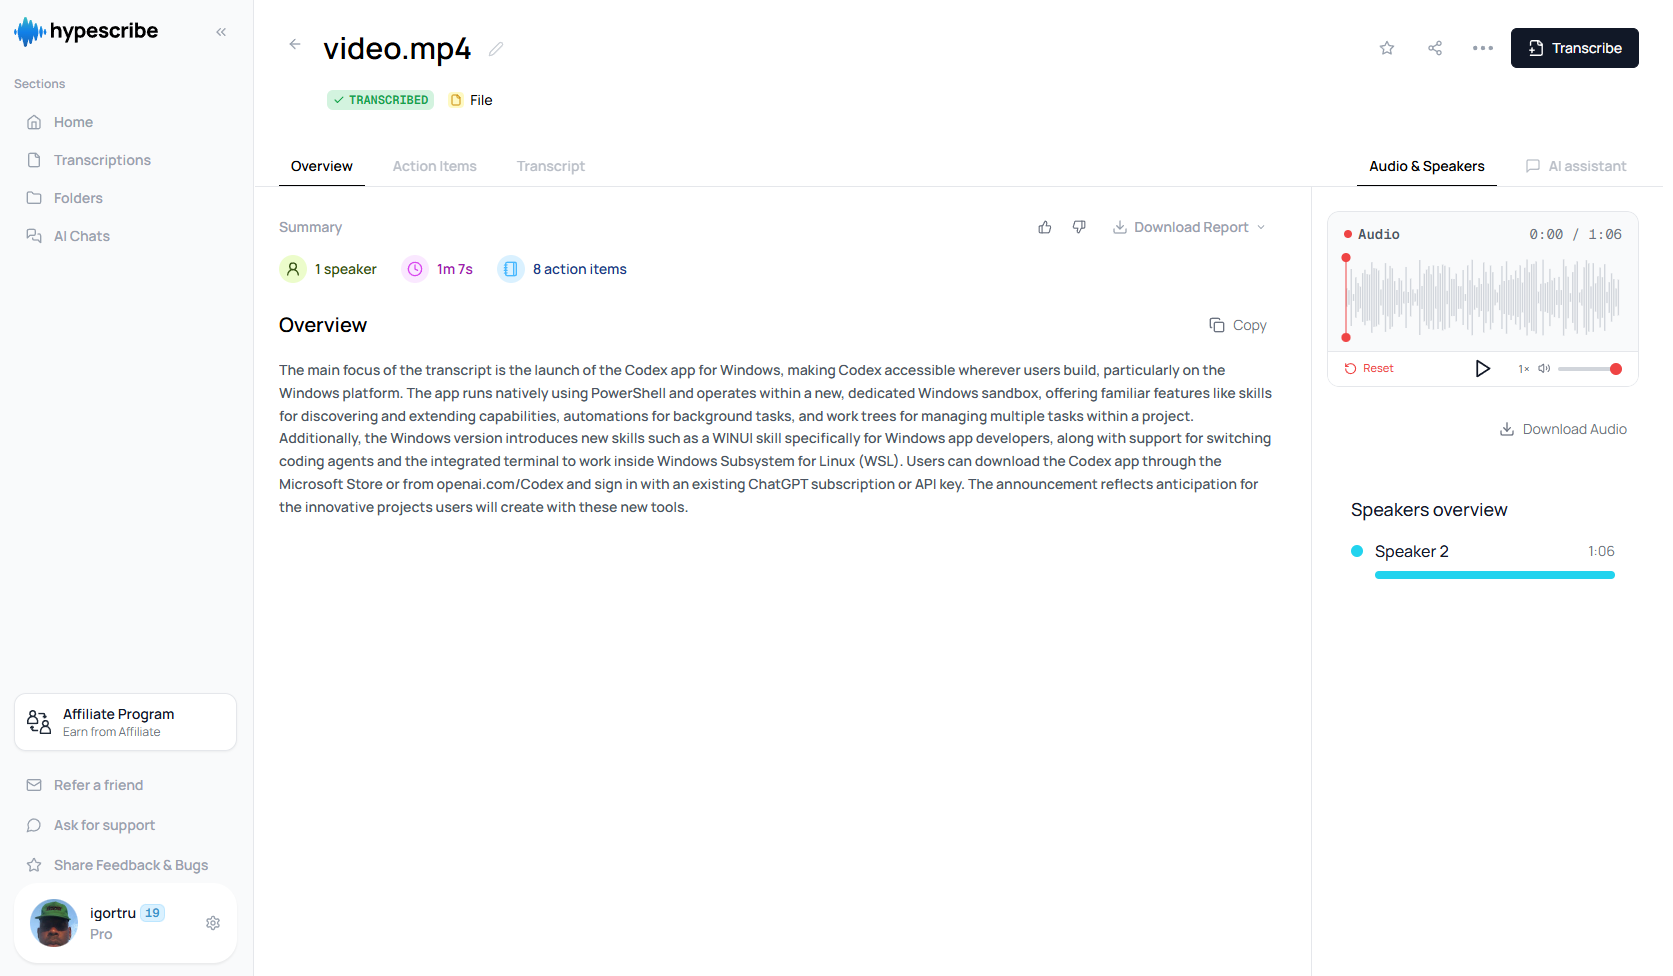
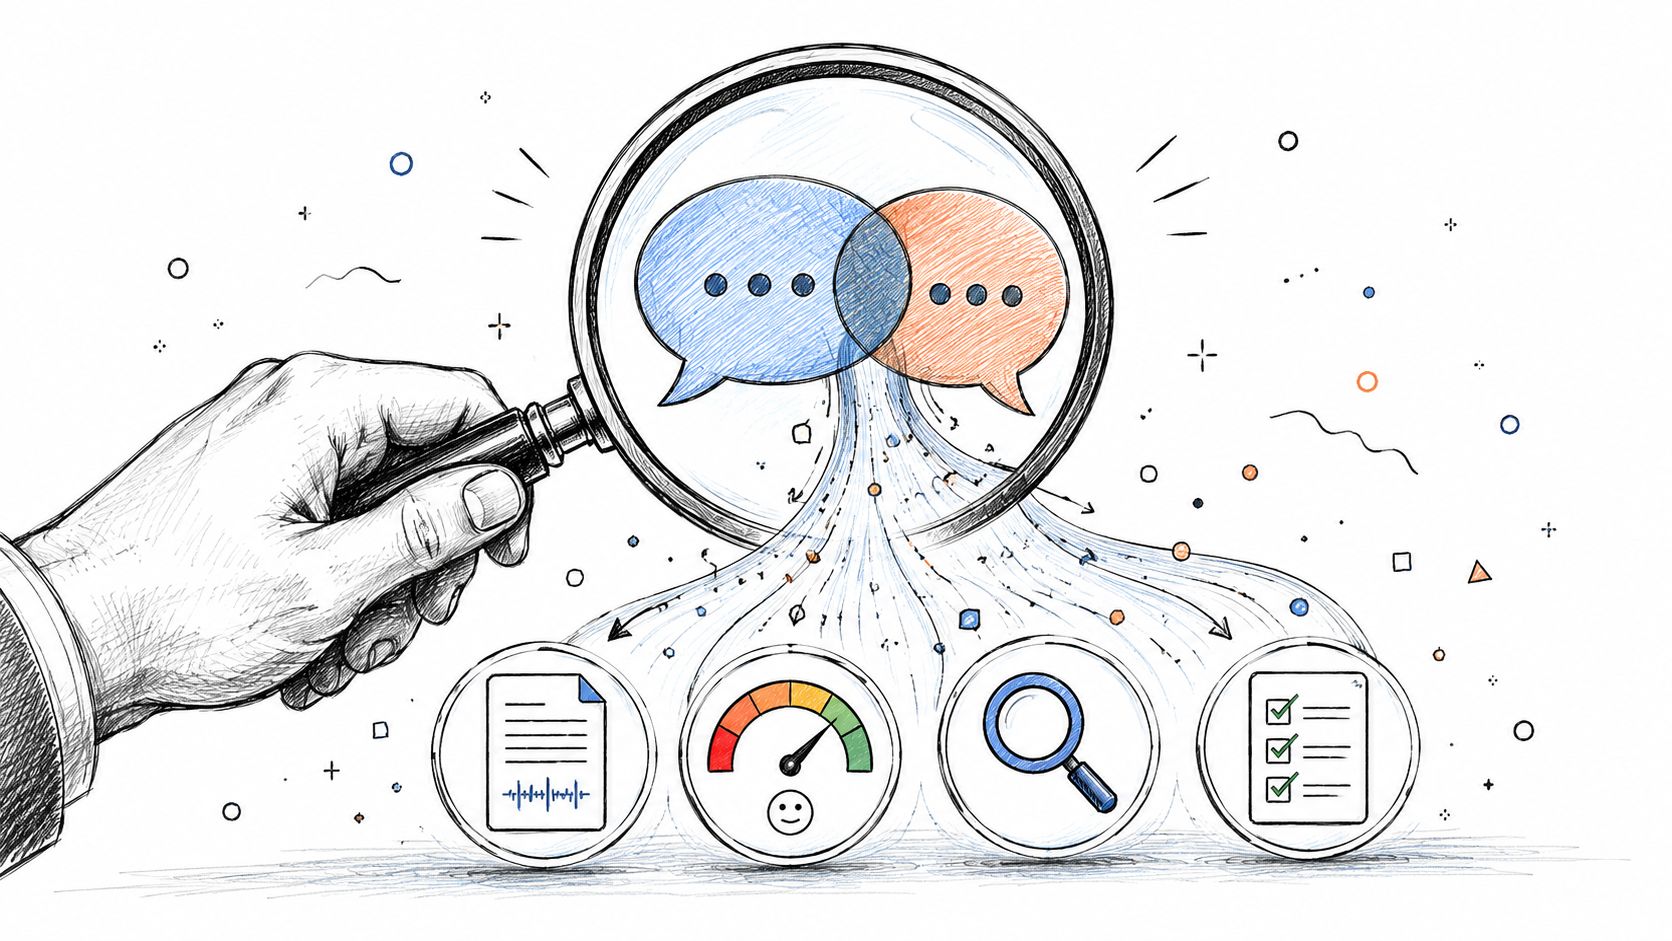
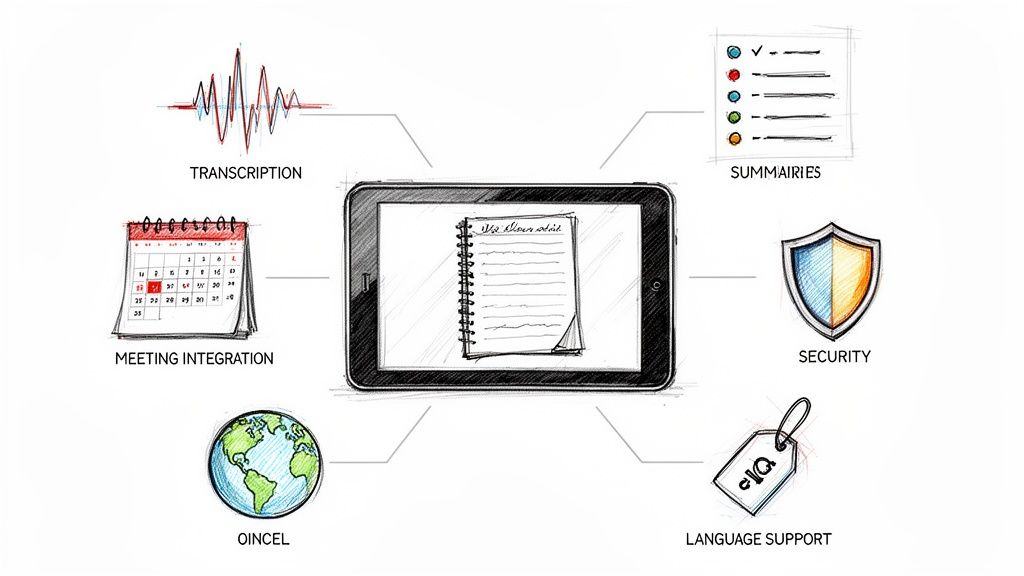
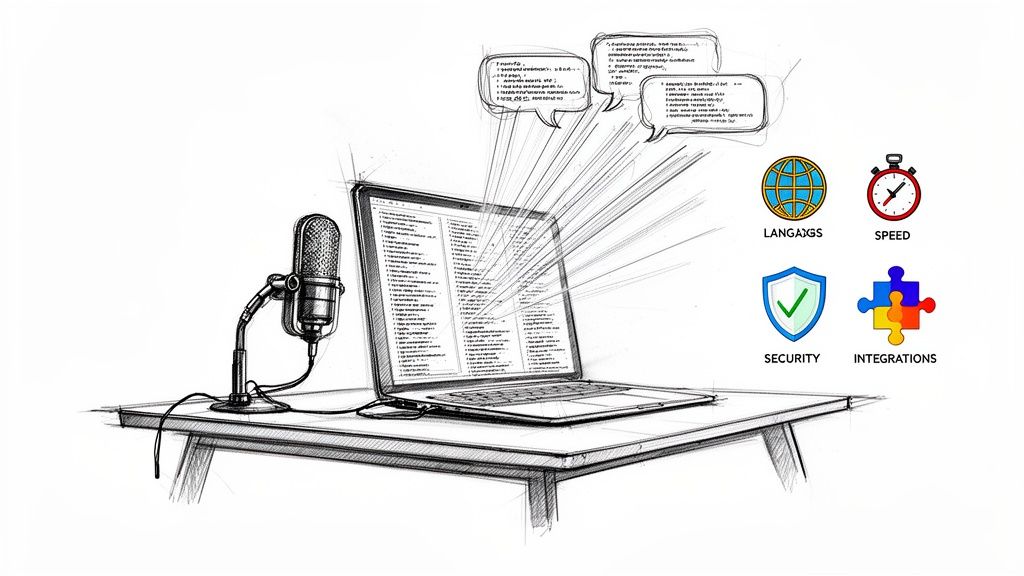
This is the part we're most opinionated about. In most transcription tools the transcript is the product, and everything useful on top of it — summaries, action items, AI chat — is a higher tier or a separate add-on. In HypeScribe one upload produces all of it at once:
| You get | In HypeScribe | Elsewhere, typically |
|---|---|---|
| Transcript with speakers | Included | Included — this is usually all you get |
| Summary | Included, same upload | Higher tier or add-on |
| Action items | Included, extracted automatically | Rare; usually manual |
| AI chat about the recording | Included | Separate product, if it exists |
| Pricing unit | 1 credit = 1 file, any length | Per minute, or monthly minute caps |
Action items, pulled out for you
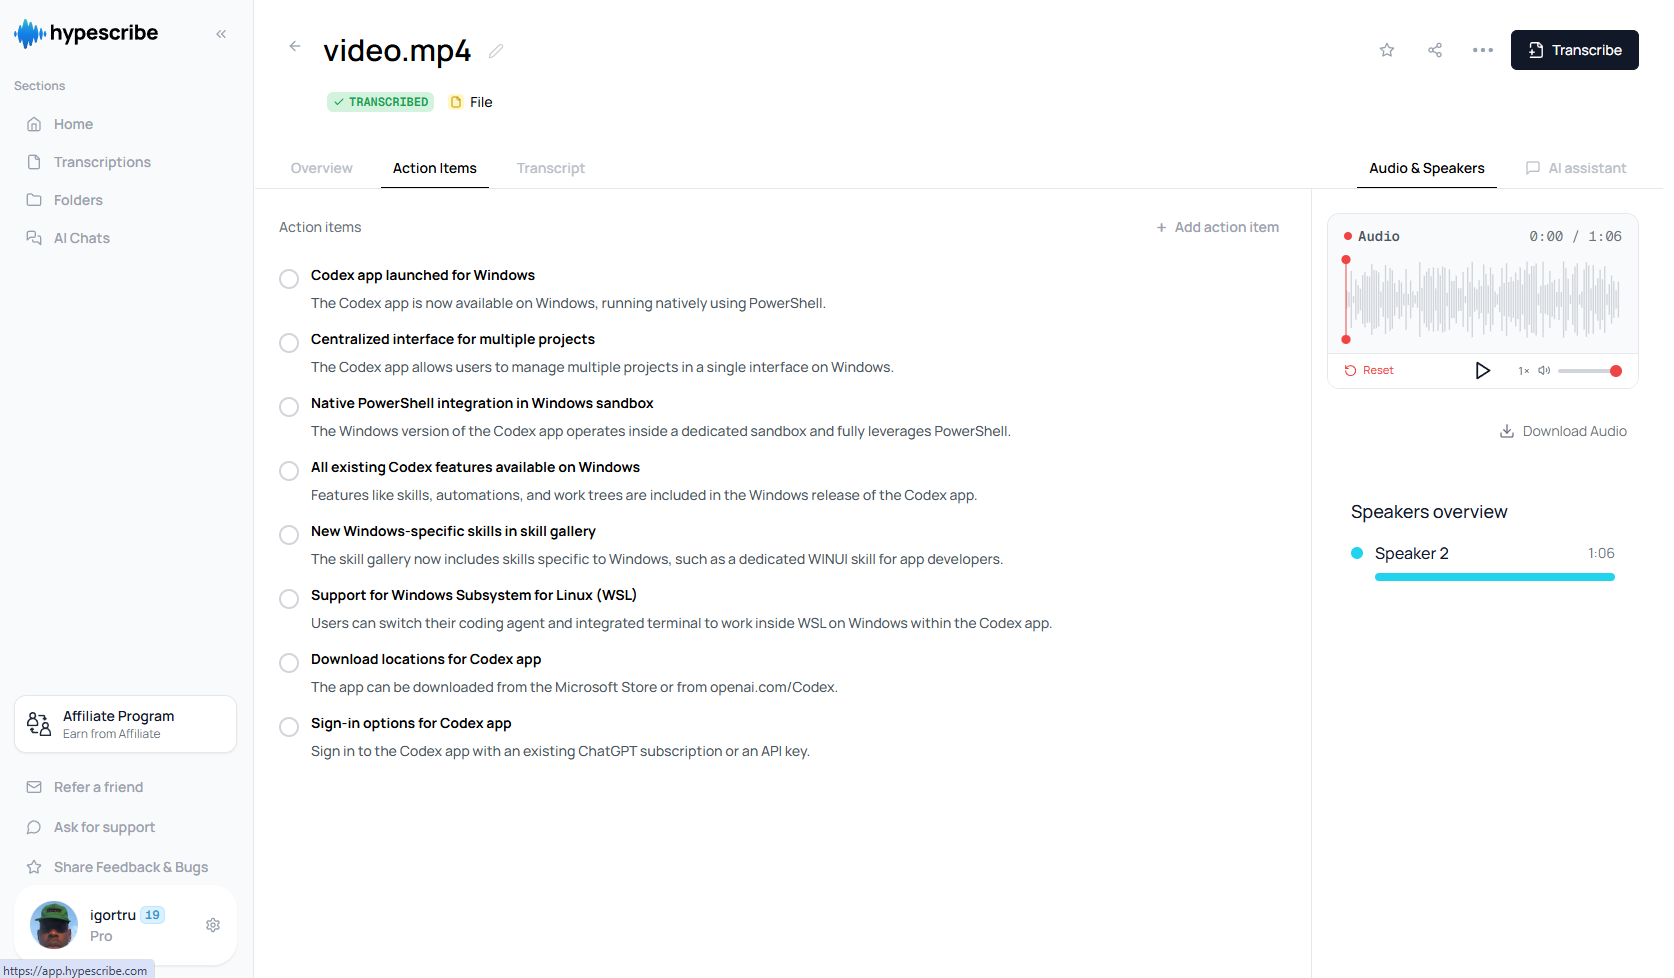
The Action Items tab lists every task mentioned in the recording, each with a one-line explanation. Check them off as you go, or add your own. For a meeting recording this tab often replaces the follow-up email entirely.
The transcript is a working document, not a printout
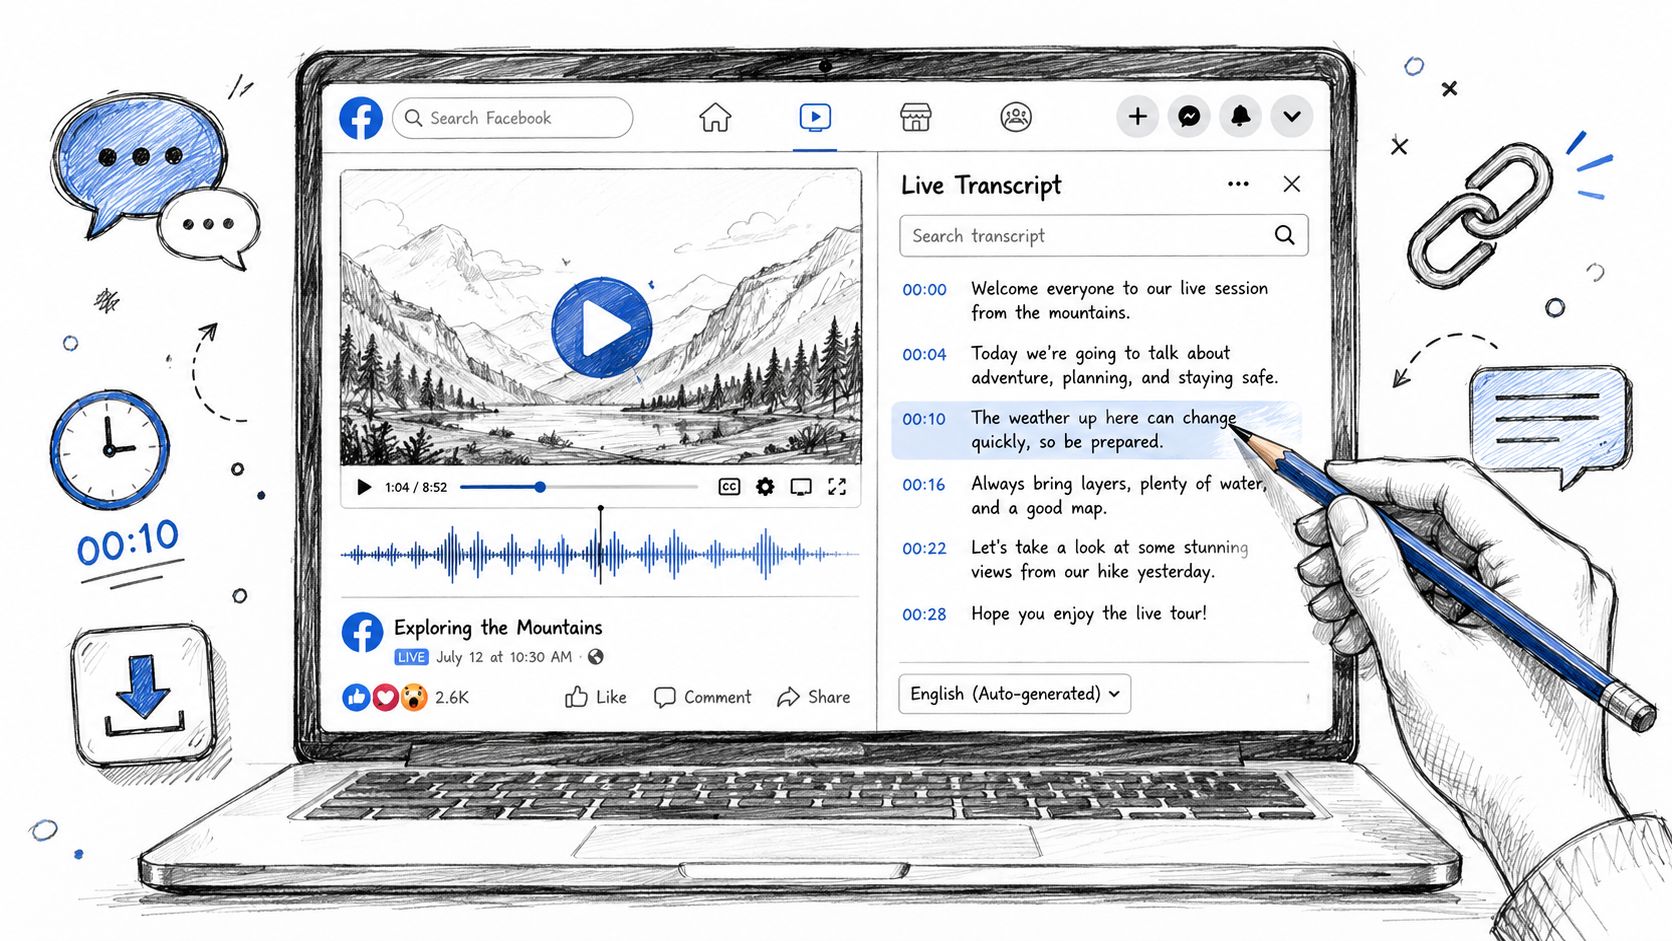
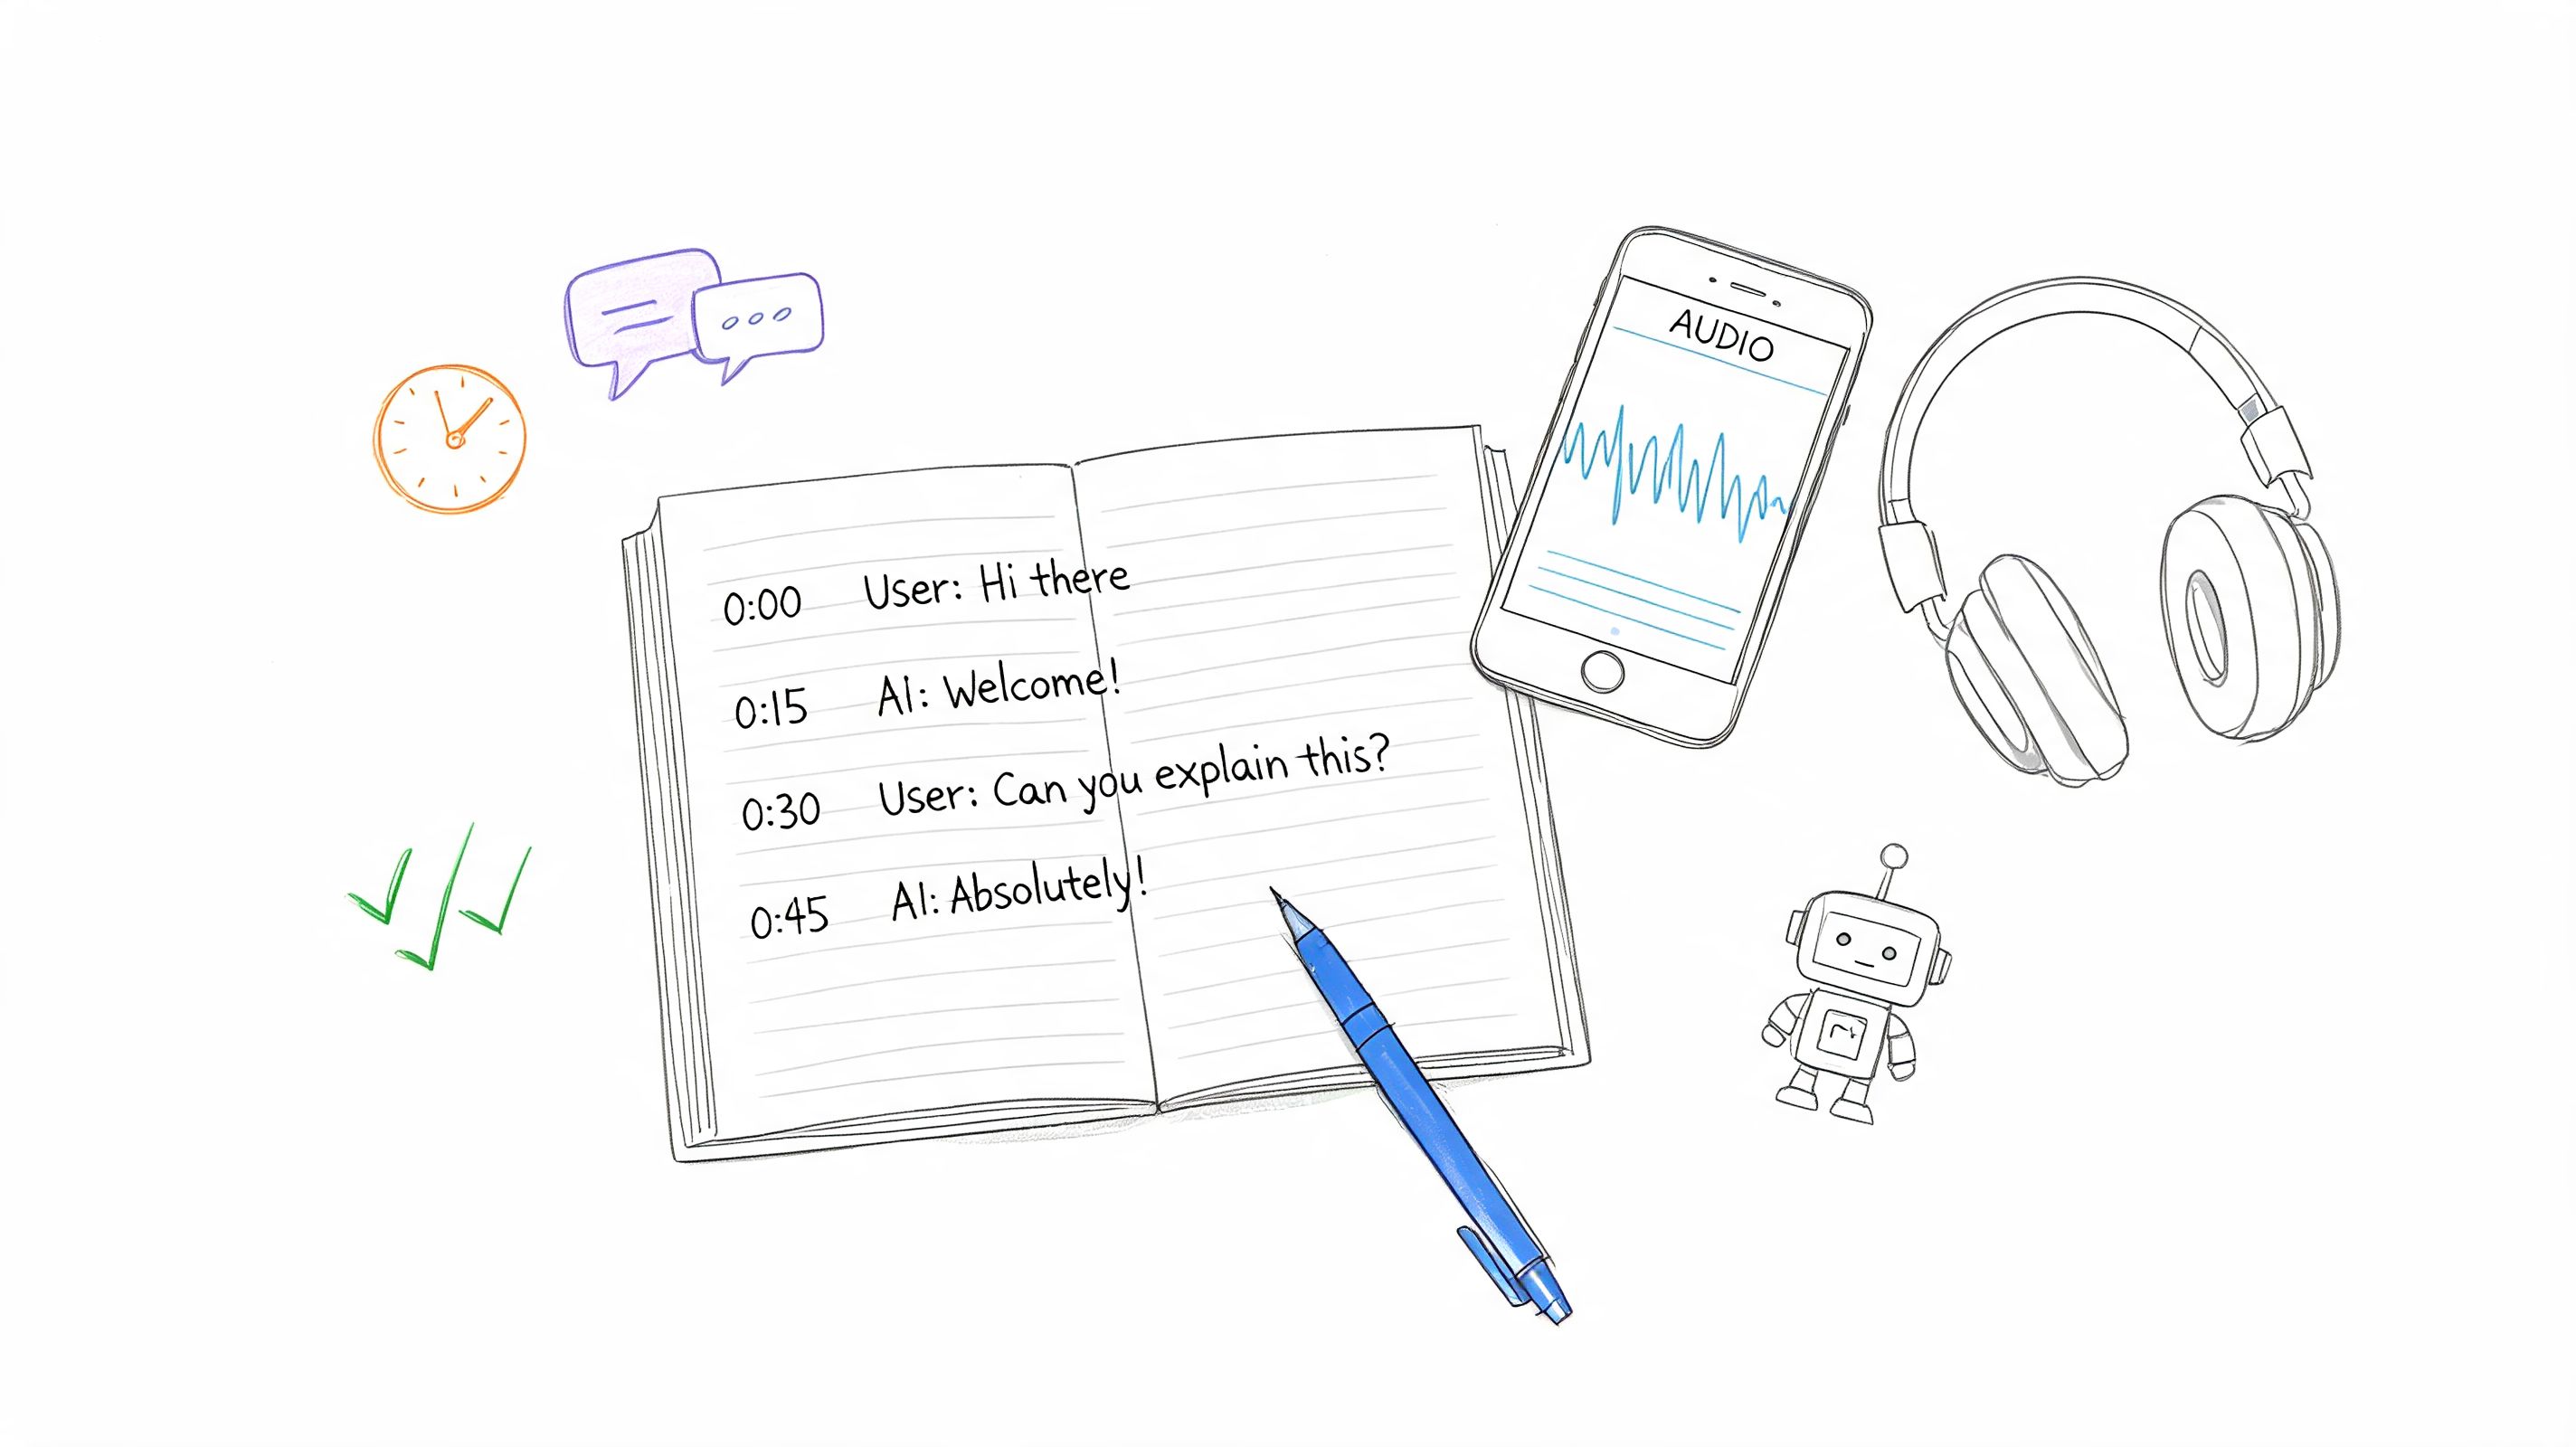
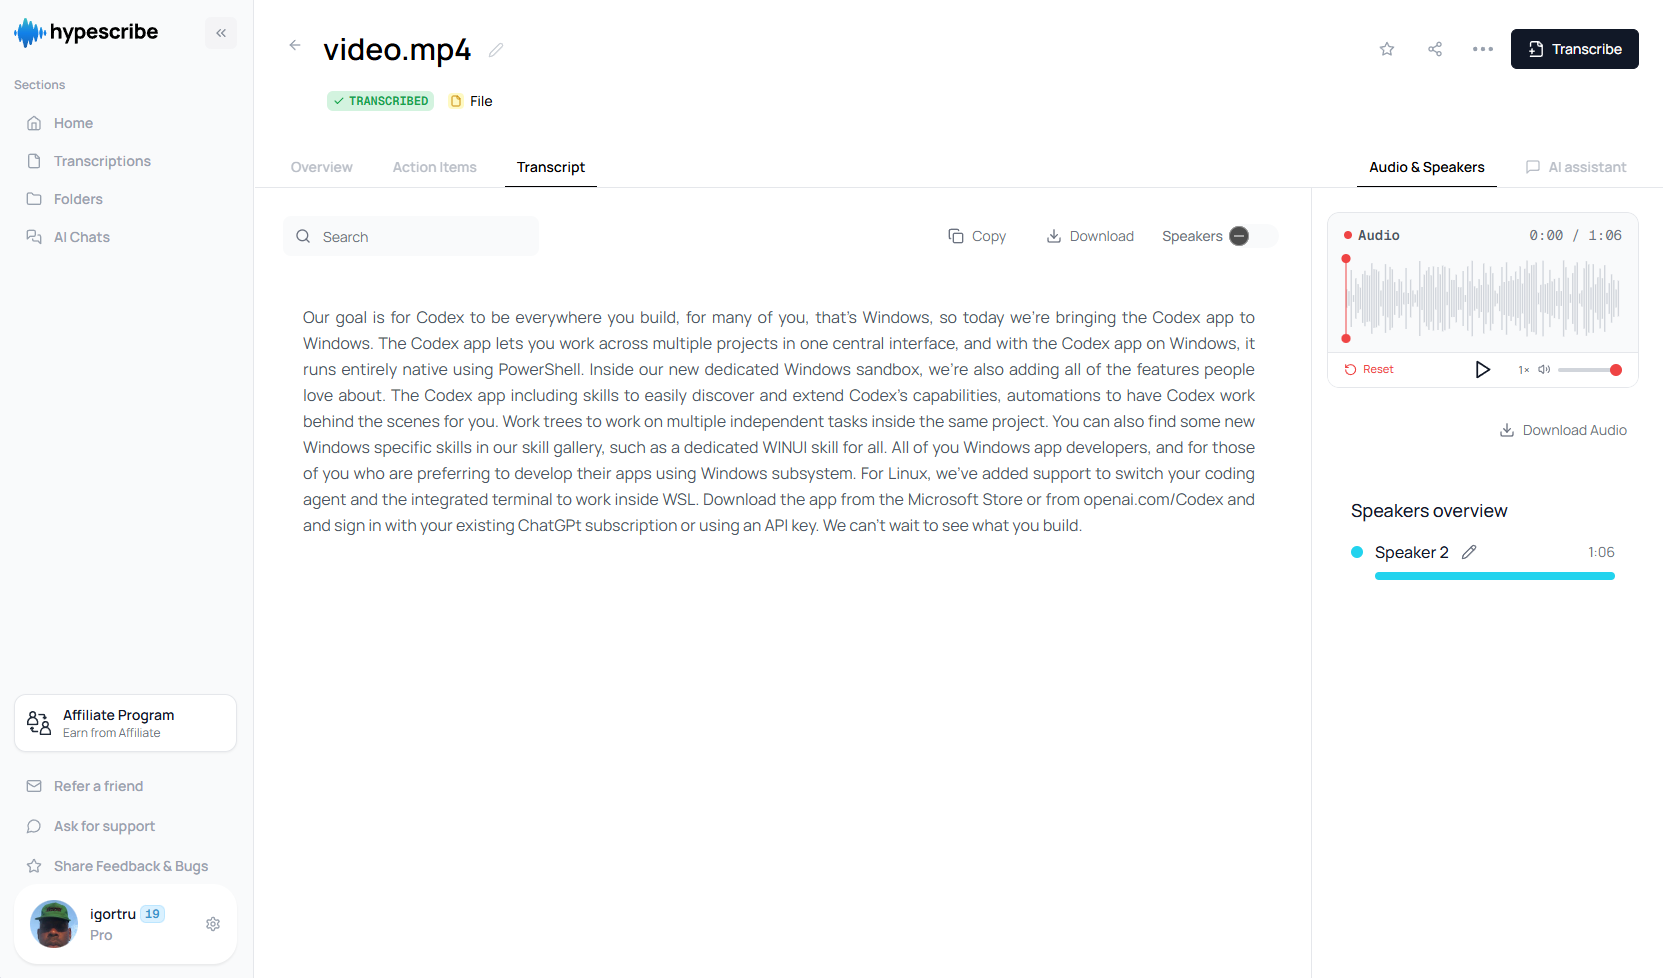
The Transcript tab has the full text with speaker labels, search, copy and download — this is where you pull exact quotes instead of re-listening.
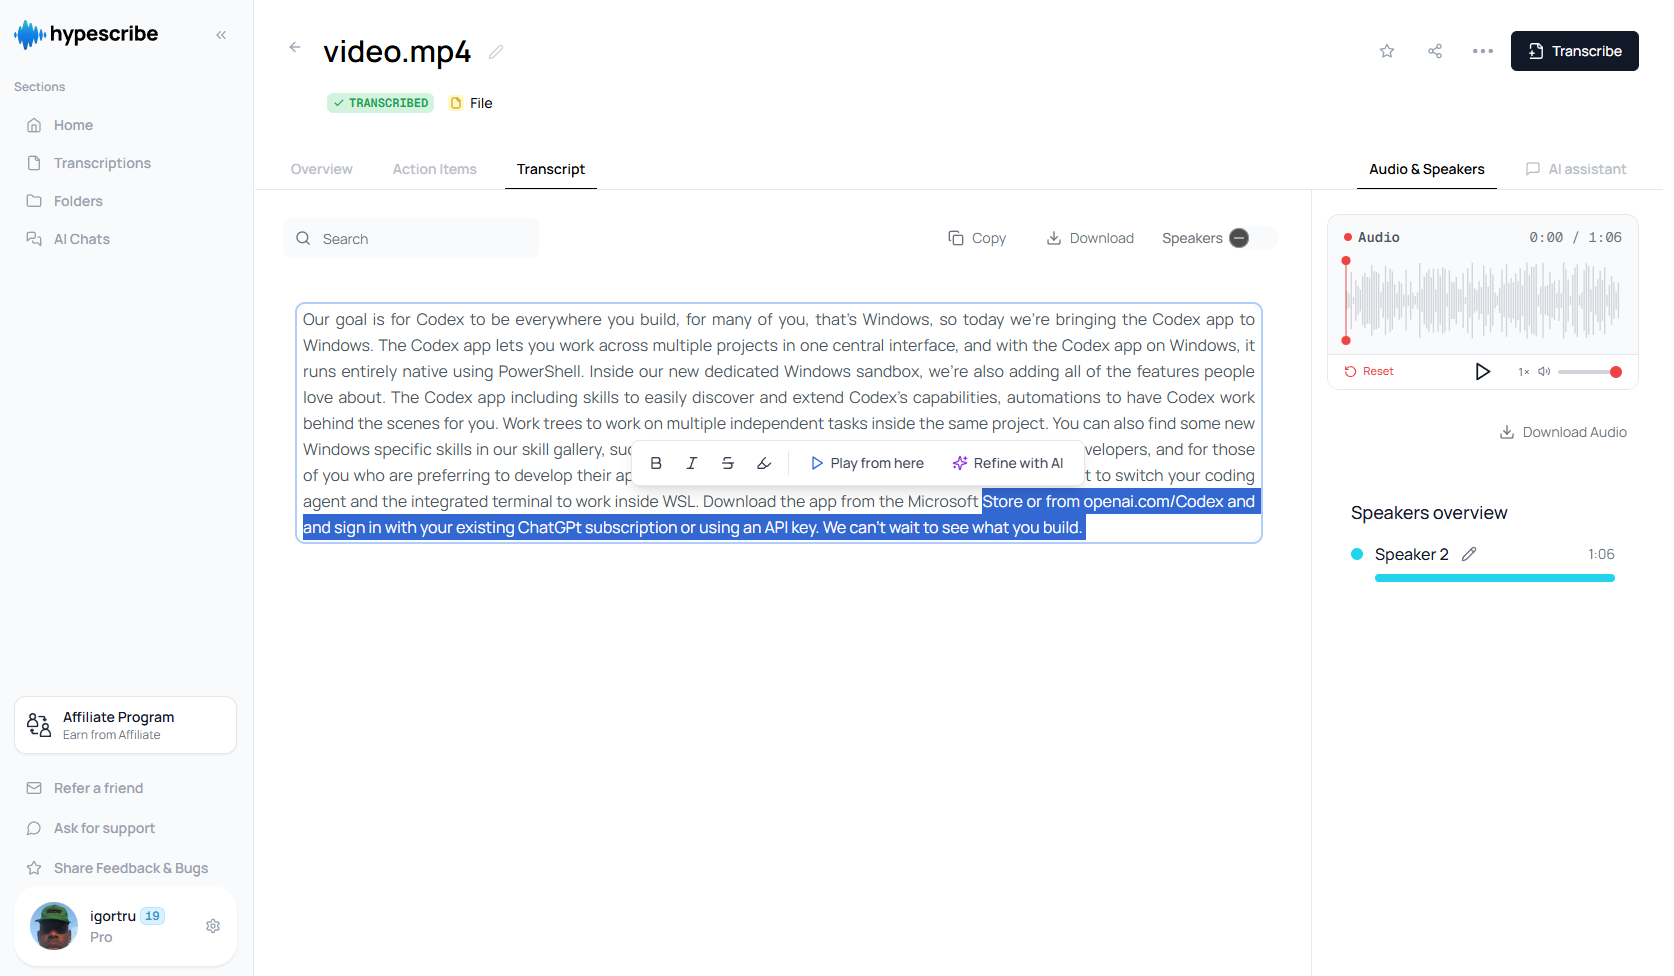
And it's editable in place. Select any passage and you can format it, hit Play from here to hear that exact moment in the audio, or use Refine with AI to clean up the wording without leaving the page. No exporting to a doc editor and losing the link between text and audio:
Ask the recording questions
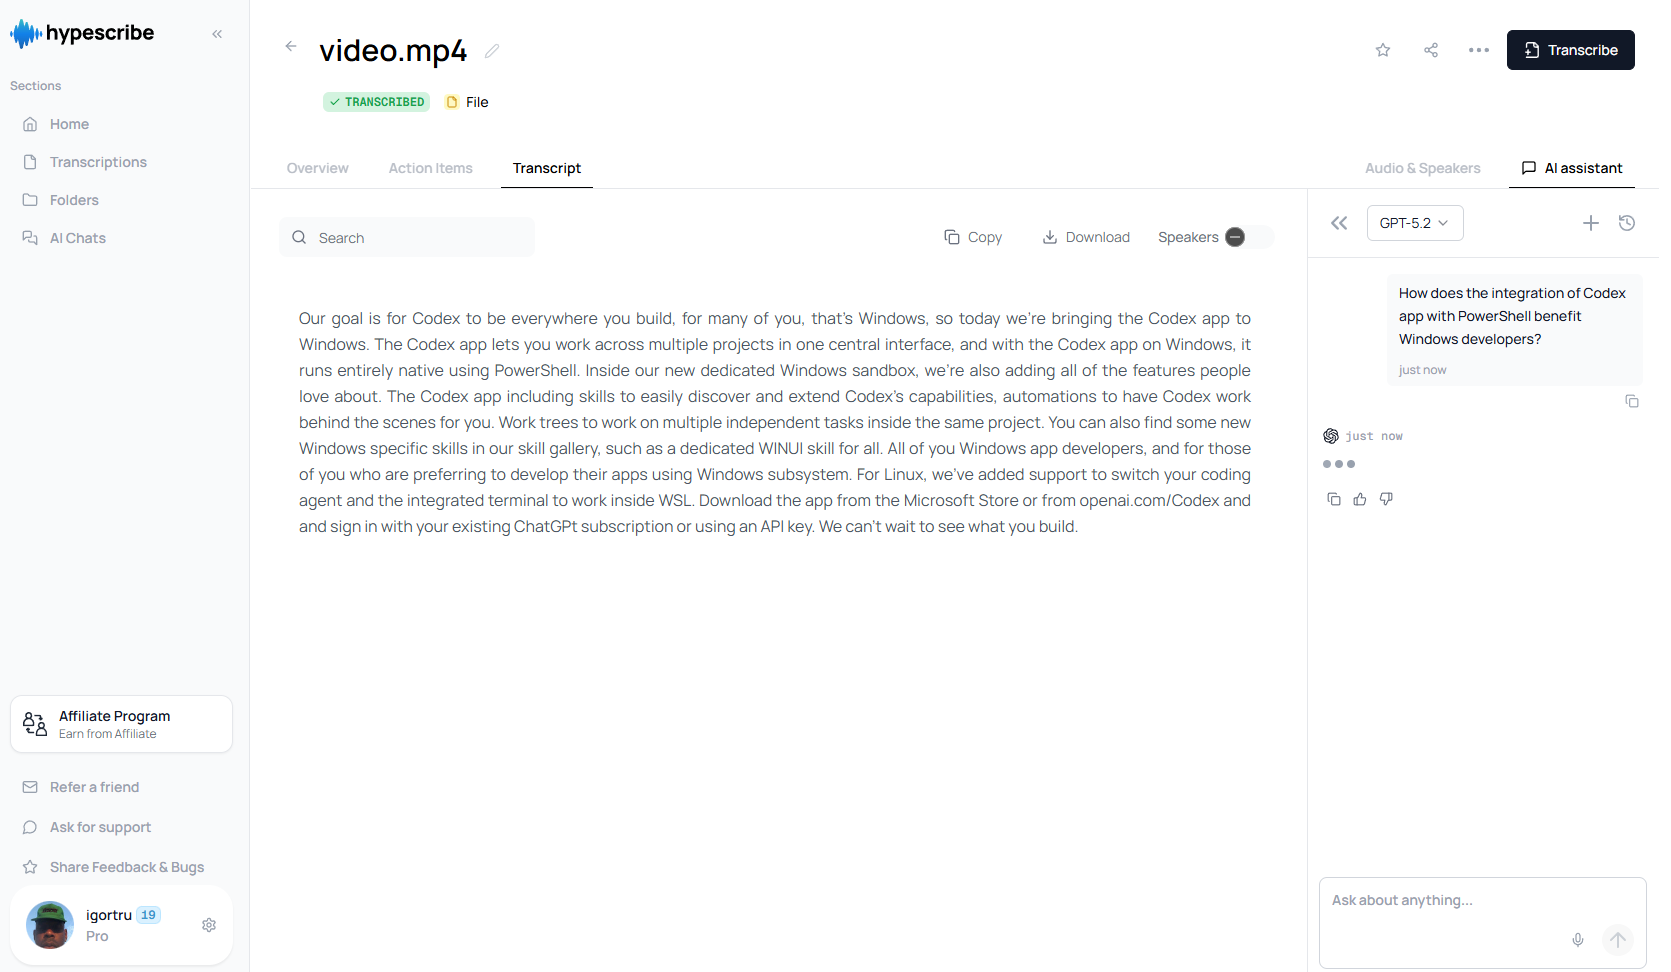
The AI assistant sits next to the transcript and answers questions about it: "What did we decide about the deadline?", "List every number mentioned". On an hour-long recording this is the difference between finding an answer in ten seconds and scrubbing through audio for ten minutes.
Try it on your own file
The whole flow — upload, transcript, summary, action items, chat — takes less time than listening to the first five minutes of your recording, and costs one credit regardless of how long that recording is. Try HypeScribe free: upload your longest file and see what comes back.